How to make paper plate masks

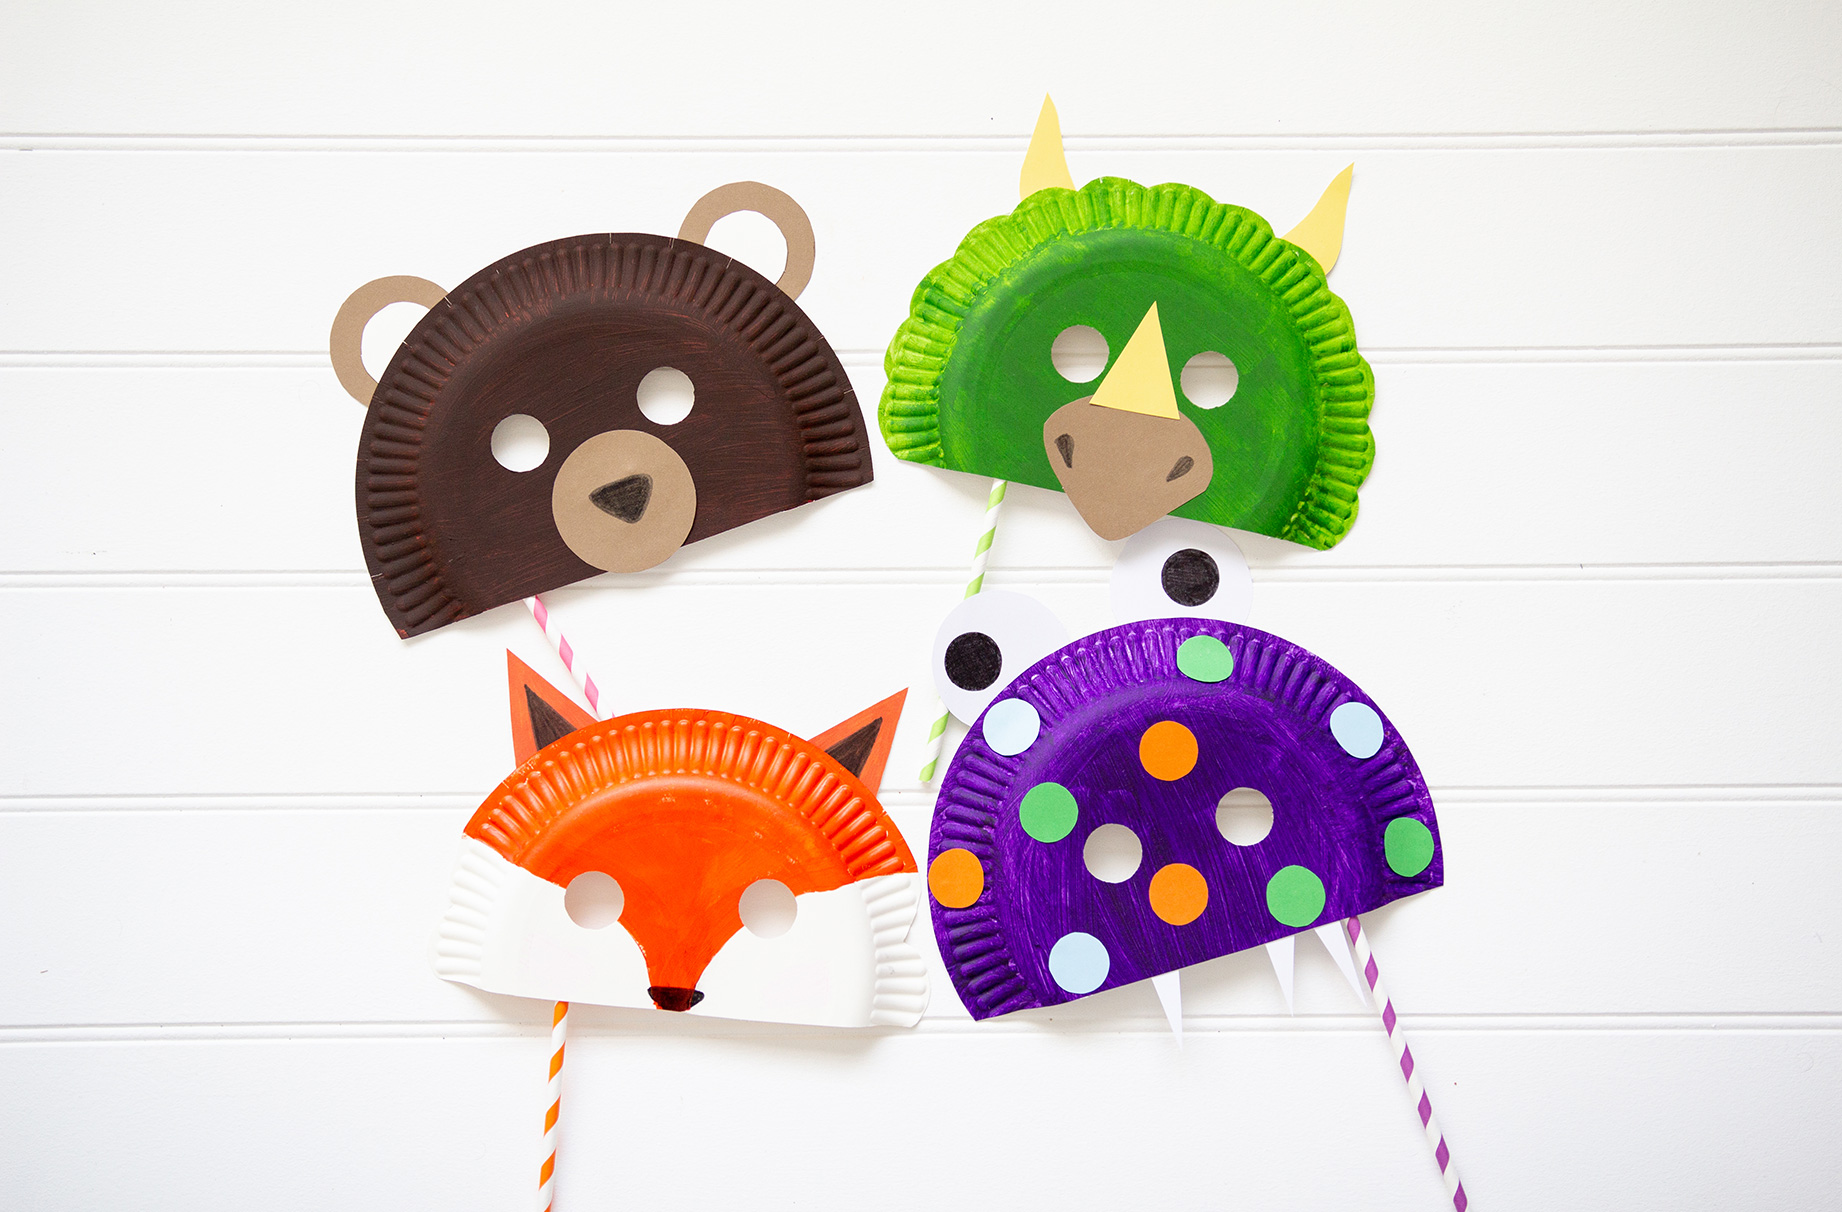
Kids will love making a paper plate into a mask of their favourite animal, alien or dinosaur with our super-simple instructions.
This crafting project will help keep your kids occupied for a whole afternoon and they can play dress-up with their makes afterwards.
How to make a bear mask
Pretend to be a big grizzly with this cute rather than scary paper plate mask.
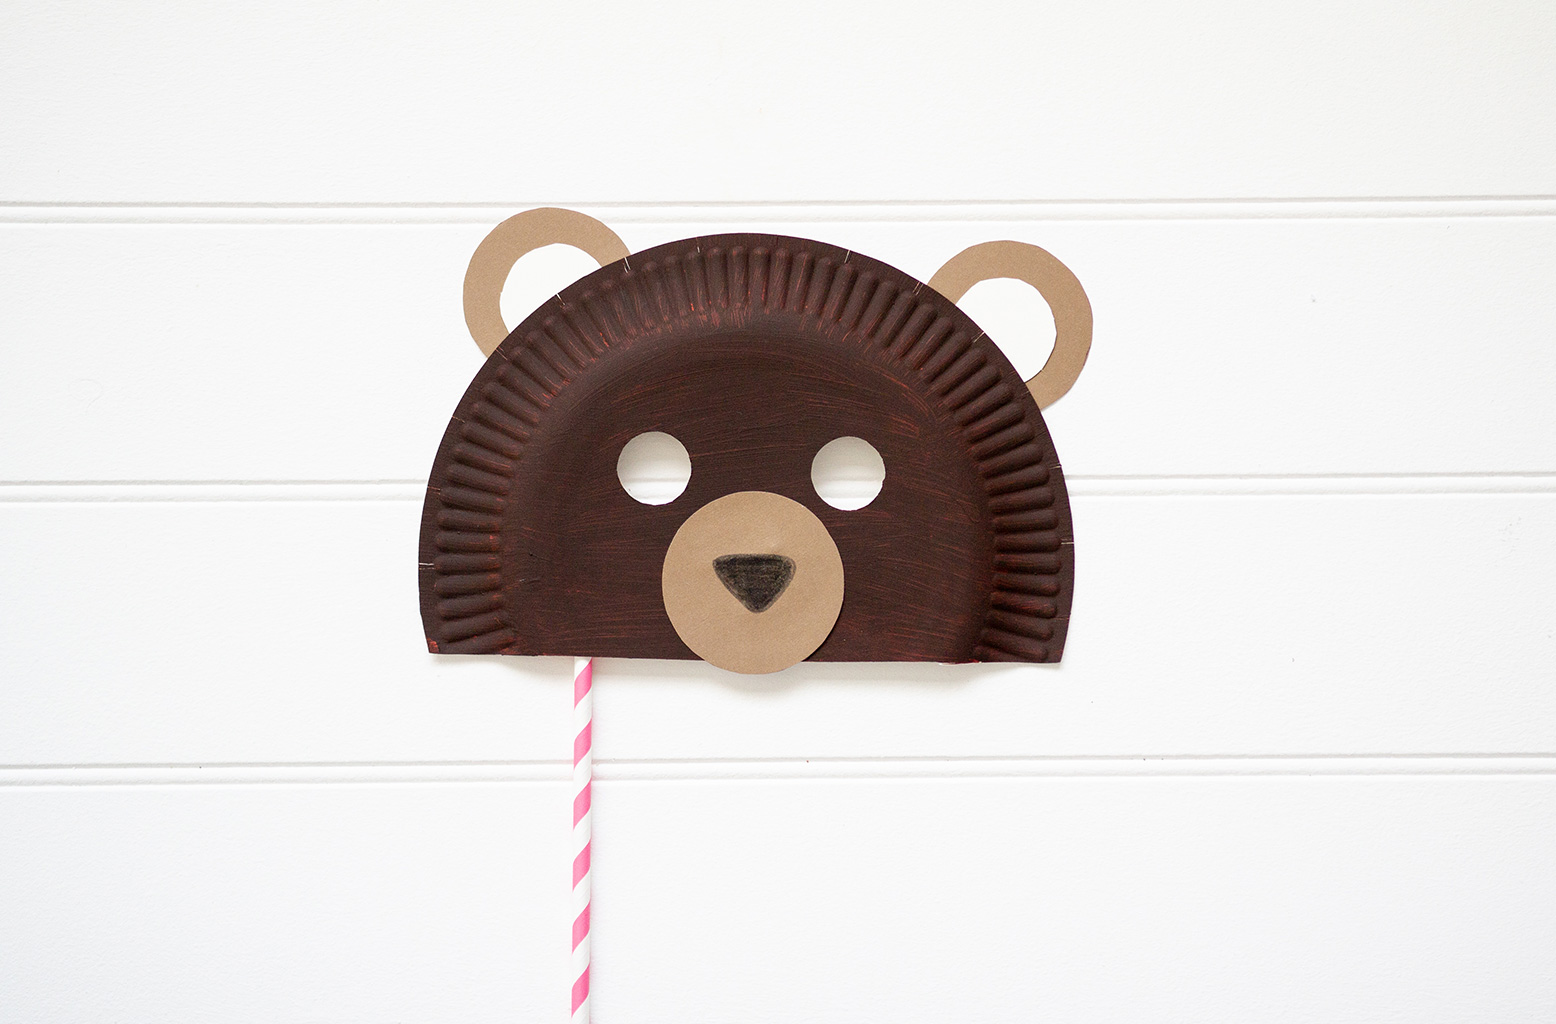
To make a bear mask you will need:
- Paper plate
- Brown paint
- Paintbrush
- Brown card
- White card
- Black felt tip
- Paper straw
- Scissors
- Pritt stick
Instructions:
1. Paint the paper plate with the brown paint and allow to dry completely.
2. Cut the paper plate into two thirds. Draw two circles for eyeholes on the back of the mask and cut out.
3. Cut out three large circles from the brown card and two small circles from the white card.
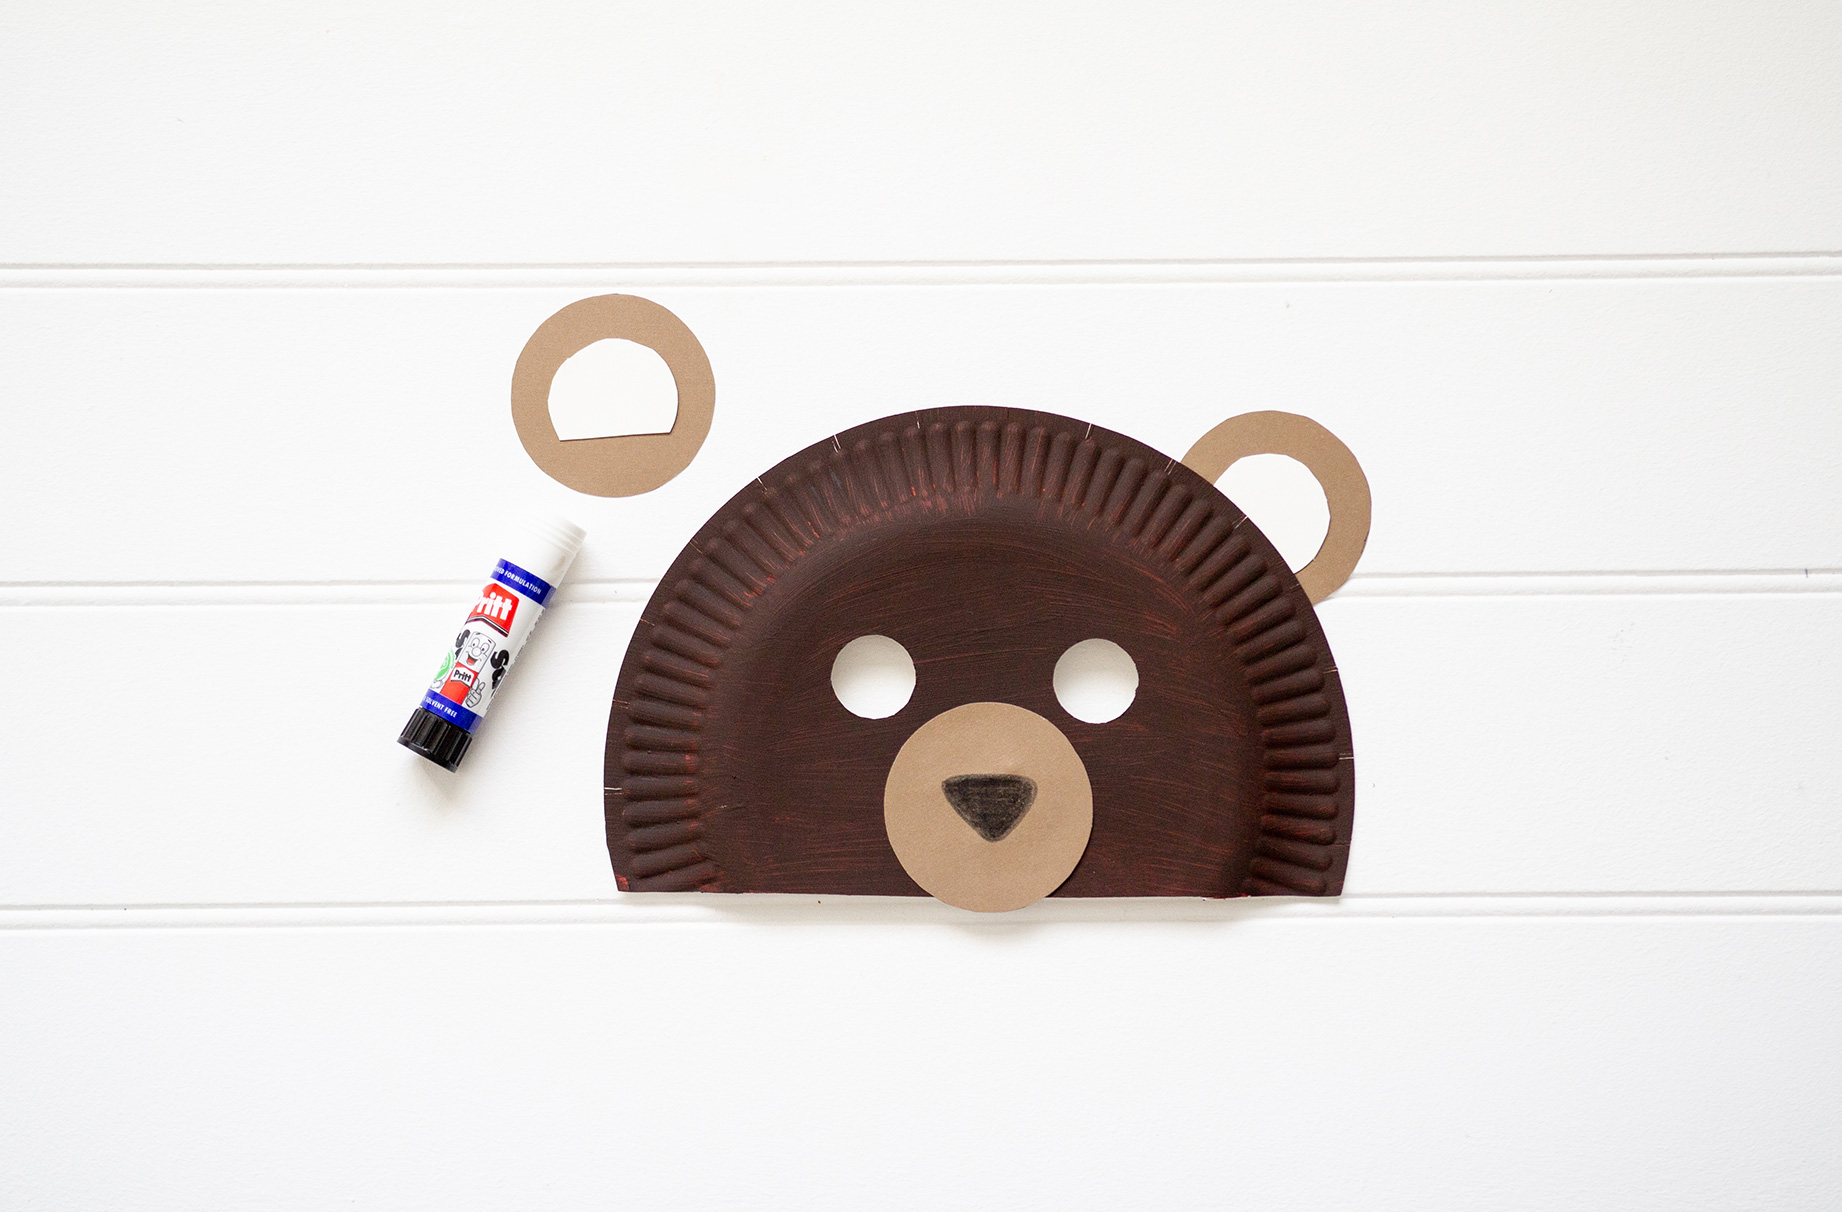
4. On one of the brown circles draw on a nose in black felt tip and glue to the front of the paper plate.
Parenting advice, hot topics, best buys and family finance tips delivered straight to your inbox.
5. Glue the white circles to the remaining brown ones. Then glue to the back of the bear mask.
6. Position a paper straw on the back and glue or tape in place.
How to make a fox mask
Wander around the garden like this bold woodland creature.
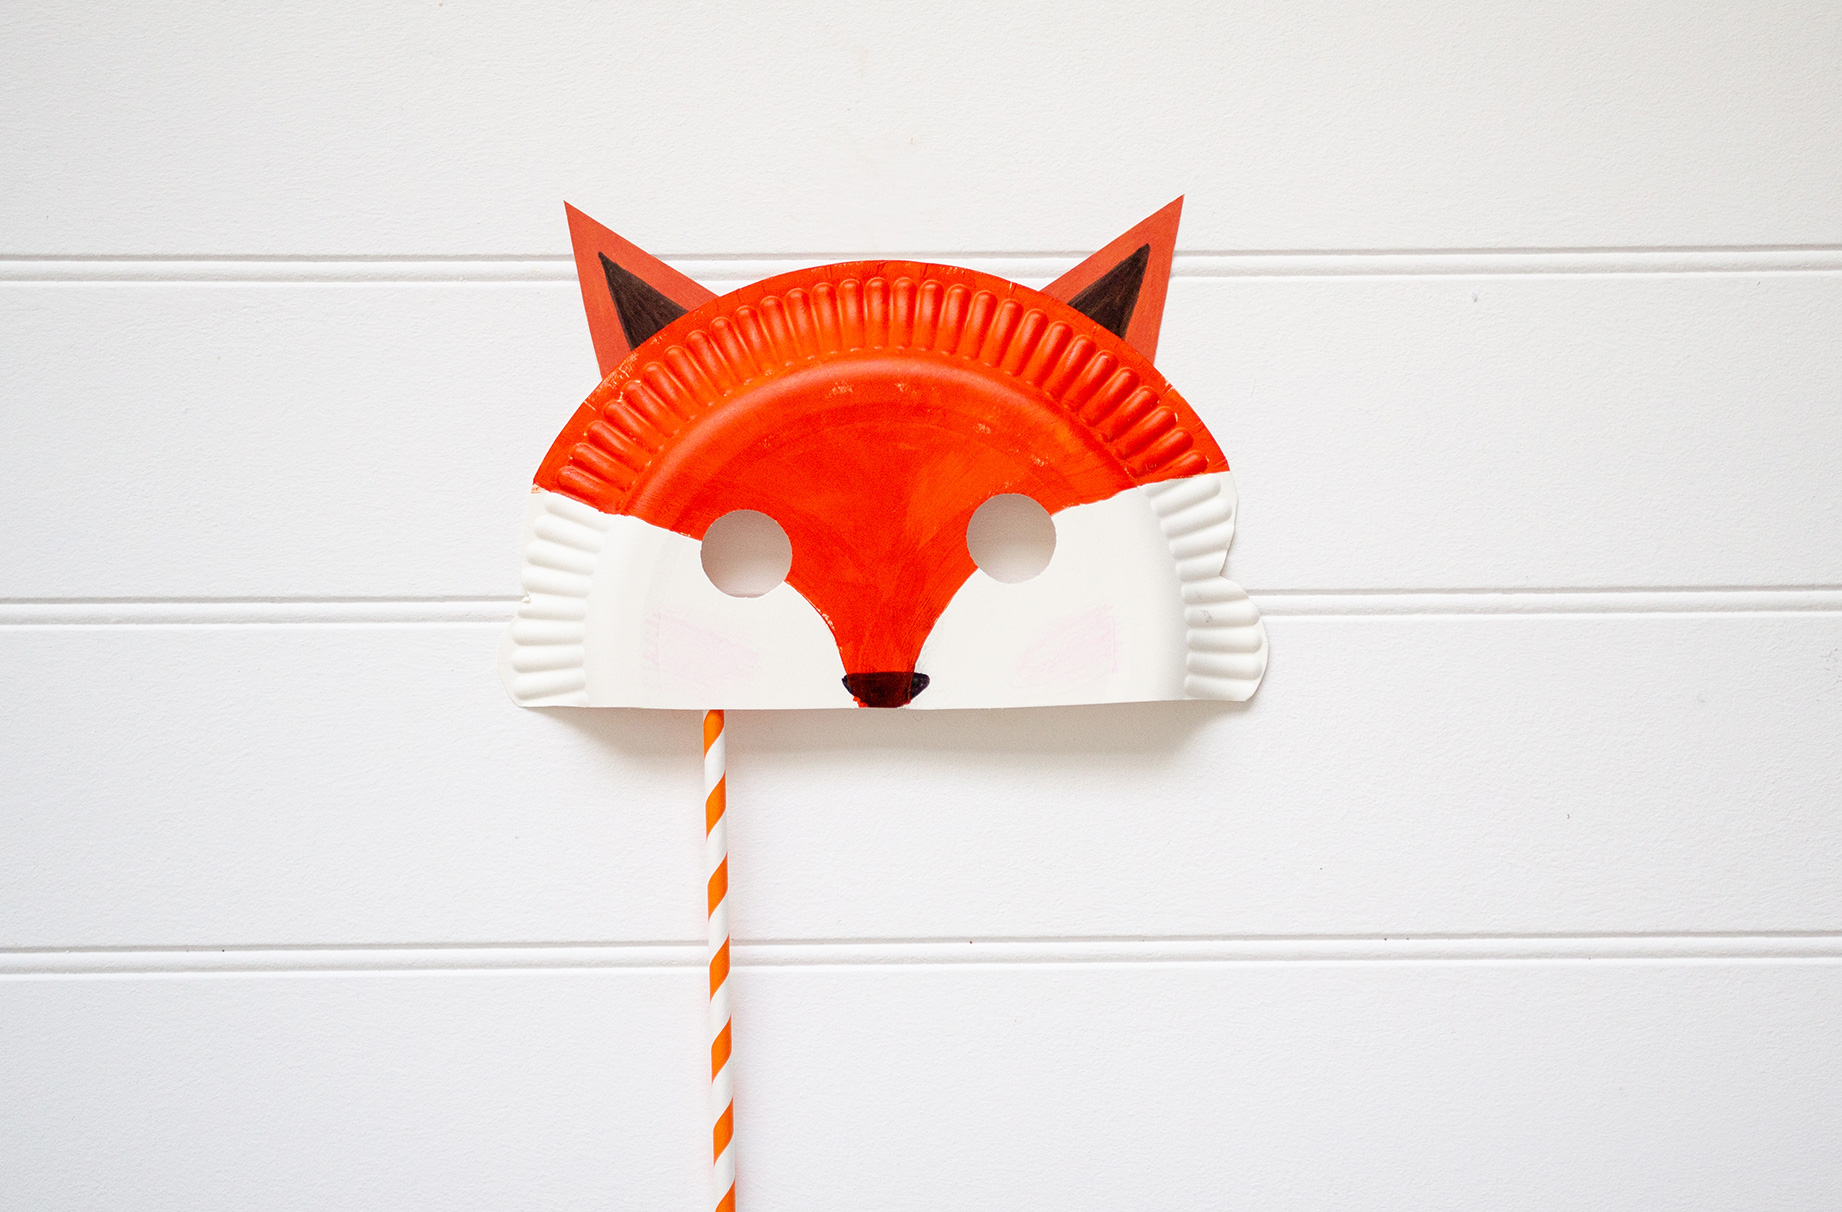
To make a fox mask, you will need:
- Paper plate
- Orange paint
- Paintbrush
- Orange card
- Black felt tip
- Pink colouring pencil
- Glue
- Paper straw
- Scissors
Instructions:
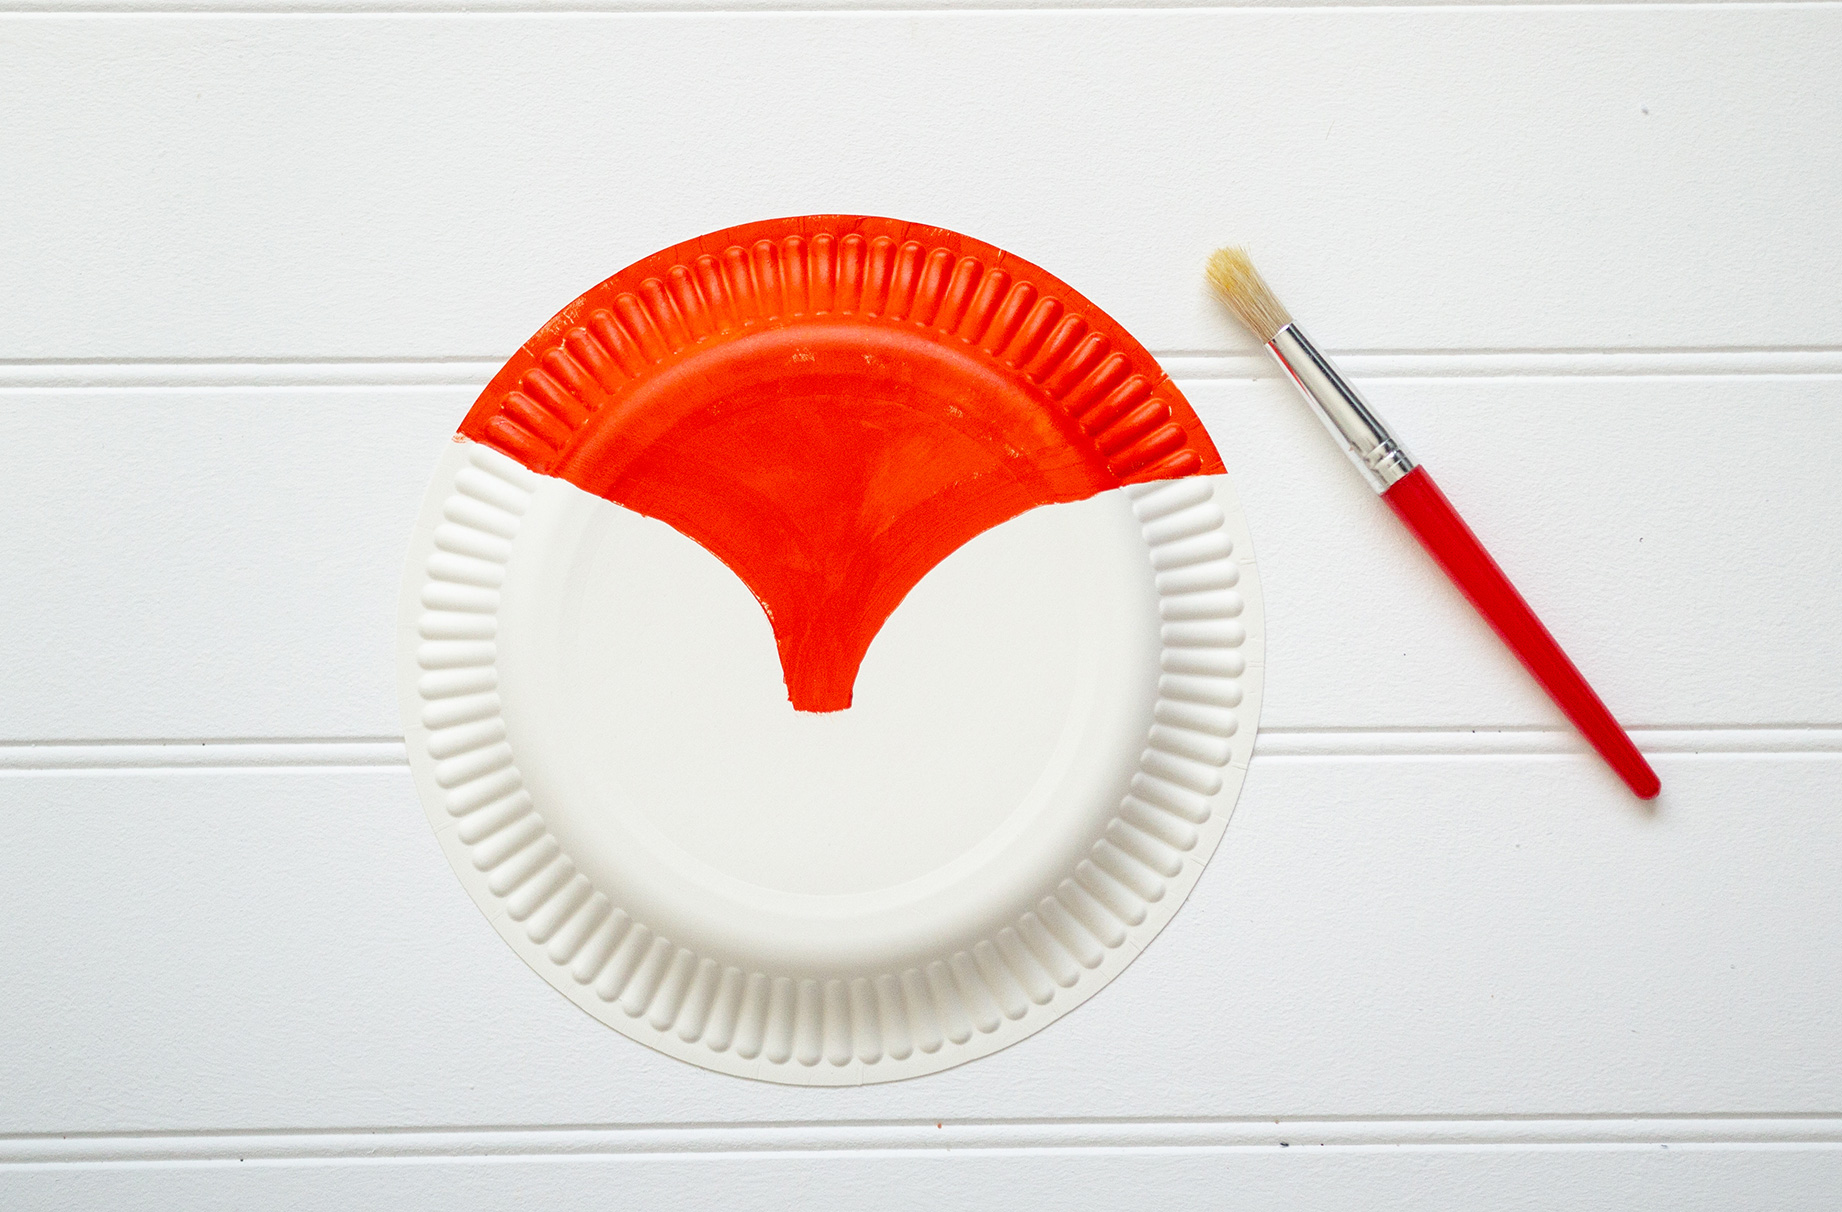
1. Use the orange paint to paint a pair of curves onto the top of the paper plate and allow to dry.
2. Cut off the bottom third of the paper plate mask.
3. Draw two circles on the back and cut out for the eyeholes.
4. Colour in a triangle shaped nose at the bottom. Cut out two triangles from the orange card for the ears. Colour in the centres with black felt tip and glue to the back of the mask.
5. Colour in the cheeks with a pink pencil and secure a paper straw to the back as a handle.
How to make an alien mask
Fly into outer space with this extra terrestrial design.
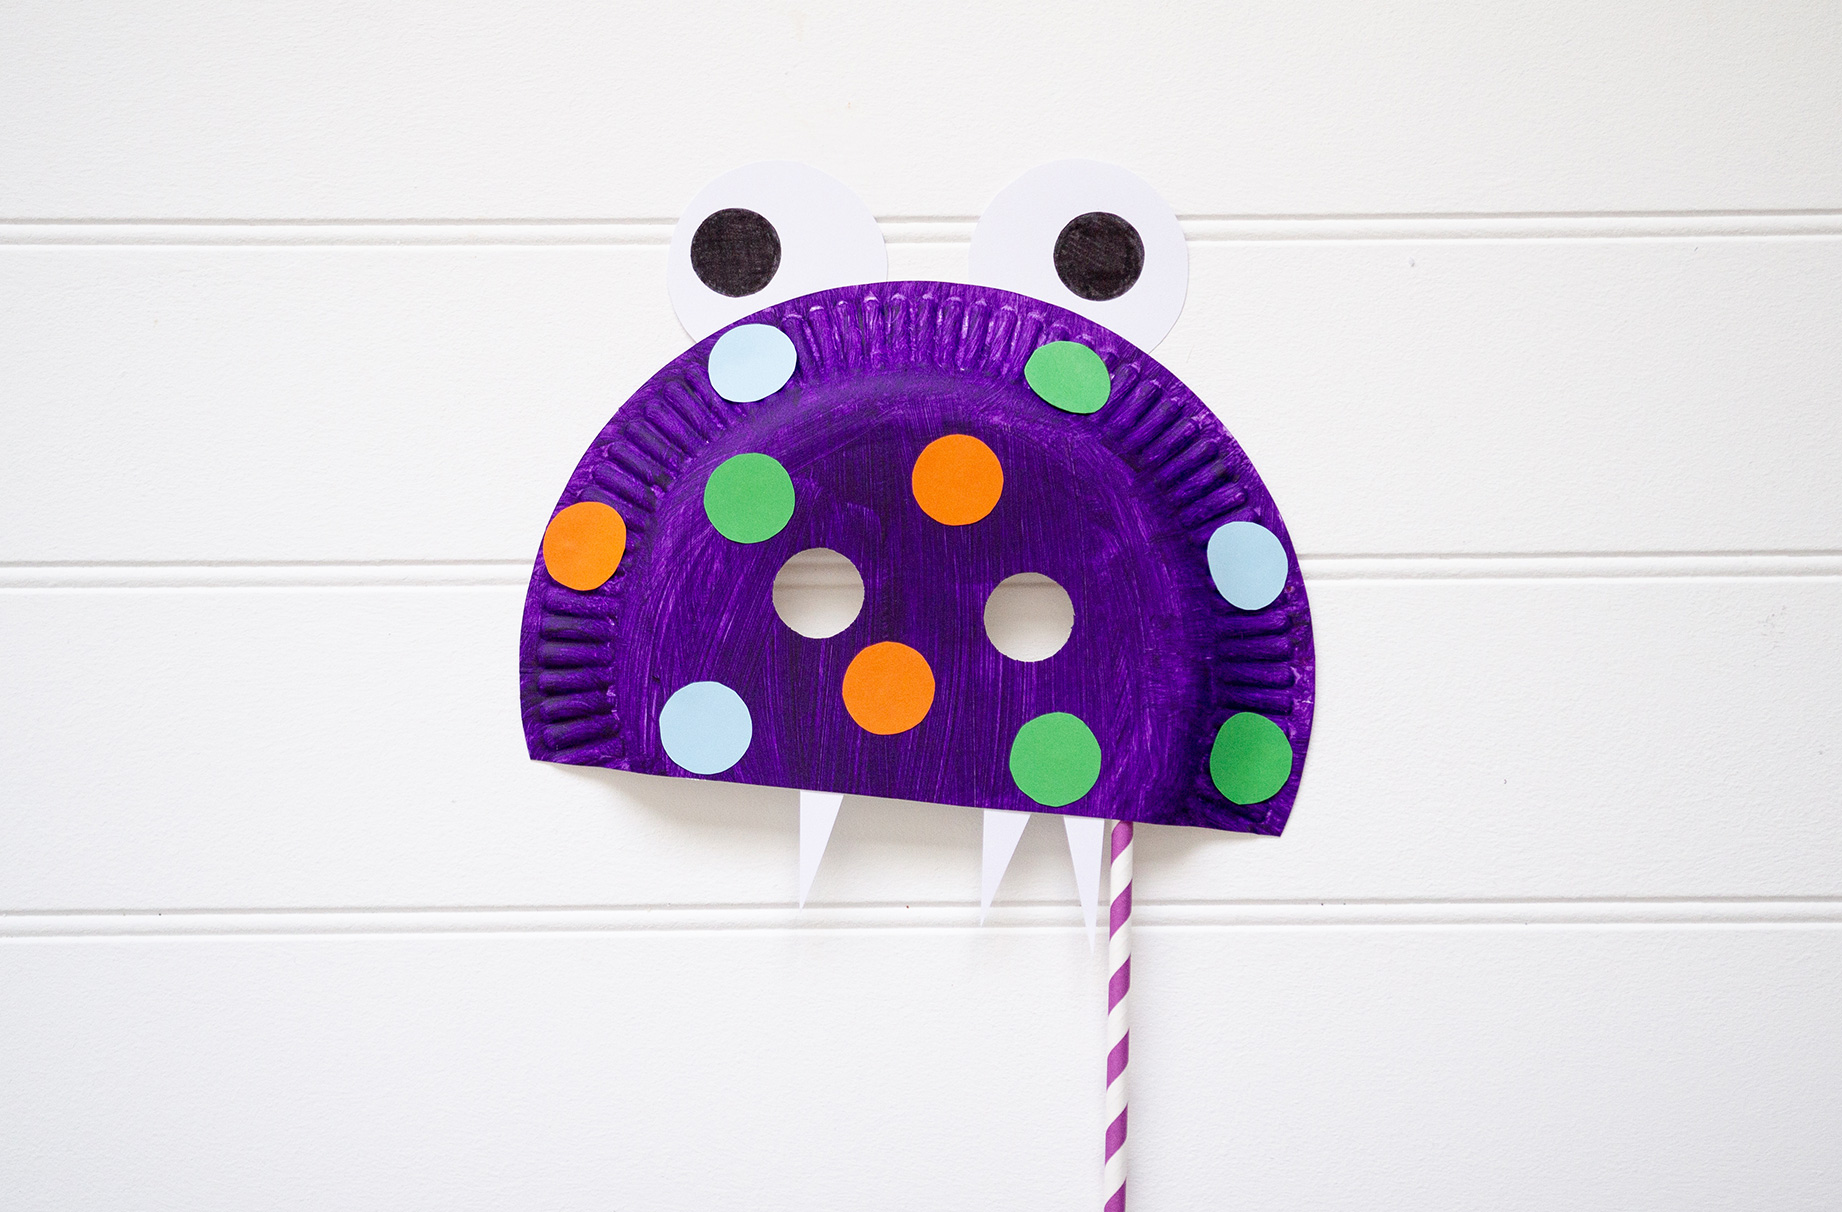
To make an alien mask, you will need:
- Paper plate
- Purple paint
- Paint brush
- Green, blue and orange paper
- Scissors
- Glue
- White card
- Black felt tip
- Paper straw
Instructions:
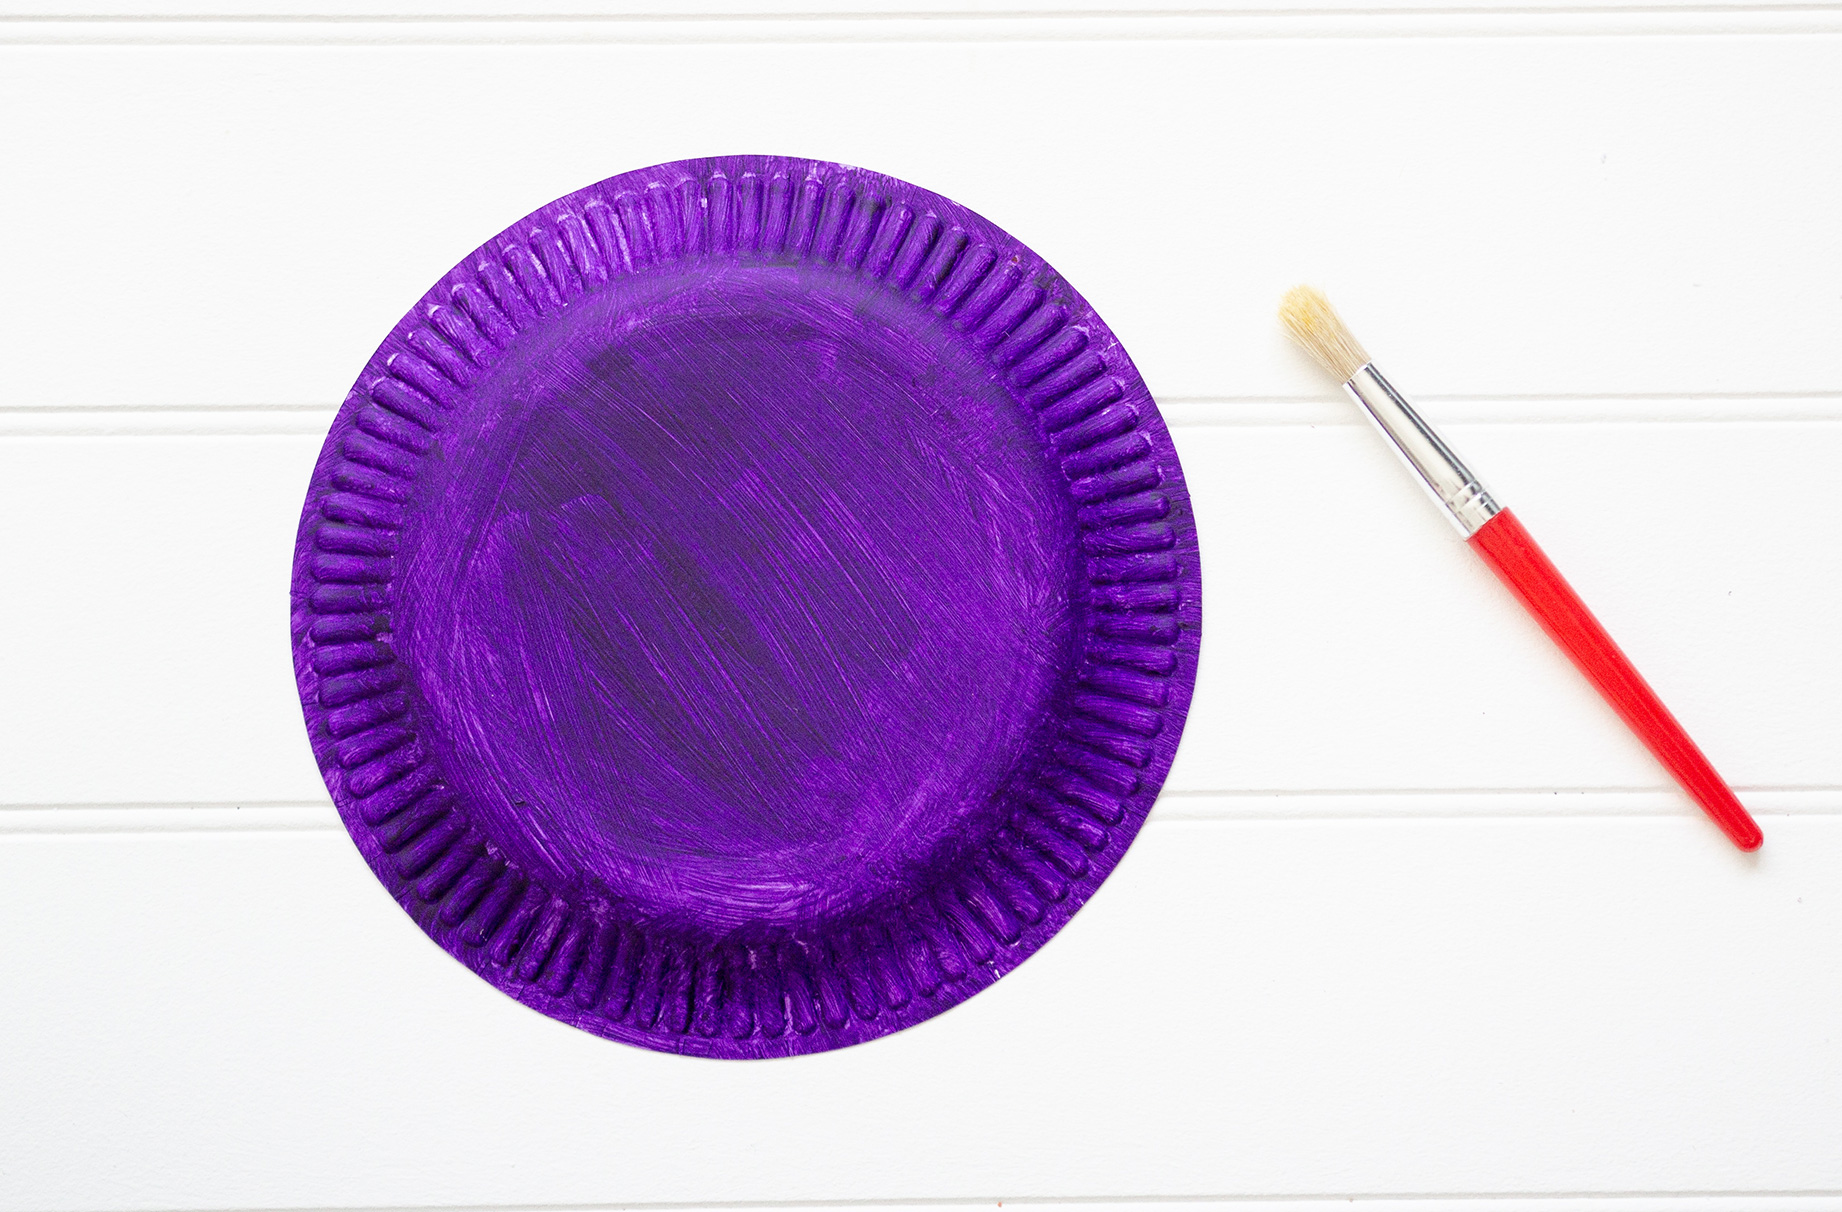
1. Paint the paper plate with purple paint and allow to dry. Cut off the bottom third.
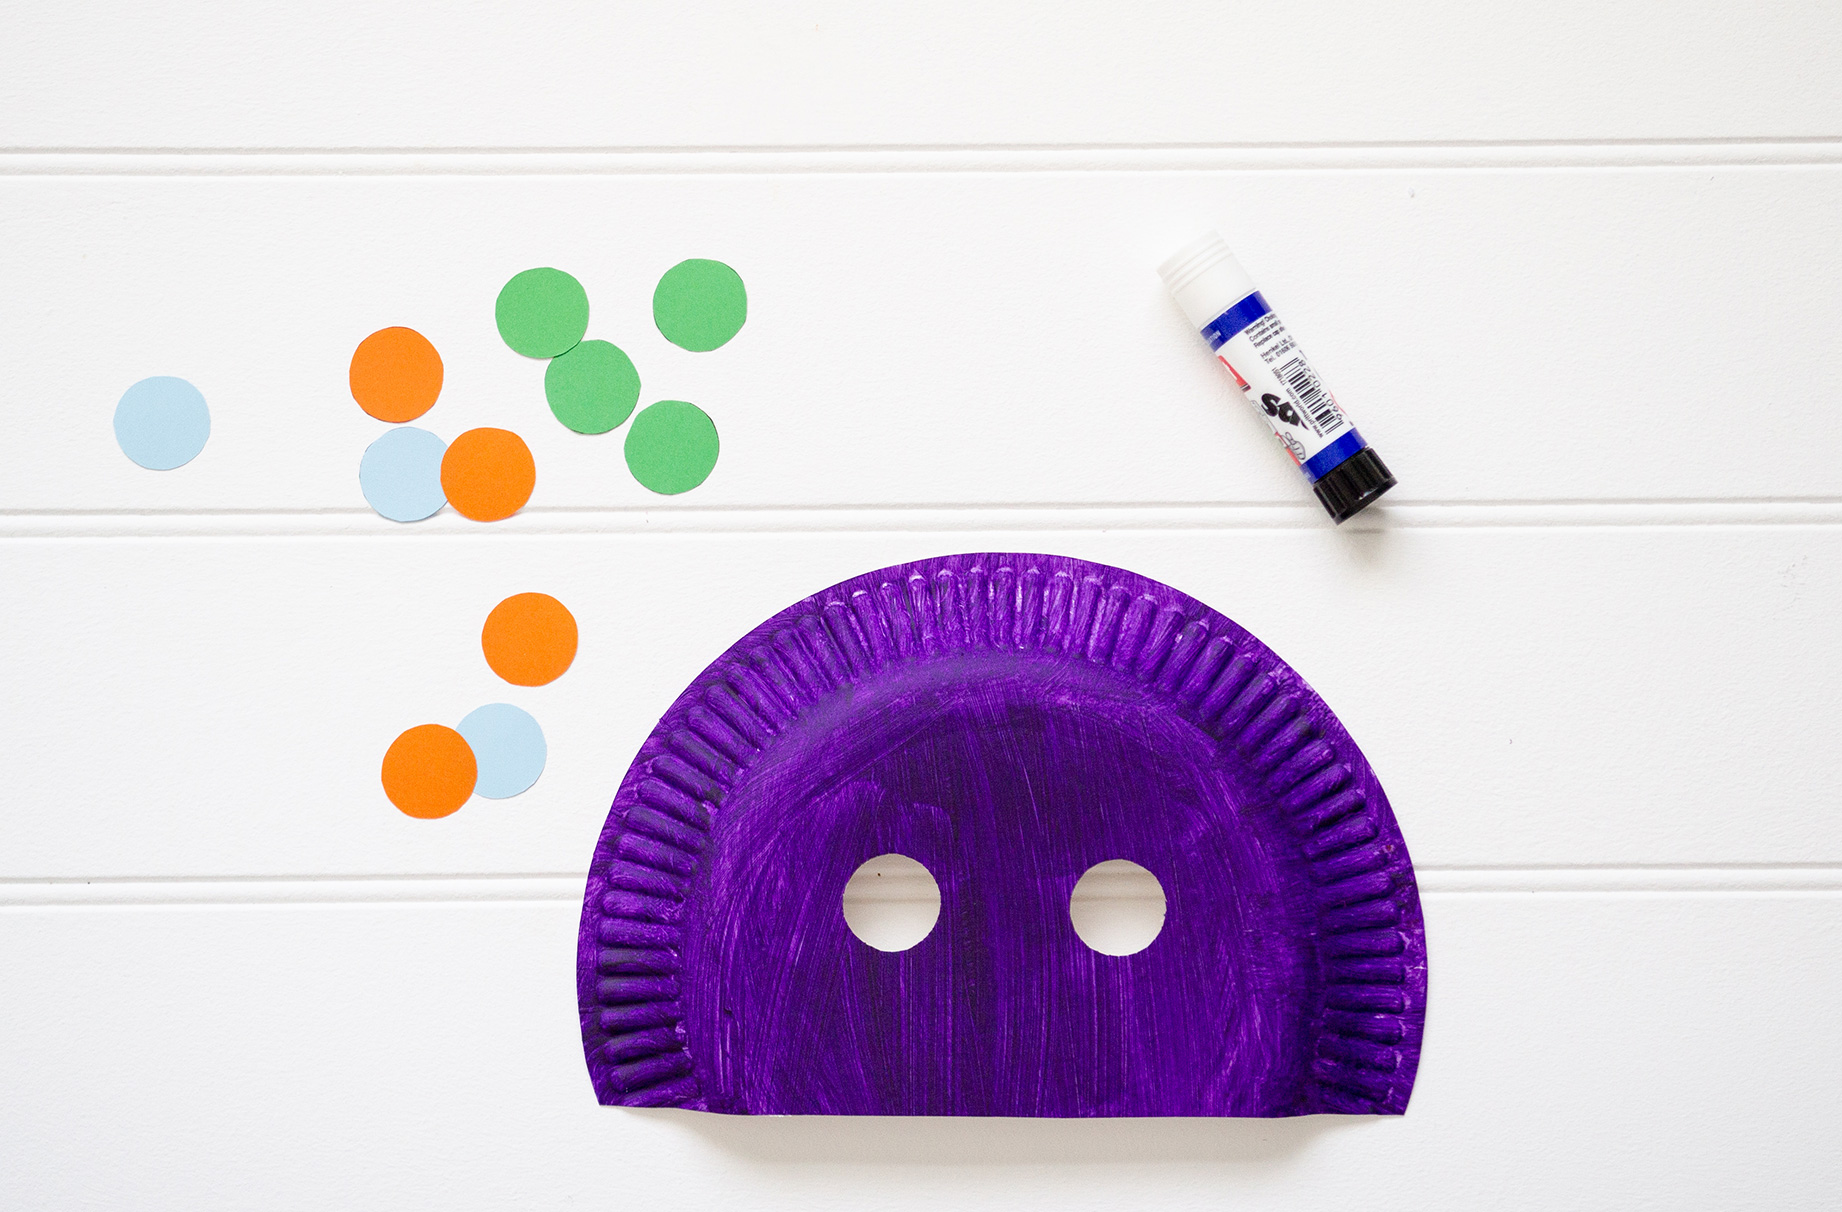
2. Cut out two holes so you can see through your mark. Cut out similar-sized circles from the orange, blue and green paper. Glue these onto the alien paper plate mask at random.
3. Cut out two large circles from the white card. Colour in a small circle on each in black felt tip.
4. Glue the eyes onto the top of the mask and a paper straw onto the side at the bottom of the mask to hold it by.
How to make a dinosaur mask
This blast from the past has come straight from the Ice Age to wreak havoc in your household.
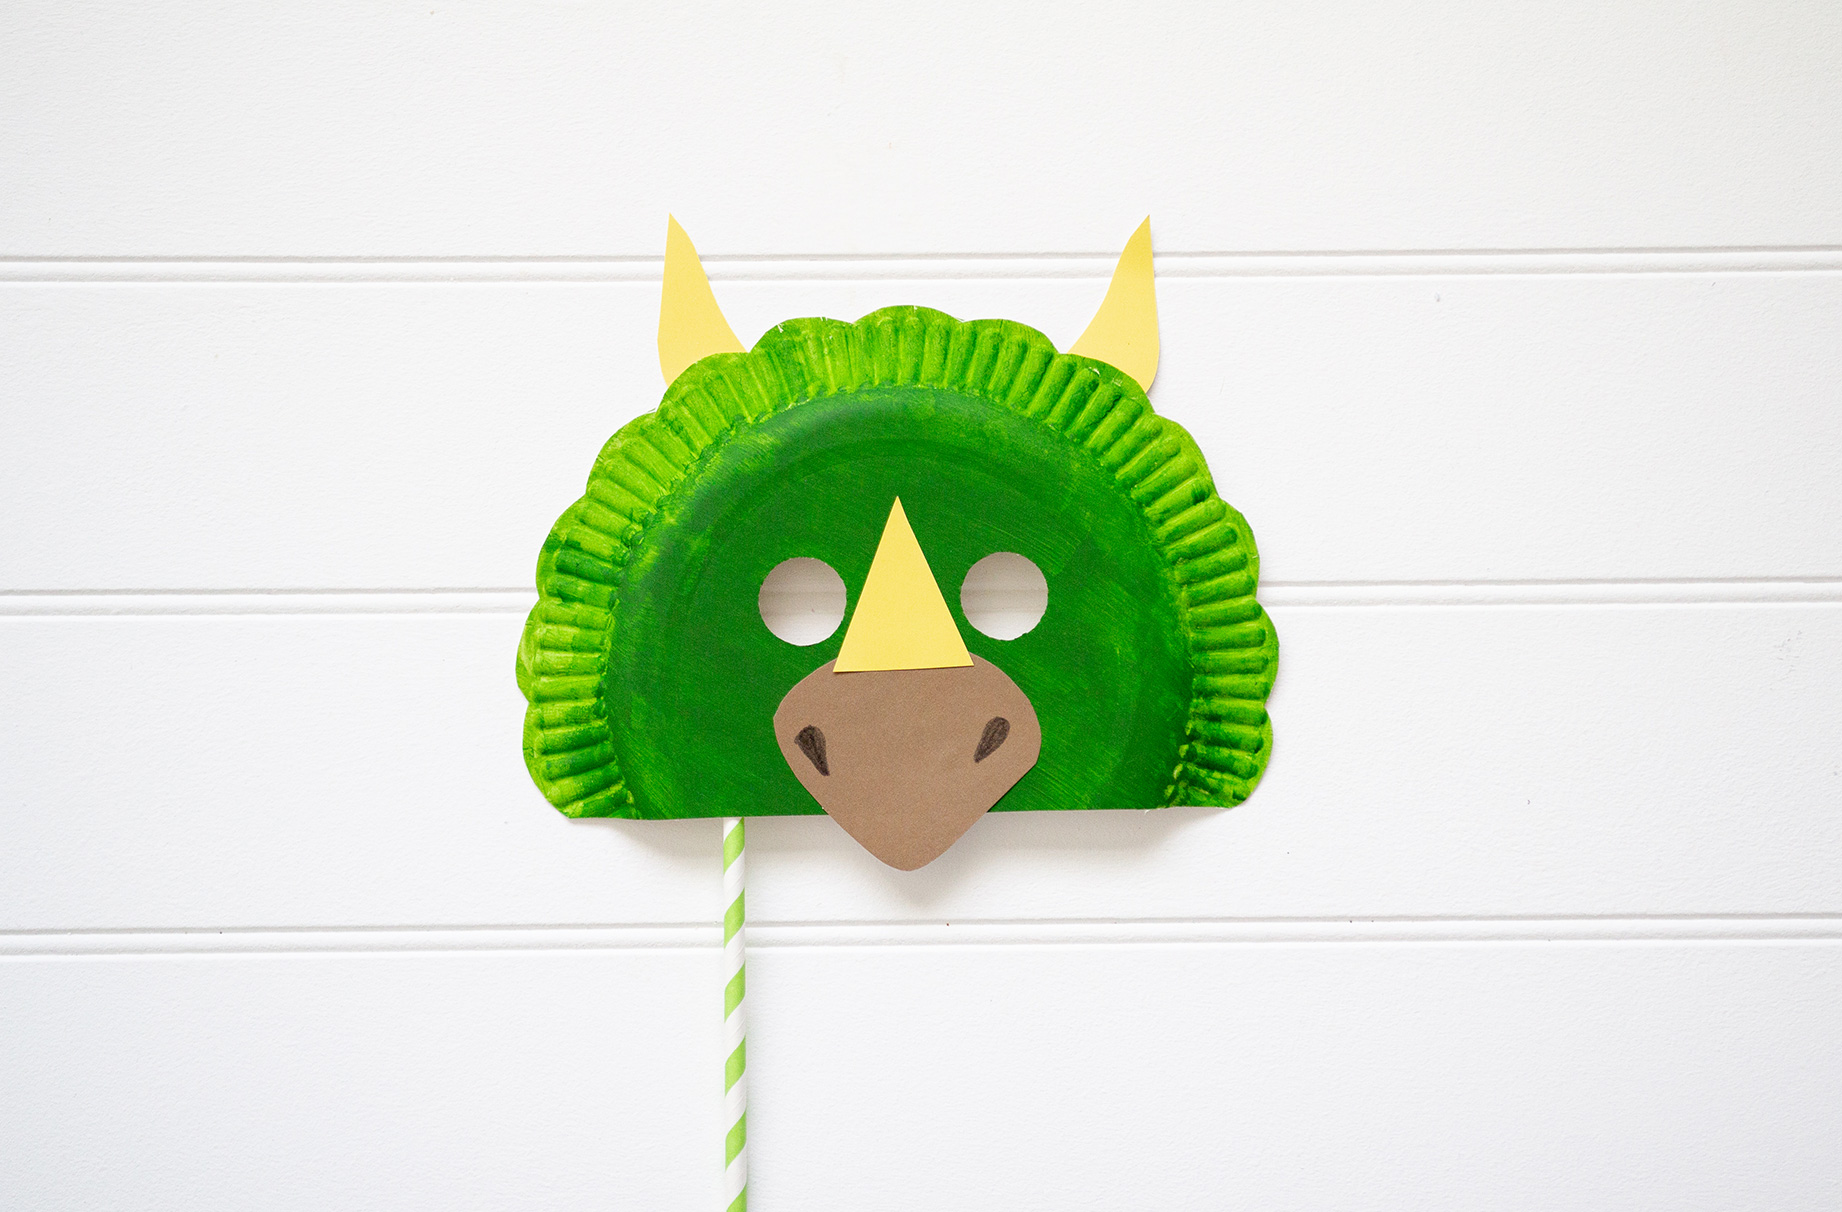
To make a dinosaur mask, you will need:
- Paper plate
- Green paint
- Paint brush
- Brown and yellow card
- Black felt tip
- Scissors
- Glue
Instructions:
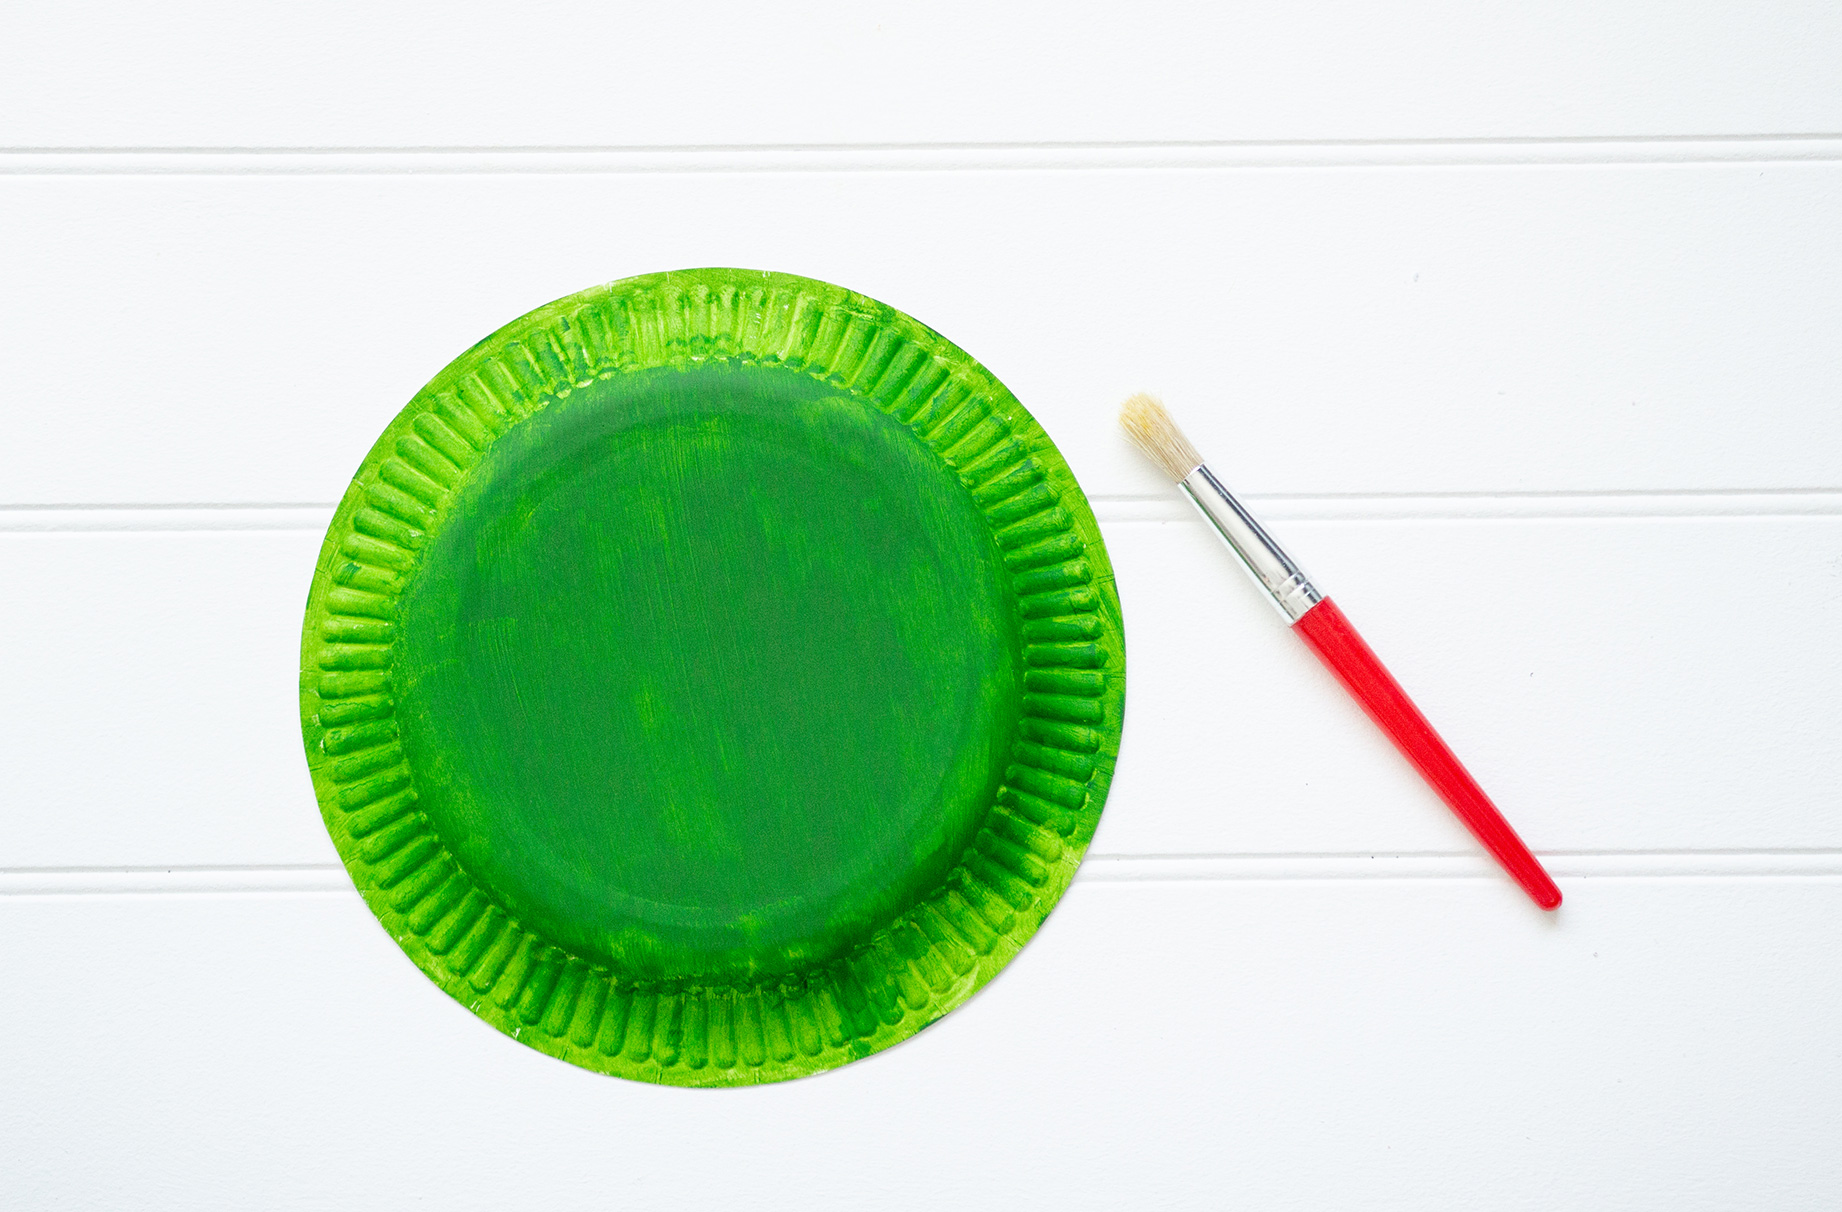
1. Paint the paper plate with green paint and allow to dry, then cut off the bottom third.
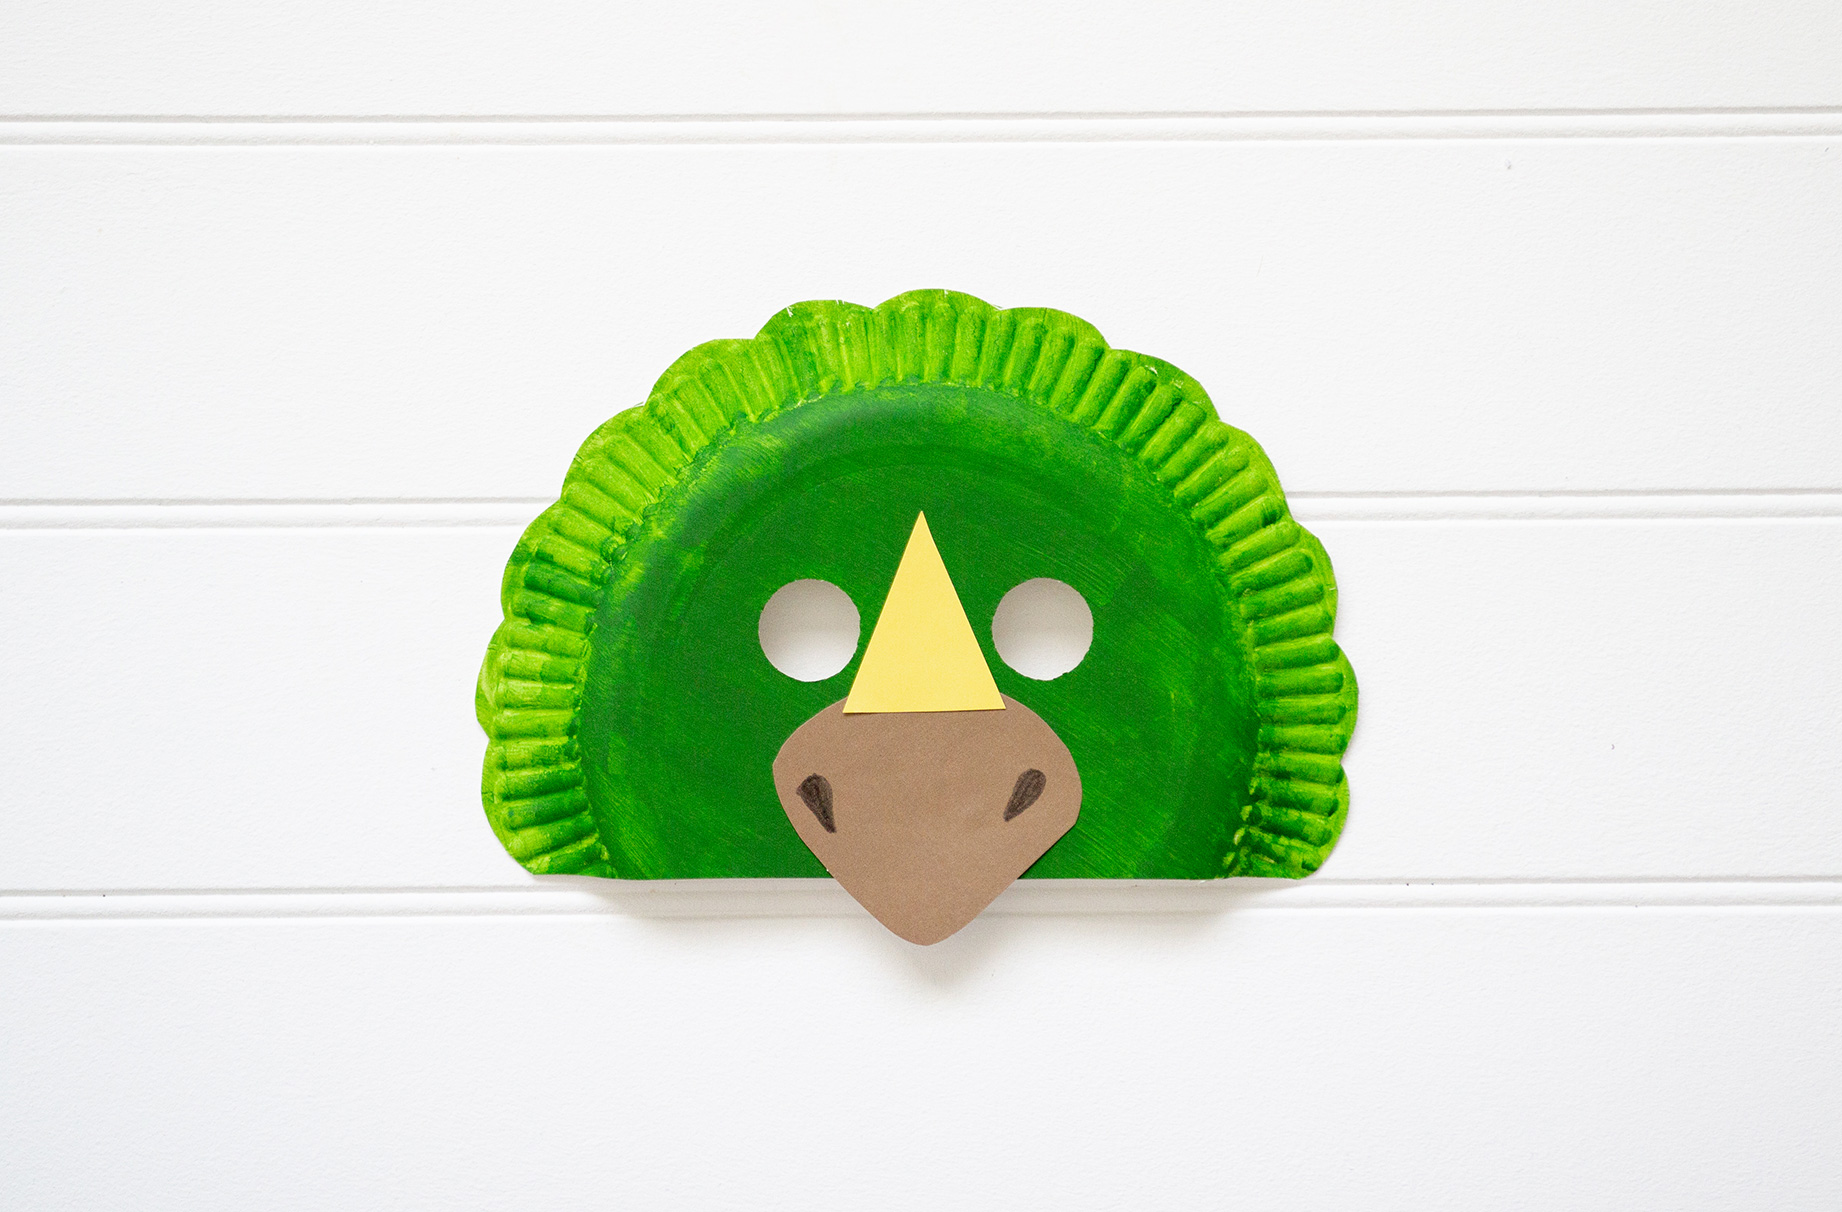
2. Cut the edge of the mask into a scallop shape and cut out two round eyeholes.
3. Cut out a triangle from the brown card and round off the corners. Draw on two nostrils in black felt tip and glue onto the bottom the mask.
4. Cut out three yellow triangles. Glue one in between the eyeholes. Cut the other two triangles into horn shapes and glue to the top of the dinosaur paper plate mask.
5. Attach the paper straw handle onto the reverse, ready to play dress-up dinosaurs!

Esme is Future's resident craft expert, working across titles such as GoodTo, Woman&Home, Woman’s Weekly, Woman, Woman’s Own, Chat, Now, Pick Me Up and The Craft Network. Successfully turning her sewing hobby into a career, she's adept in a number of crafts, including sewing, papercraft, calligraphy, embroidery and printing.