How to make a teddy bear
Our craft expert Esme Clemo shows you how to make an adorable teddy bear in this easy to follow step-by-step guide

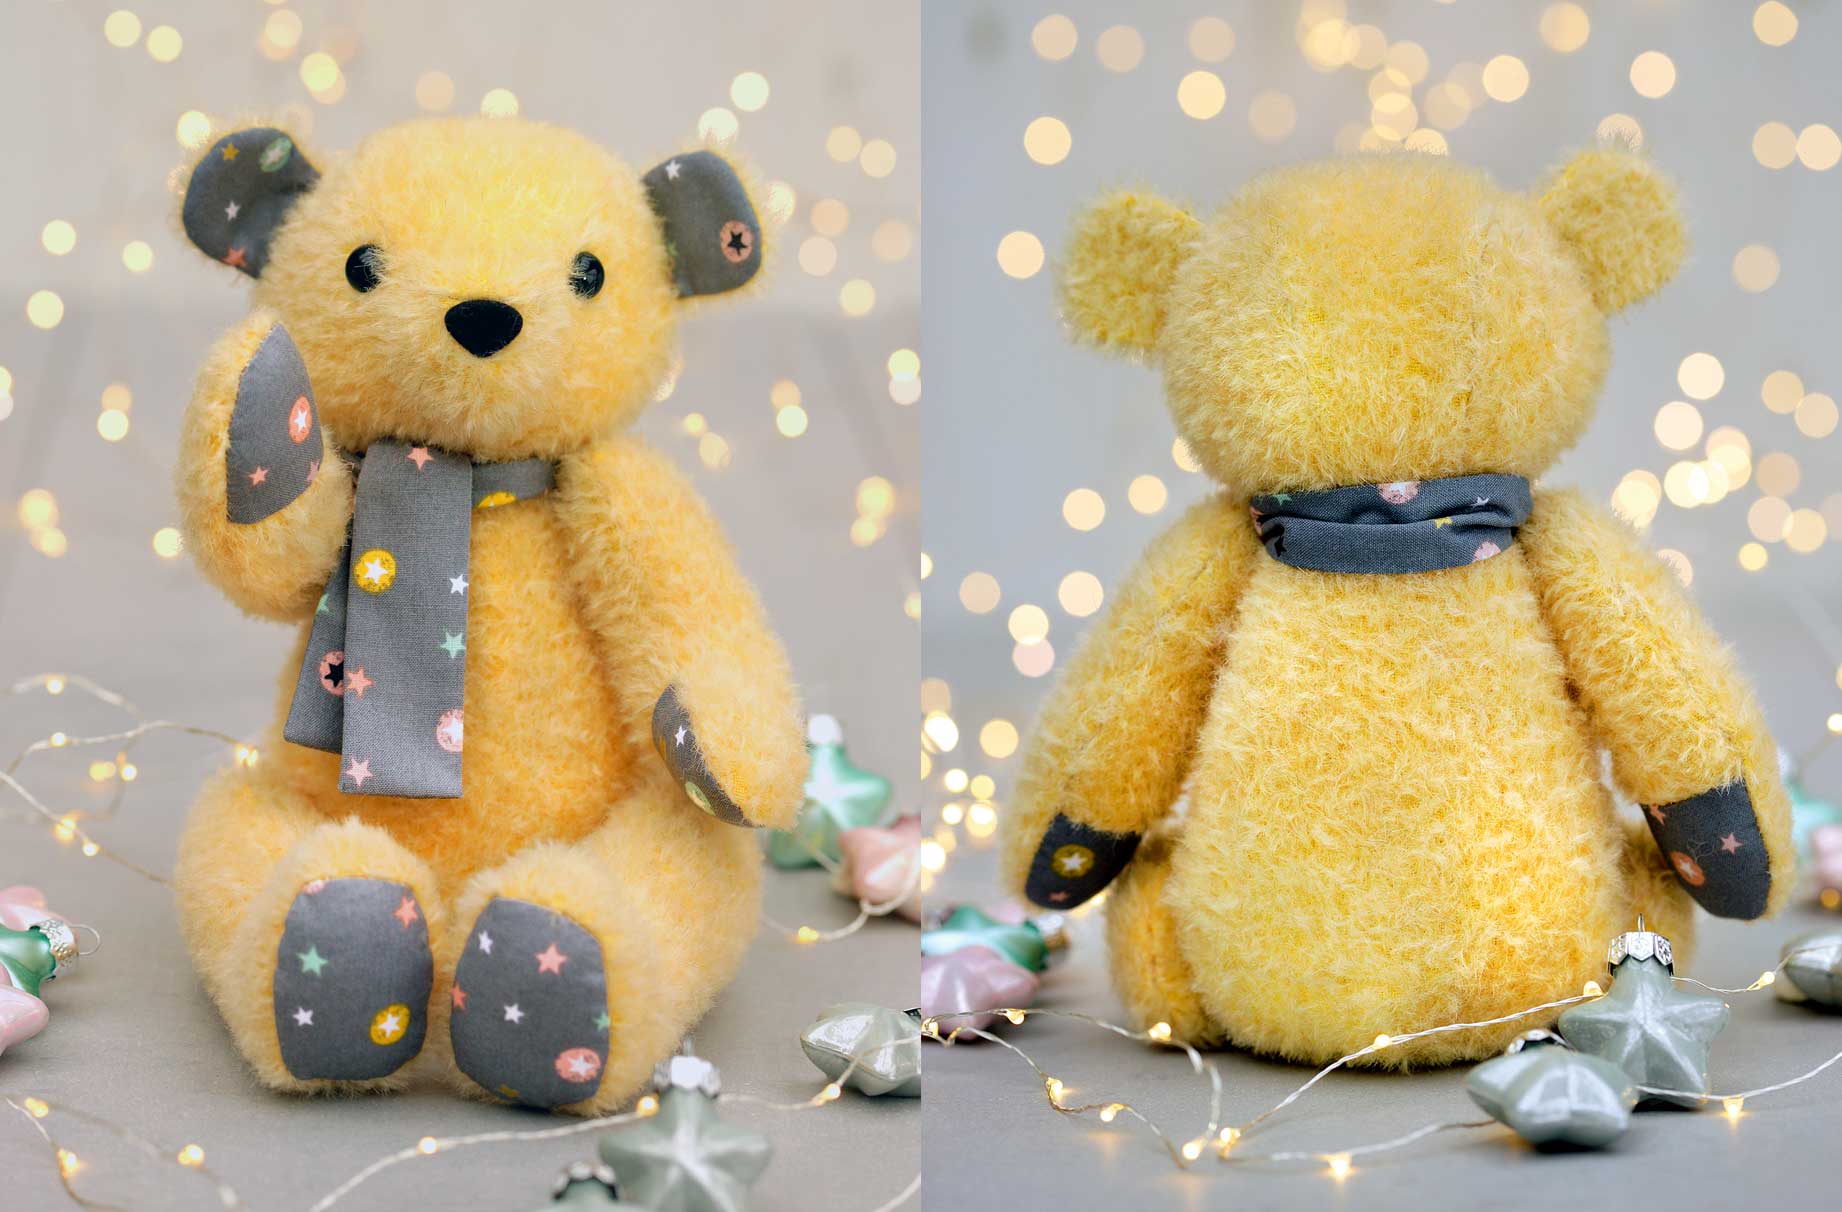
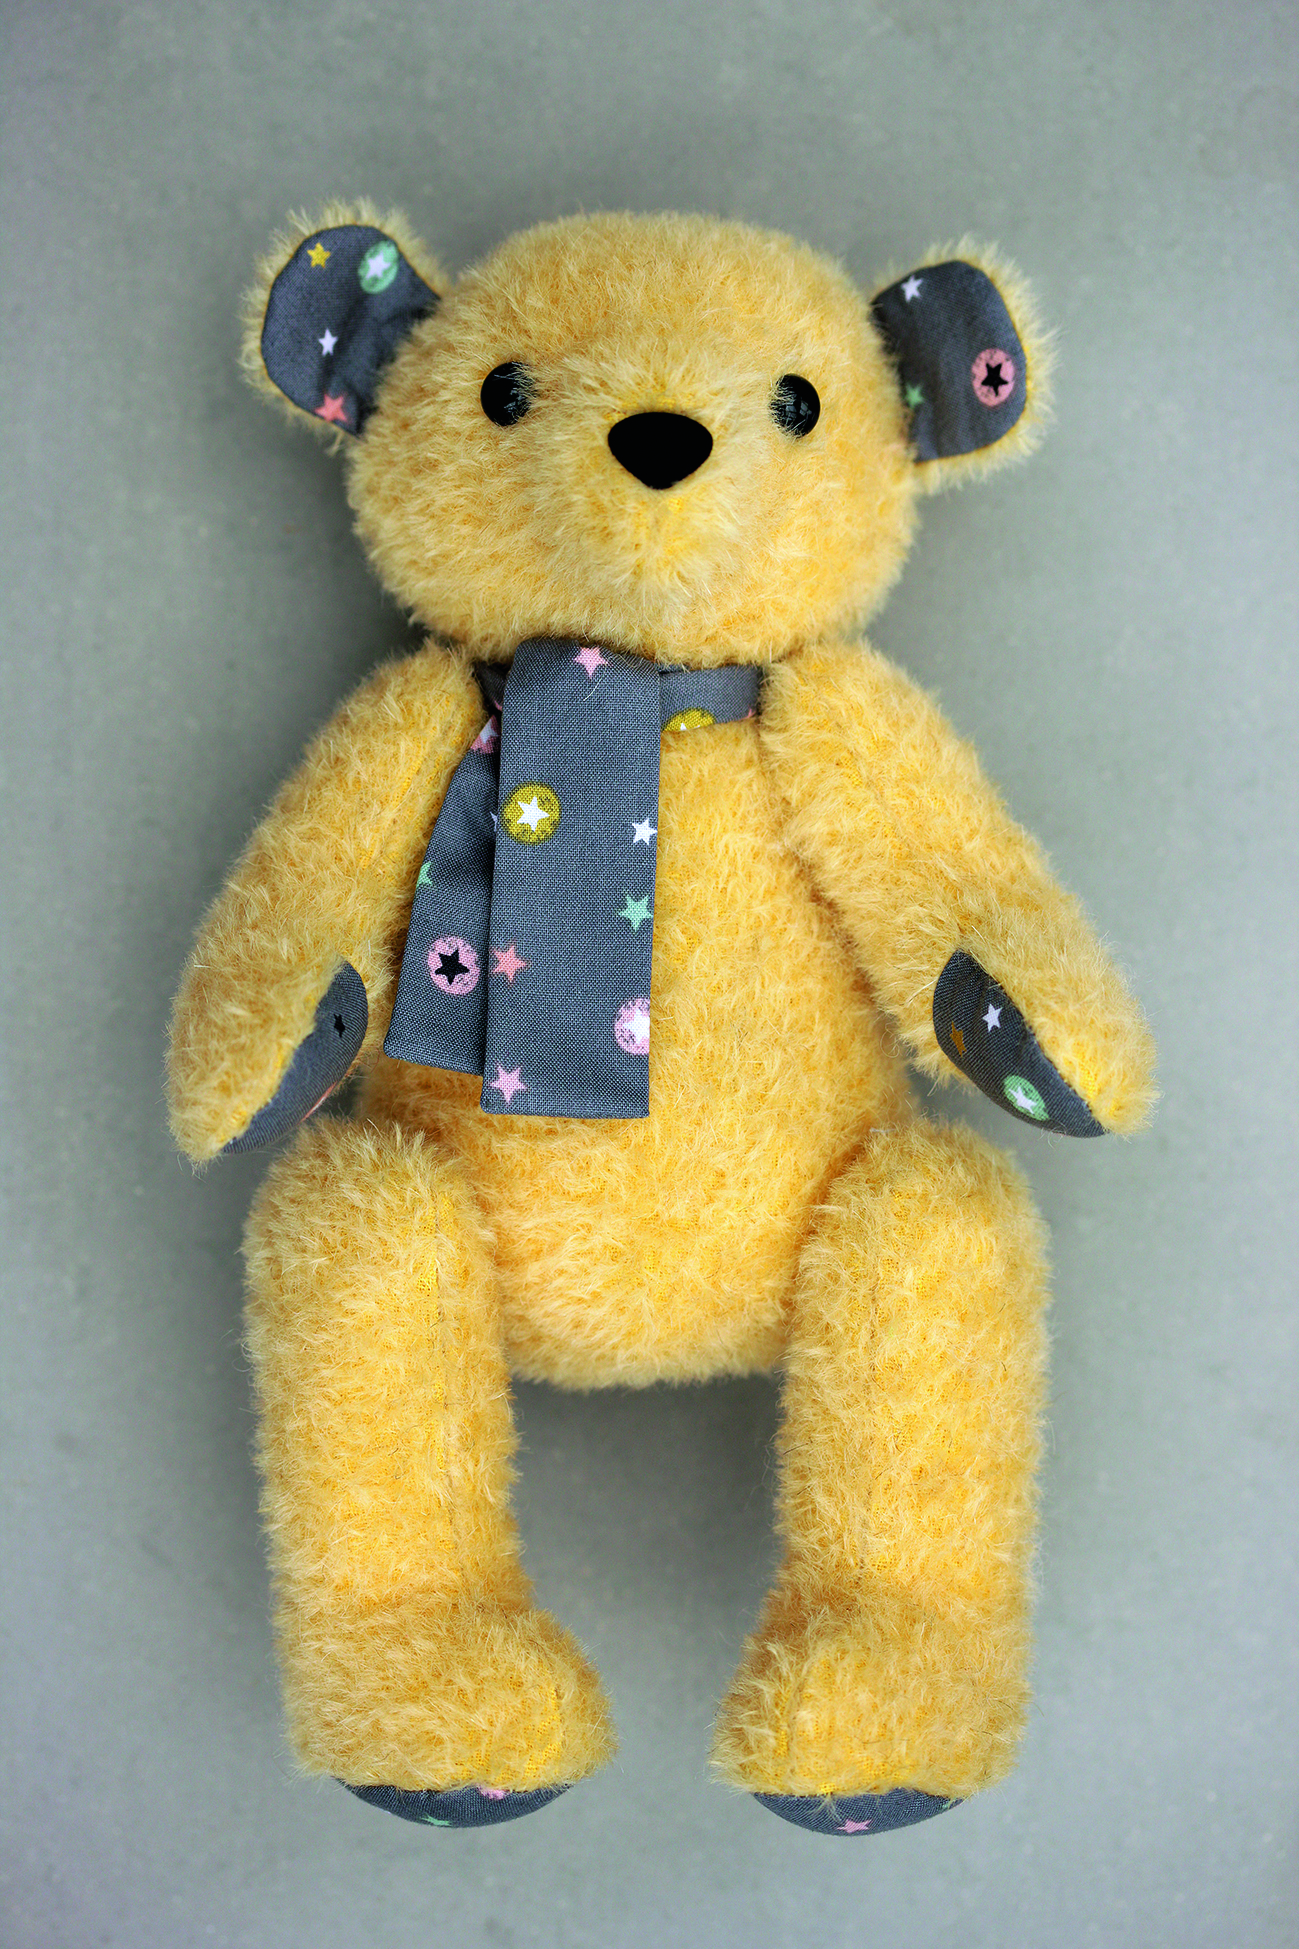
Take your sewing skills to the next level by learning how to sew this adorable teddy bear.
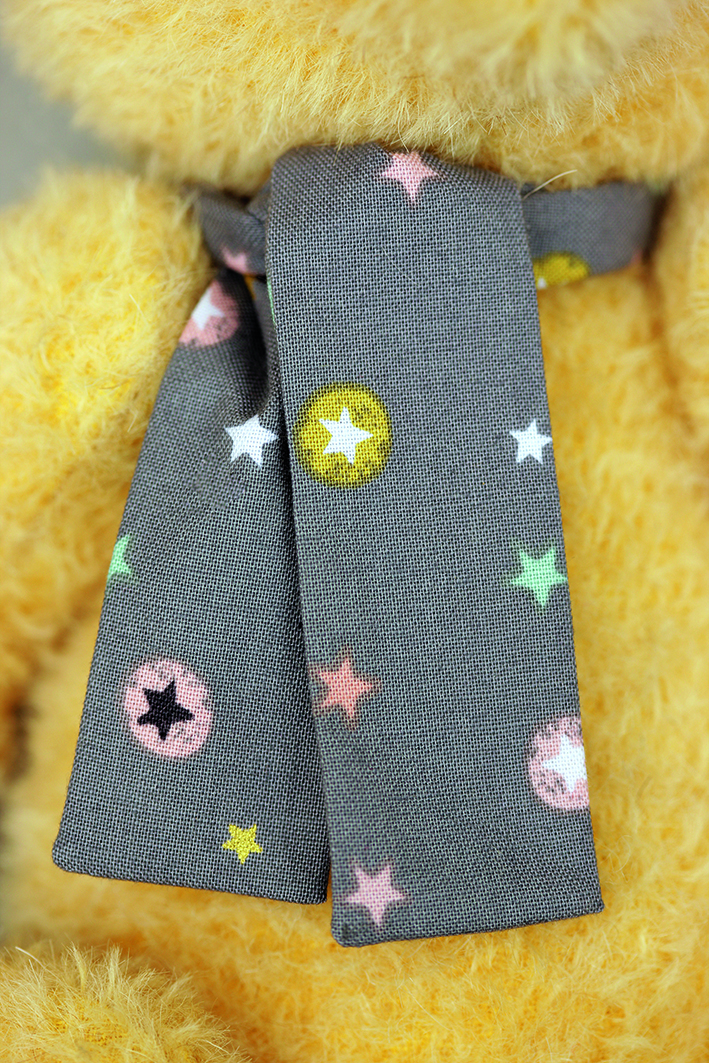
With a charming star print scarf and matching pad prints, he's the perfect gift for any child or big kid.
Finished size: 15 x 30cm
To make your teddy bear, you will need:
- Access to a photocopier
- Tracing paper and pencil
- 50 x 70cm rectangle of 7mm pile fur fabric
- 50 x 30cm rectangle of patterned cotton fabric
- 20 x 15cm rectangle of lightweight fusible interfacing
- One 18mm black flock nose
- Two 12mm black safety eyes
- Four 2.5cm plastic toy joints
- Matching sewing threads
- Toy filling
Making paper patterns
Download and print the Teddy bear templates(100% on A4 paper)
Trace the patterns on to tracing paper, placing the gusset and body on folded tracing paper, matching the broken lines to the fold and making a separate pattern for the inner arm. Mark the arrows, notches, crosses and dots. Cut out the patterns and open out flat.
Cutting out
Note: Cut the fur fabric with the pile lying in the direction of the arrows. For accuracy, cut the fur pieces singly.
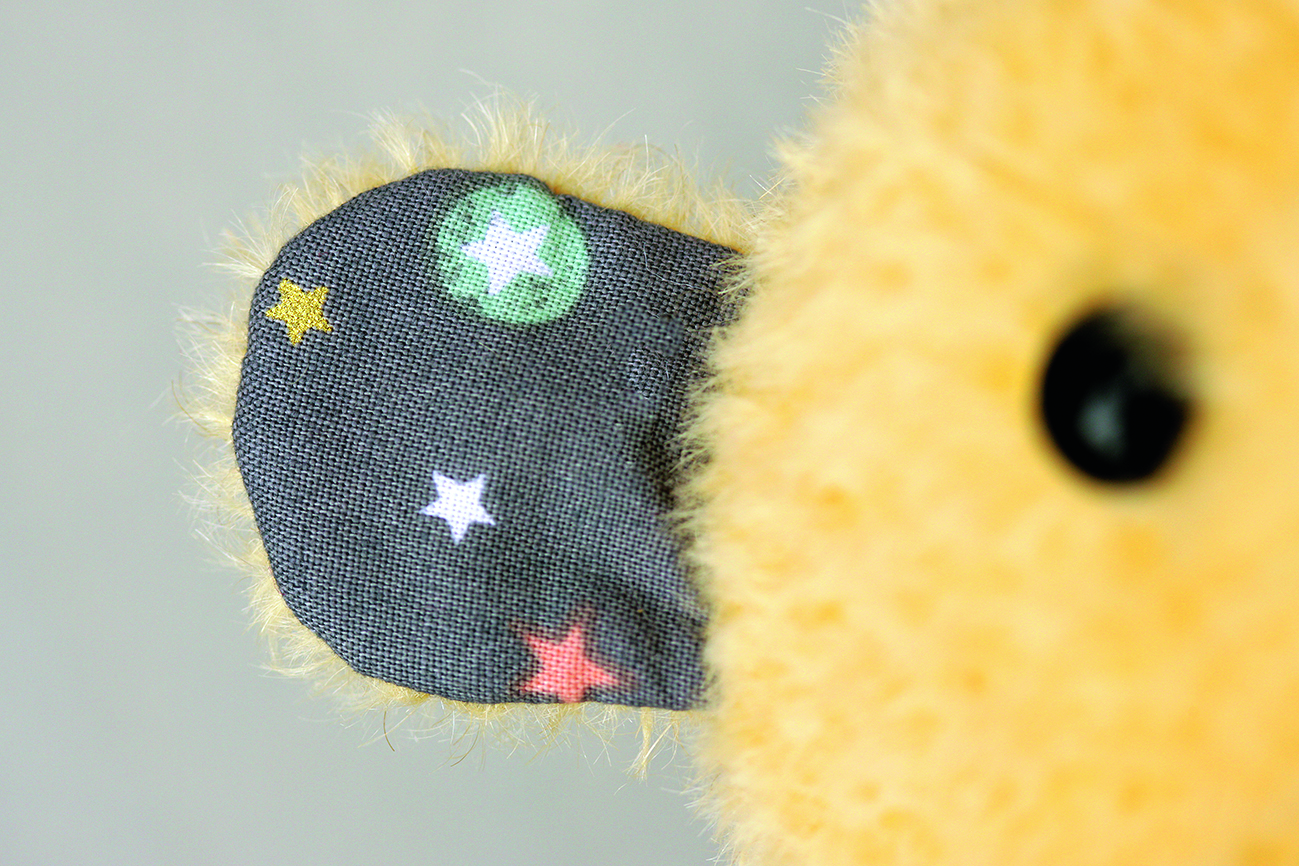
Cut one pair of ears, front heads, back heads, bodies, outer arms and inner arms, cut one gusset and two pairs of legs from fur fabric. Cut one 42 x 7.5cm rectangle for the scarf from patterned fabric. Press fusible interfacing to the remaining patterned fabric. Cut one pair of ears, paws and foot pads from the interfaced fabric. Snip the notches and mark the darts, crosses and dots on the wrong side of the pieces with a pencil.
Parenting advice, hot topics, best buys and family finance tips delivered straight to your inbox.
Making the bear
Note: Take a 6mm seam allowance. Join pieces with right sides together and edges level, matching notches and dots.
1. Pin each fur ear to a patterned ear. Stitch the outer edge, leaving the notched edge open. Snip the curves then turn right side out. With the fur sides facing up, pin and tack each ear to the right side of the front heads matching A.
2. Stitch the notched edges of the front and back heads together, matching A and B. Snip the curves and press the seams open. Stitch the front heads together C-D, leaving a gap between the crosses for the nose. Snip the curves and press the seam open.
3. Pin the gusset to the back and front heads, carefully snip the seam allowance of the front head between E-C-E so the fabric lays flat. Stitch F-B-E-C-E-B-F. Snip the curves.
4. Insert the shank of the toy nose through the gap in the seam just below C. Making sure the widest edge of the nose is at the top, fix in place on the wrong side with its locking washer, pushing it down as far as it will go. Make a tiny hole at the eye crosses on the front heads. Insert the shanks of the eyes through the holes, fix in place in the same way as the nose. Turn the head right side out.
5. Stitch the darts on the bodies, press the darts open. Make a tiny hole at the joint crosses on one body, which will be the front. Stitch the notched edge of the bodies together, leaving a gap between the notches on one side. Snip the curves. Insert the head into the body, facing forward. Pin the neck edges together, backstitch by hand D-F-F-D-F-F-D. Turn the bear right side out by bringing the head out through the gap.
6. Stitch the paws to the inner arms, press the seams toward the paws. Make a tiny hole at the joint crosses on the inner arms and one pair of legs. Pin the inner arms and paws to the outer arms, stitch the outer edge, leaving a gap between the notches. Snip the curves.
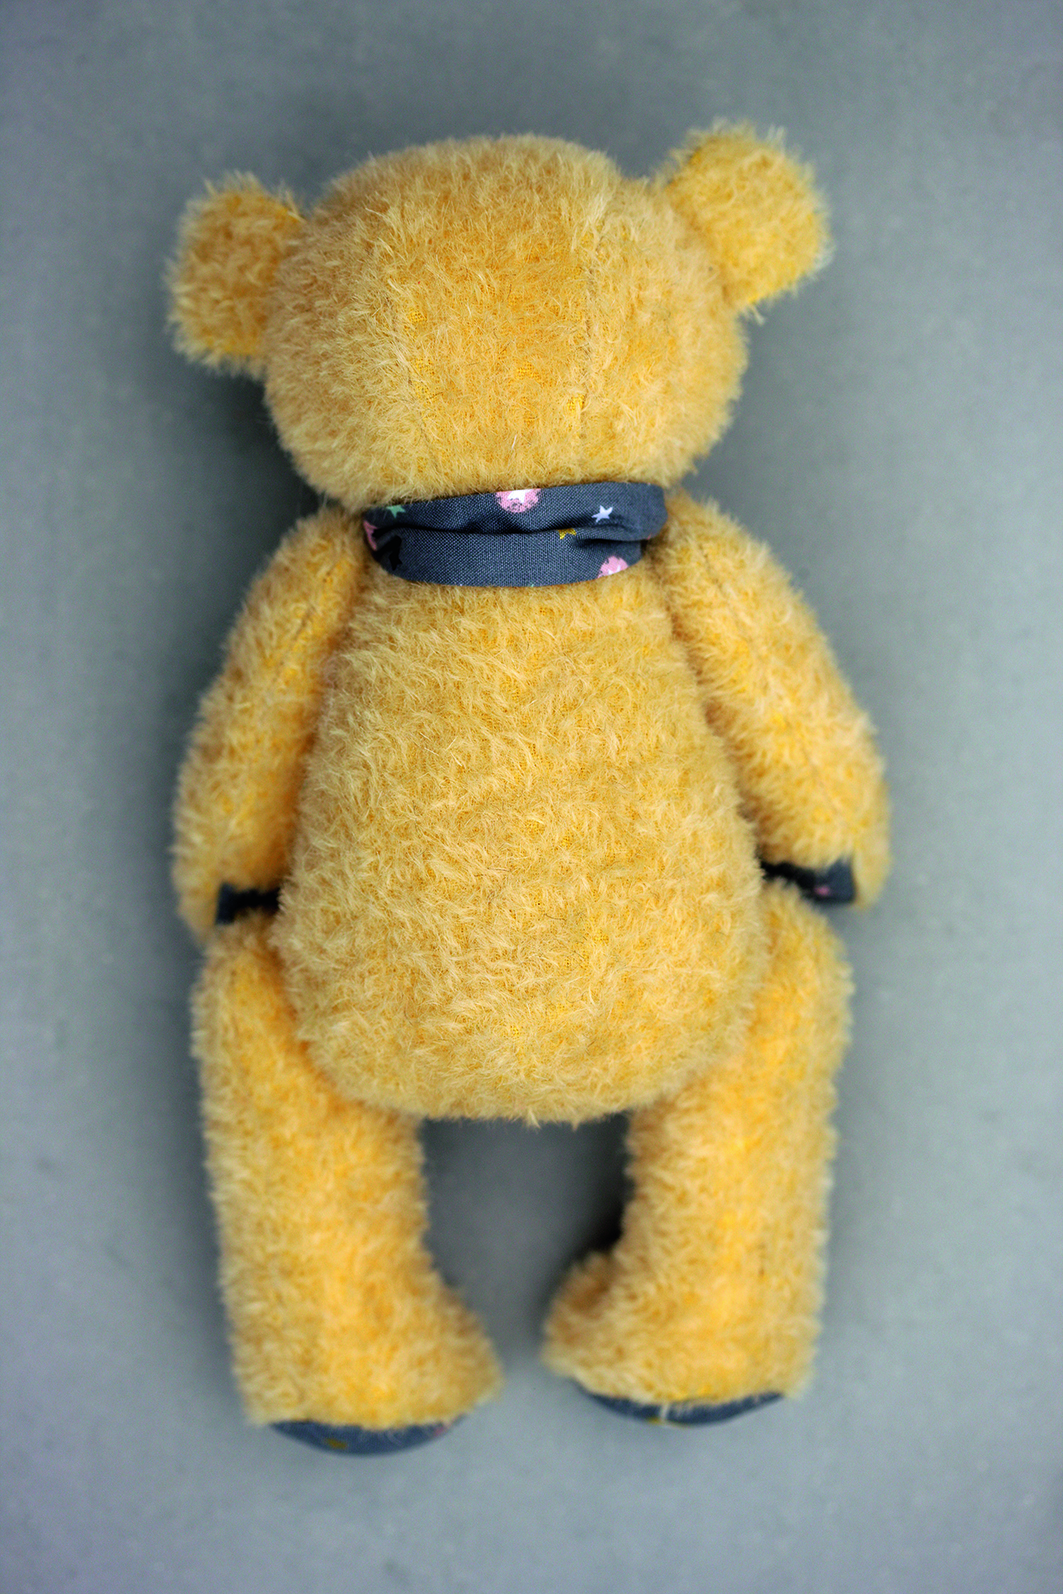
7. Pin each leg with the tiny hole to the other legs. stitch the unnotched edge of the legs G-H, leaving a gap on the back edge, snip the curves. Stitch the footpads to the legs G-H-G. Snip the curves. Turn the arms and legs right side out.
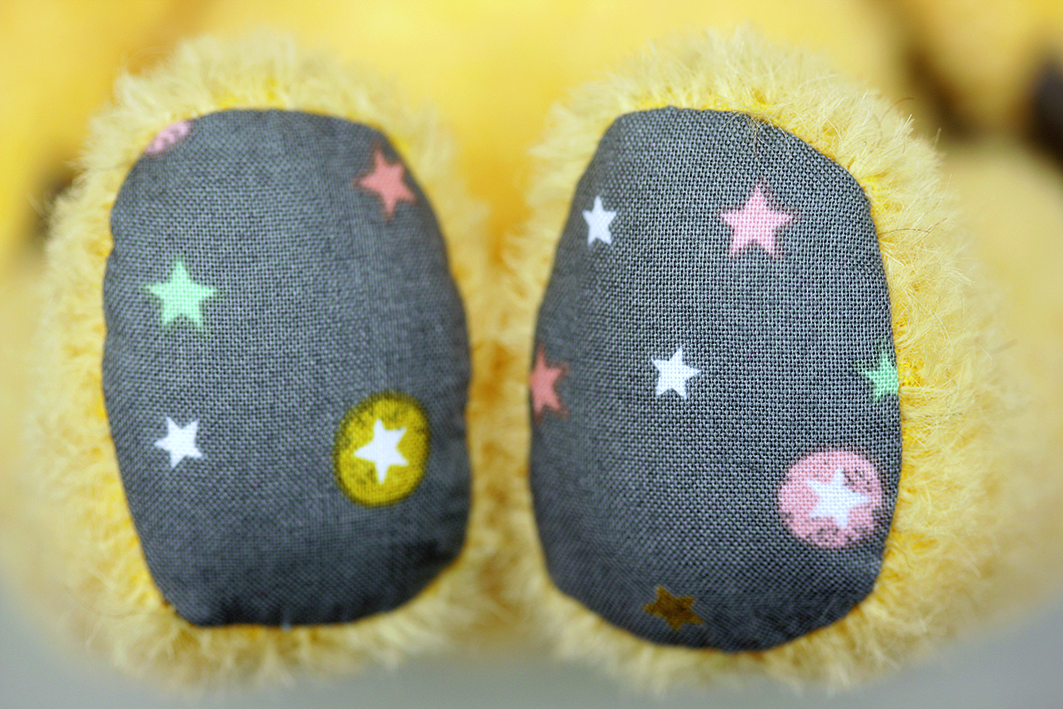
8. Slip a joint into each arm and leg and push the shank out through the holes. Stuff the arms and legs evenly with toy filling. Slipstitch gaps closed.
9. With the arms and legs facing forward, insert the joint stalks through the holes on the body. Fix in place inside the body with the locking washers, pushing them down as far as they will go. Stuff the head and body firmly and evenly with toy filling. Slipstitch the gap closed.
Making the scarf
Fold and pin the scarf lengthwise in half with right sides facing. Stitch the raw edges, leaving a gap in the long edge to turn through. Clip the corners. Turn right side out. Slipstitch the gap closed. Press the scarf, then wrap it around the bear’s neck, overlapping the ends. Catch the overlap securely to the bear with discreet stitches.

Esme is Future's resident craft expert, working across titles such as GoodTo, Woman&Home, Woman’s Weekly, Woman, Woman’s Own, Chat, Now, Pick Me Up and The Craft Network. Successfully turning her sewing hobby into a career, she's adept in a number of crafts, including sewing, papercraft, calligraphy, embroidery and printing.