How to temper chocolate

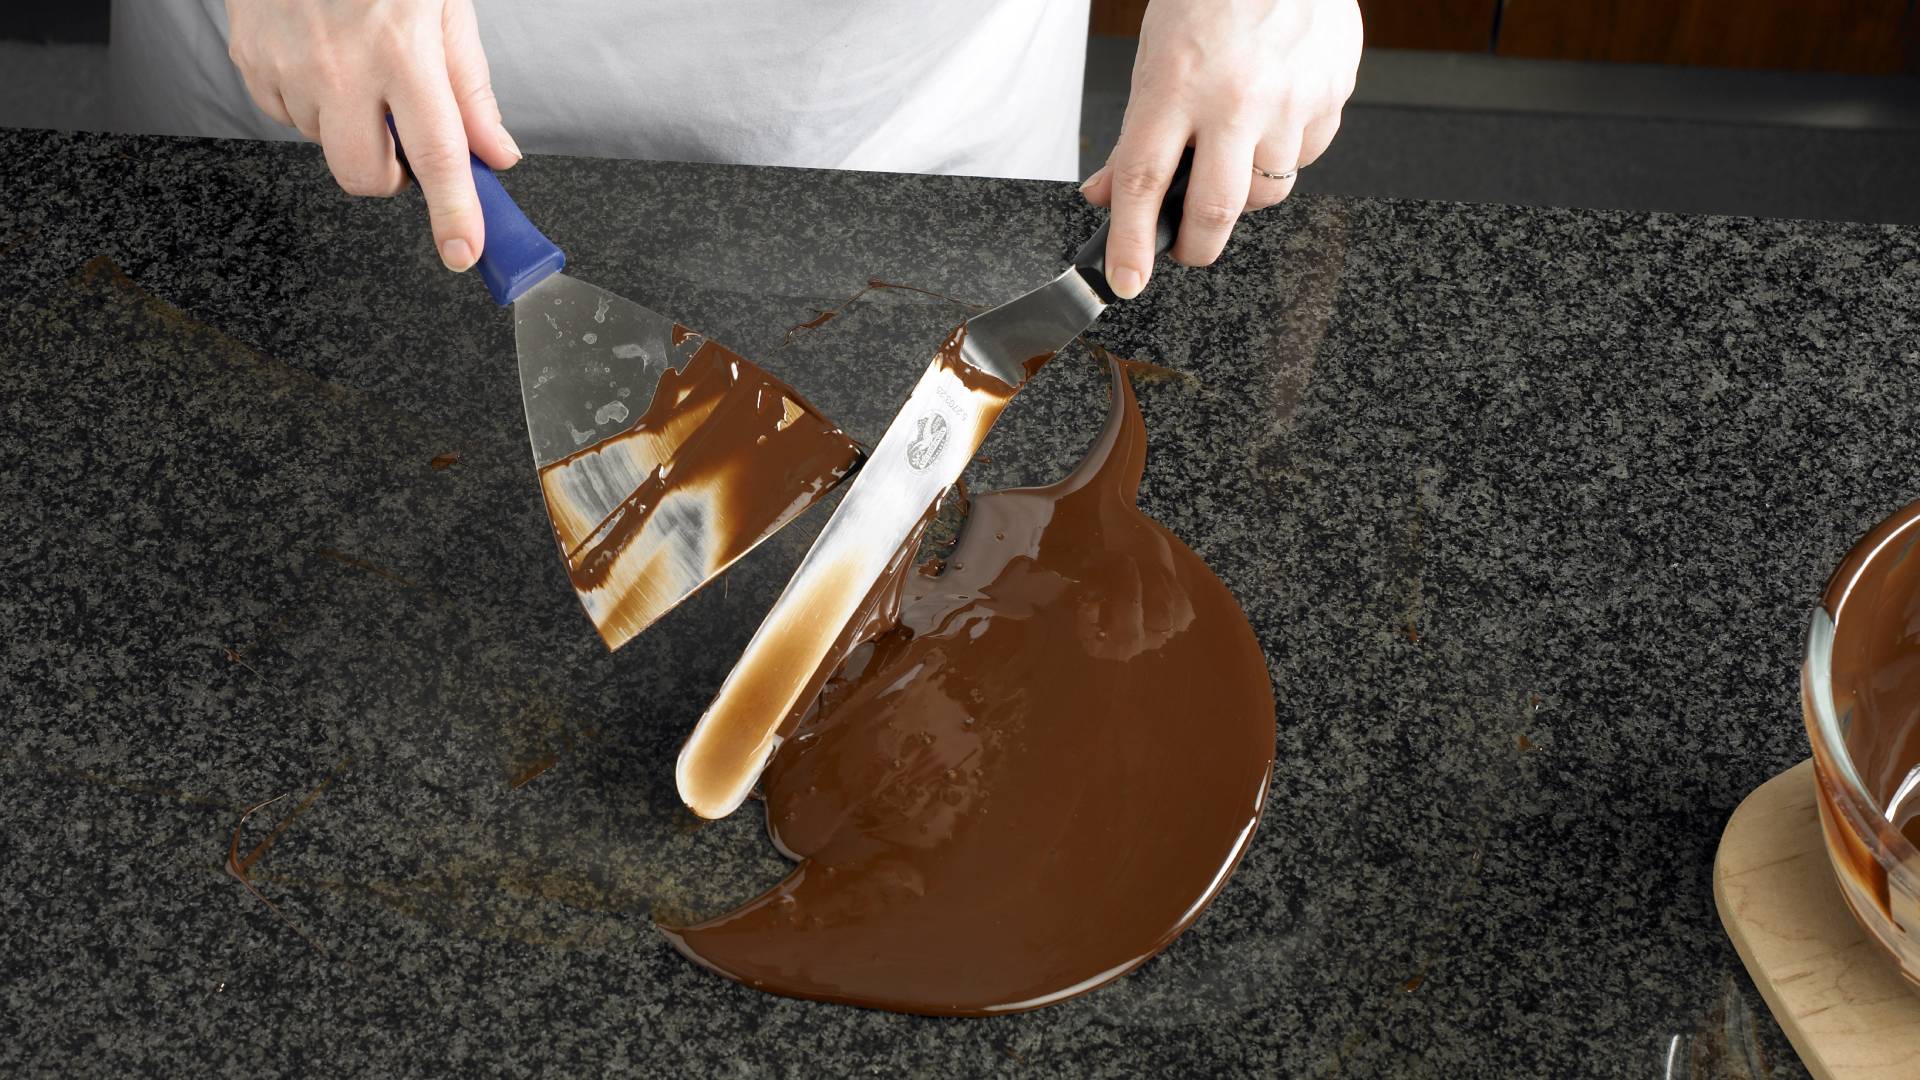
Learn how to temper chocolate, what equipment you need and recipes you can use the tempered chocolate in with our thorough guide.
Tempering chocolate is a useful skill for any baking enthusiast to master. Put simply, it is the process of slowly melting and then cooling chocolate to allow the cocoa butter inside to crystalise. The finished product is shiny and will snap nicely when broken rather than crumble.
You can use tempered chocolate to cover cakes, truffles, and fruit. If you’d like to make your own chocolate bars with things like nuts or honeycomb inside you should temper the chocolate for a shiny finish.
It’s important to use the best quality chocolate you can afford. Chocolate with a higher cocoa content often referred to as couverture, will temper more easily. You can temper any chocolate but the desired temperatures vary for white, milk, and dark chocolate.
When you buy chocolate from specialist suppliers it often comes in coin or disk form. This is useful as the chocolate melts evenly and quickly but you can use a bar. Ensure it is cut into equal-sized pieces before starting the process.
Preparing to temper chocolate Tempering chocolate How long does it take for tempered chocolate to set? Tempering chocolate in the microwave How to save seized chocolate What happens if you don’t temper chocolate? Recipes that use tempered chocolate
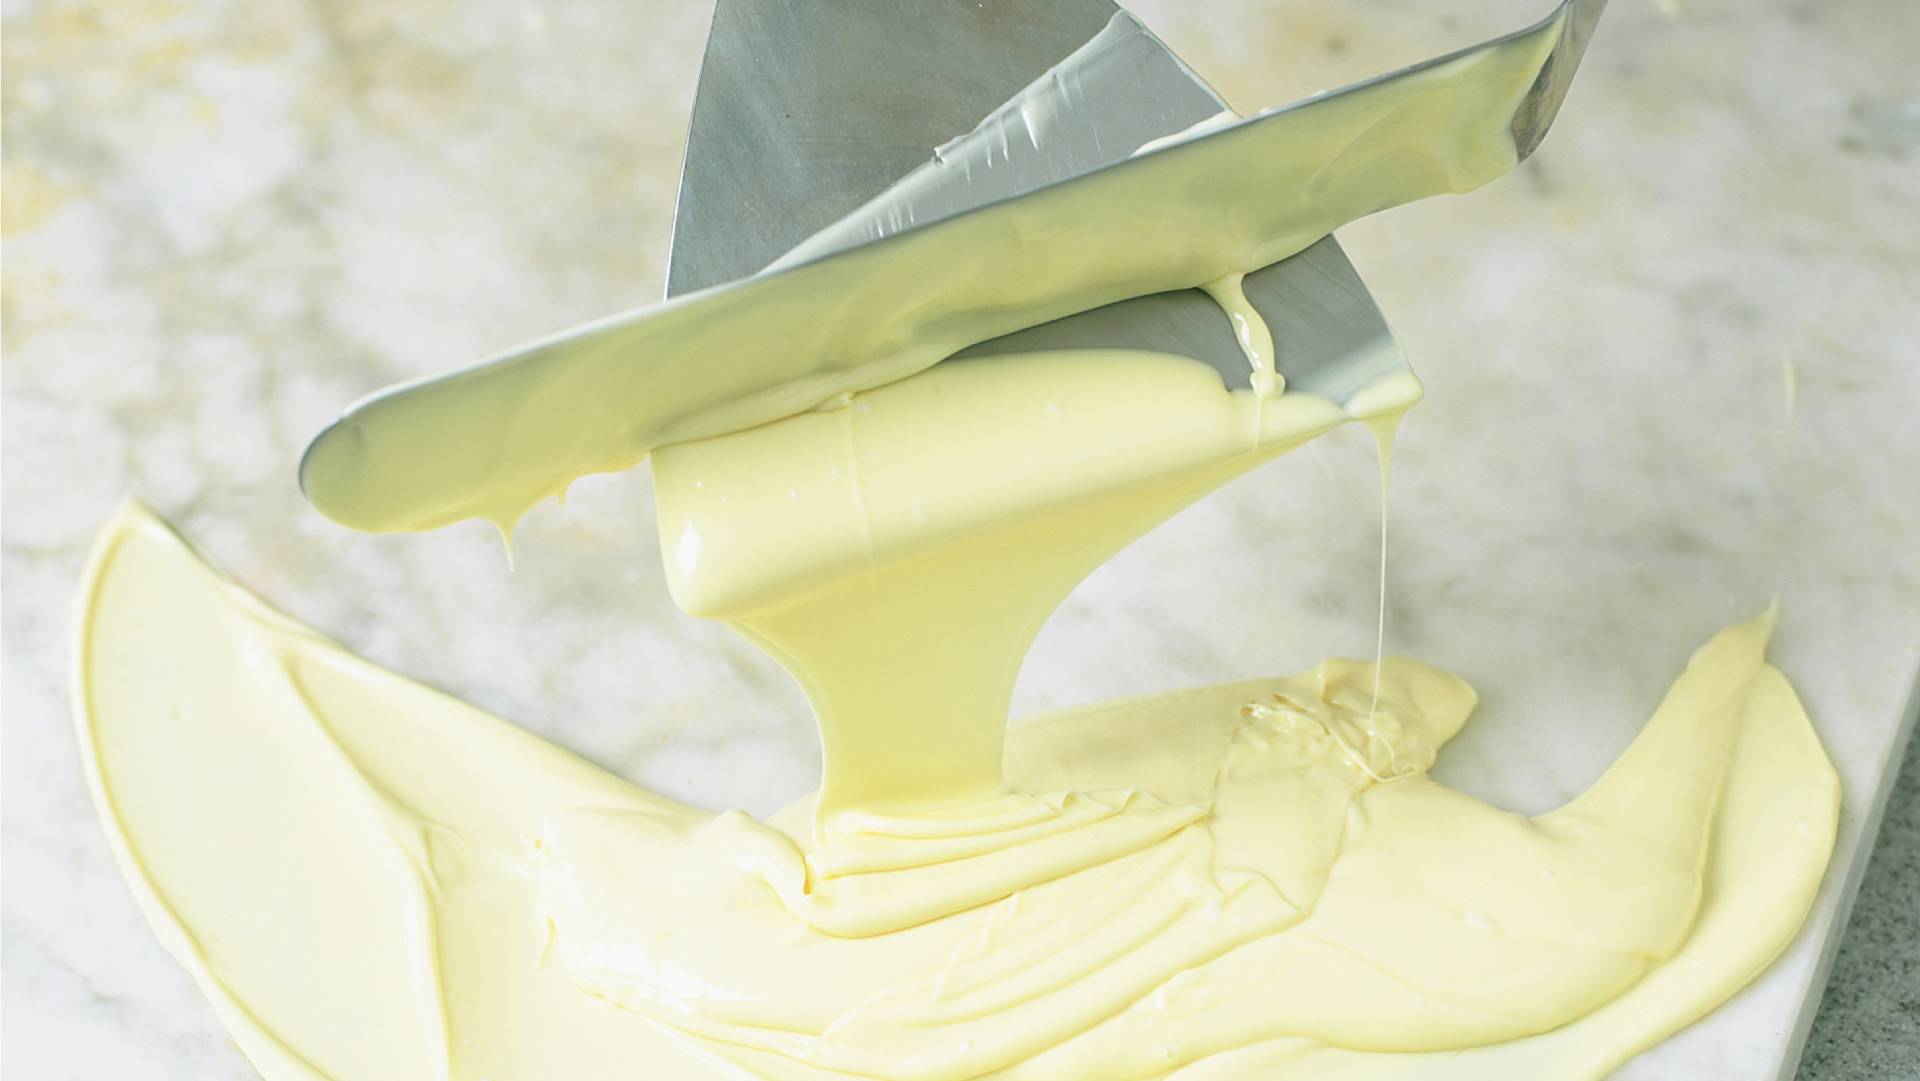
How to prepare to temper chocolate
Tempering chocolate requires a little patience and some specific equipment. We especially wouldn’t recommend trying to temper chocolate without a thermometer at the temperatures are really important and specific.
Parenting advice, hot topics, best buys and family finance tips delivered straight to your inbox.
You will need:
- Chocolate, if you’re not using discs cut or break the chocolate into even chunks
- A saucepan
- Glass or metal bowl that can fit over your saucepan to create a bain-marie
- A confectionary thermometer, we prefer a digital thermometer
- Palette knife
- Marble or granite slab or a large bowl of ice water
- Chocolate scraper, bread one would work fine and you could manage with just a palette knife
How to temper chocolate
Once you know how to temper chocolate successfully, you’ll want to make it all the time as it’s really satisfying to handle. Before you embark on this specialist skill you might want to ensure you’re comfortable with how to melt chocolate.
The type of chocolate you are using will dictate the temperatures you need to achieve. Take a note of the below and then proceed with the method.
Dark
- Warming temperature 50C
- Cooling temperature 27C
- Re-warming temperature 31C-32C
Milk
- Warming temperature 45C
- Cooling temperature 25C
- Re-warming temperature 29C-30C
White
- Warming temperature 40C
- Cooling temperature 24C
- Re-warming temperature 27-28C
Ingredients:
- Chocolate of your choice
How to temper chocolate: Step 1
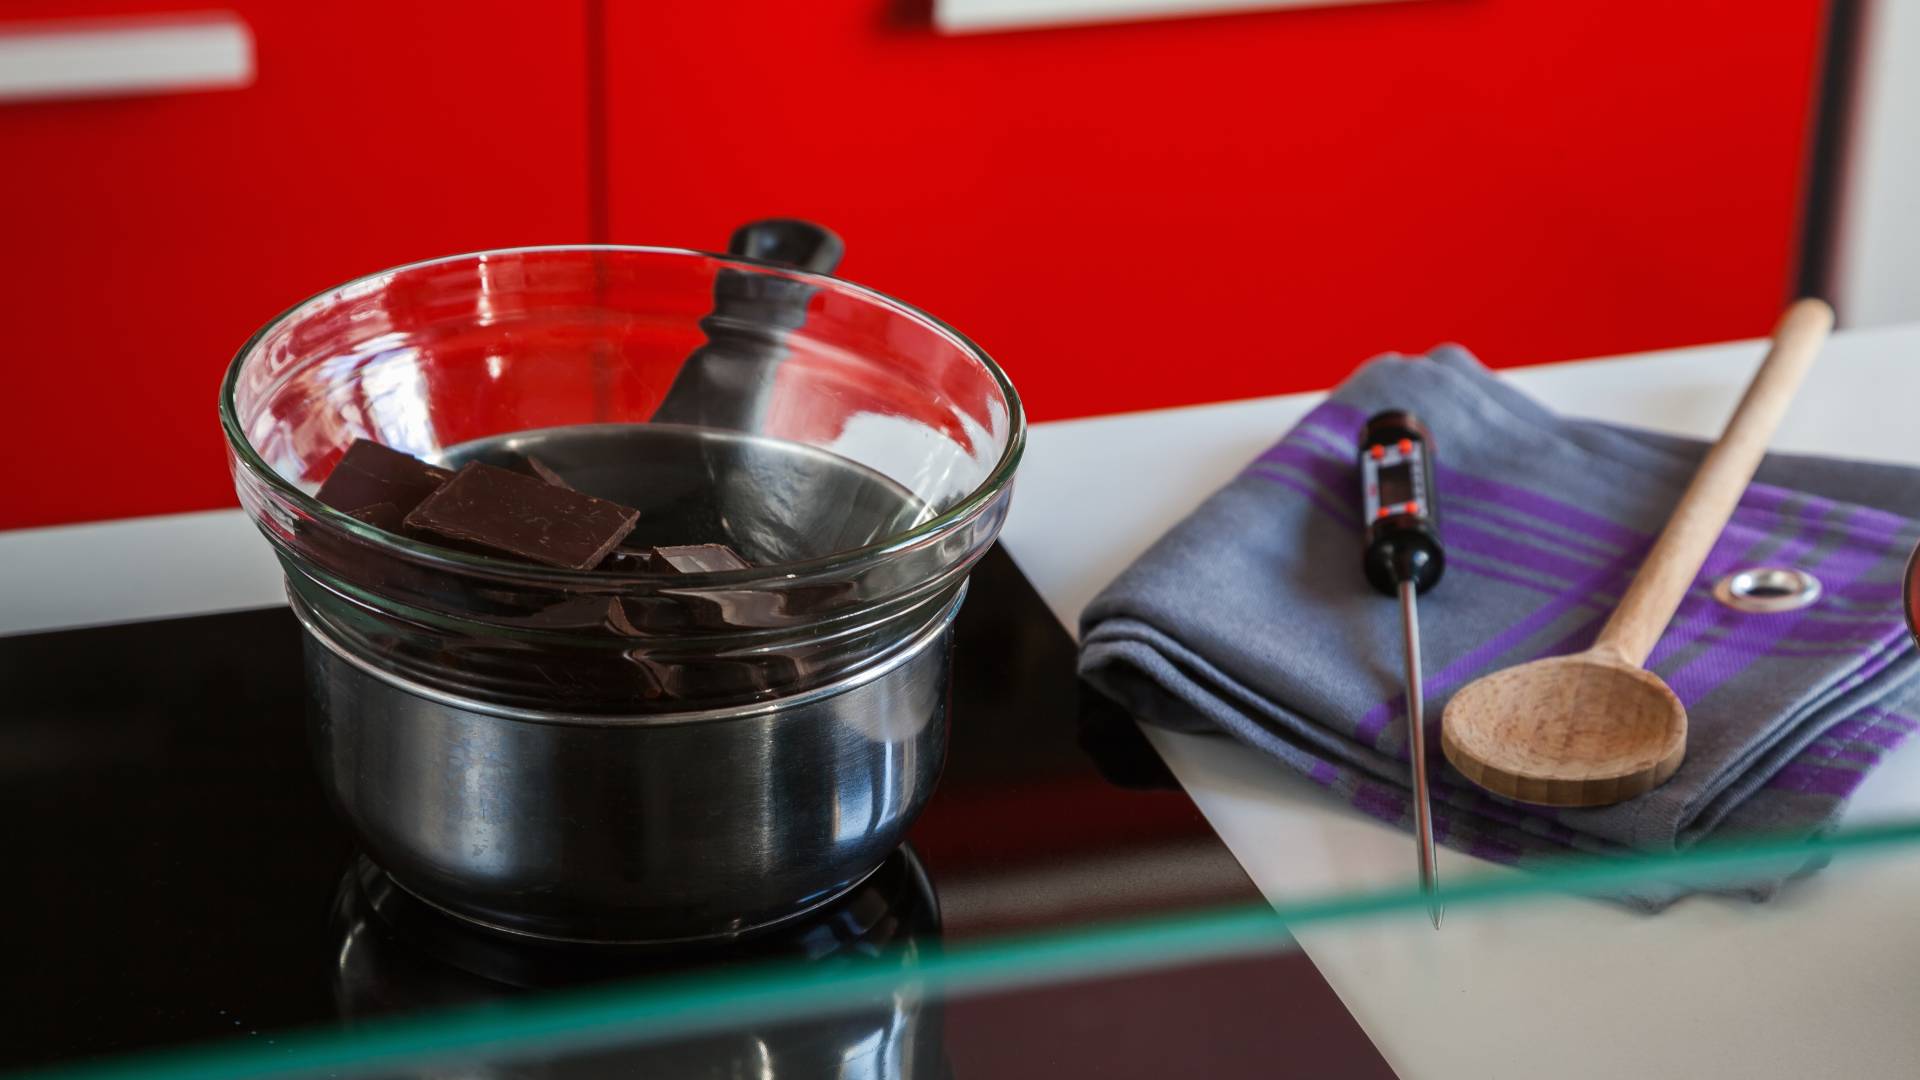
Bring a saucepan of water to the boil then reduce to a simmer and place your glass or metal bowl on top. Make sure the bottom of the bowl does not touch the water. Add your chocolate to the bowl and melt to the desired warming temperature.
How to temper chocolate: Step 2
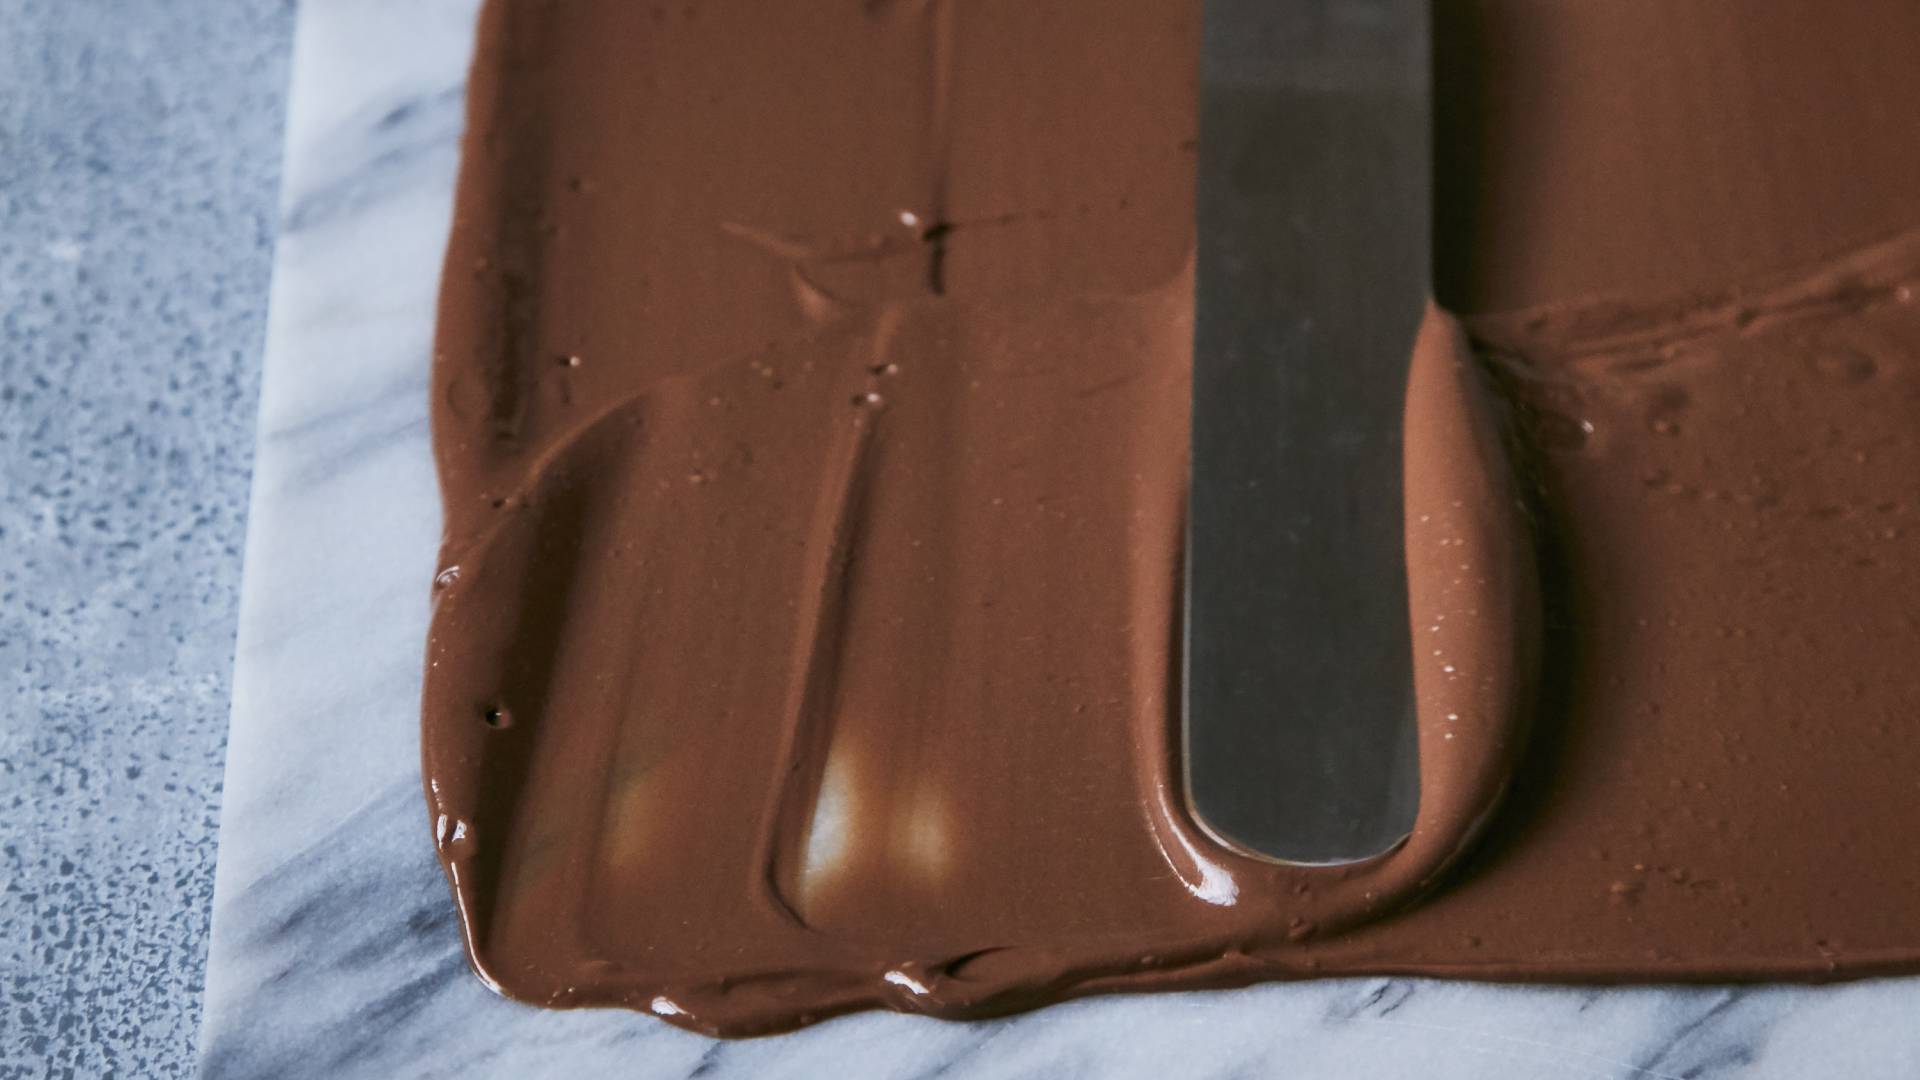
If you have a granite or marble slab. Pour two-thirds of the melted chocolate onto it and spread until it reaches the cooling temp. Alternatively, place the bowl of melted chocolate into the bowl of ice water but be very careful not to get any water into the melted chocolate mix. Stir until the desired cooling temperature is met.
How to temper chocolate: Step 3
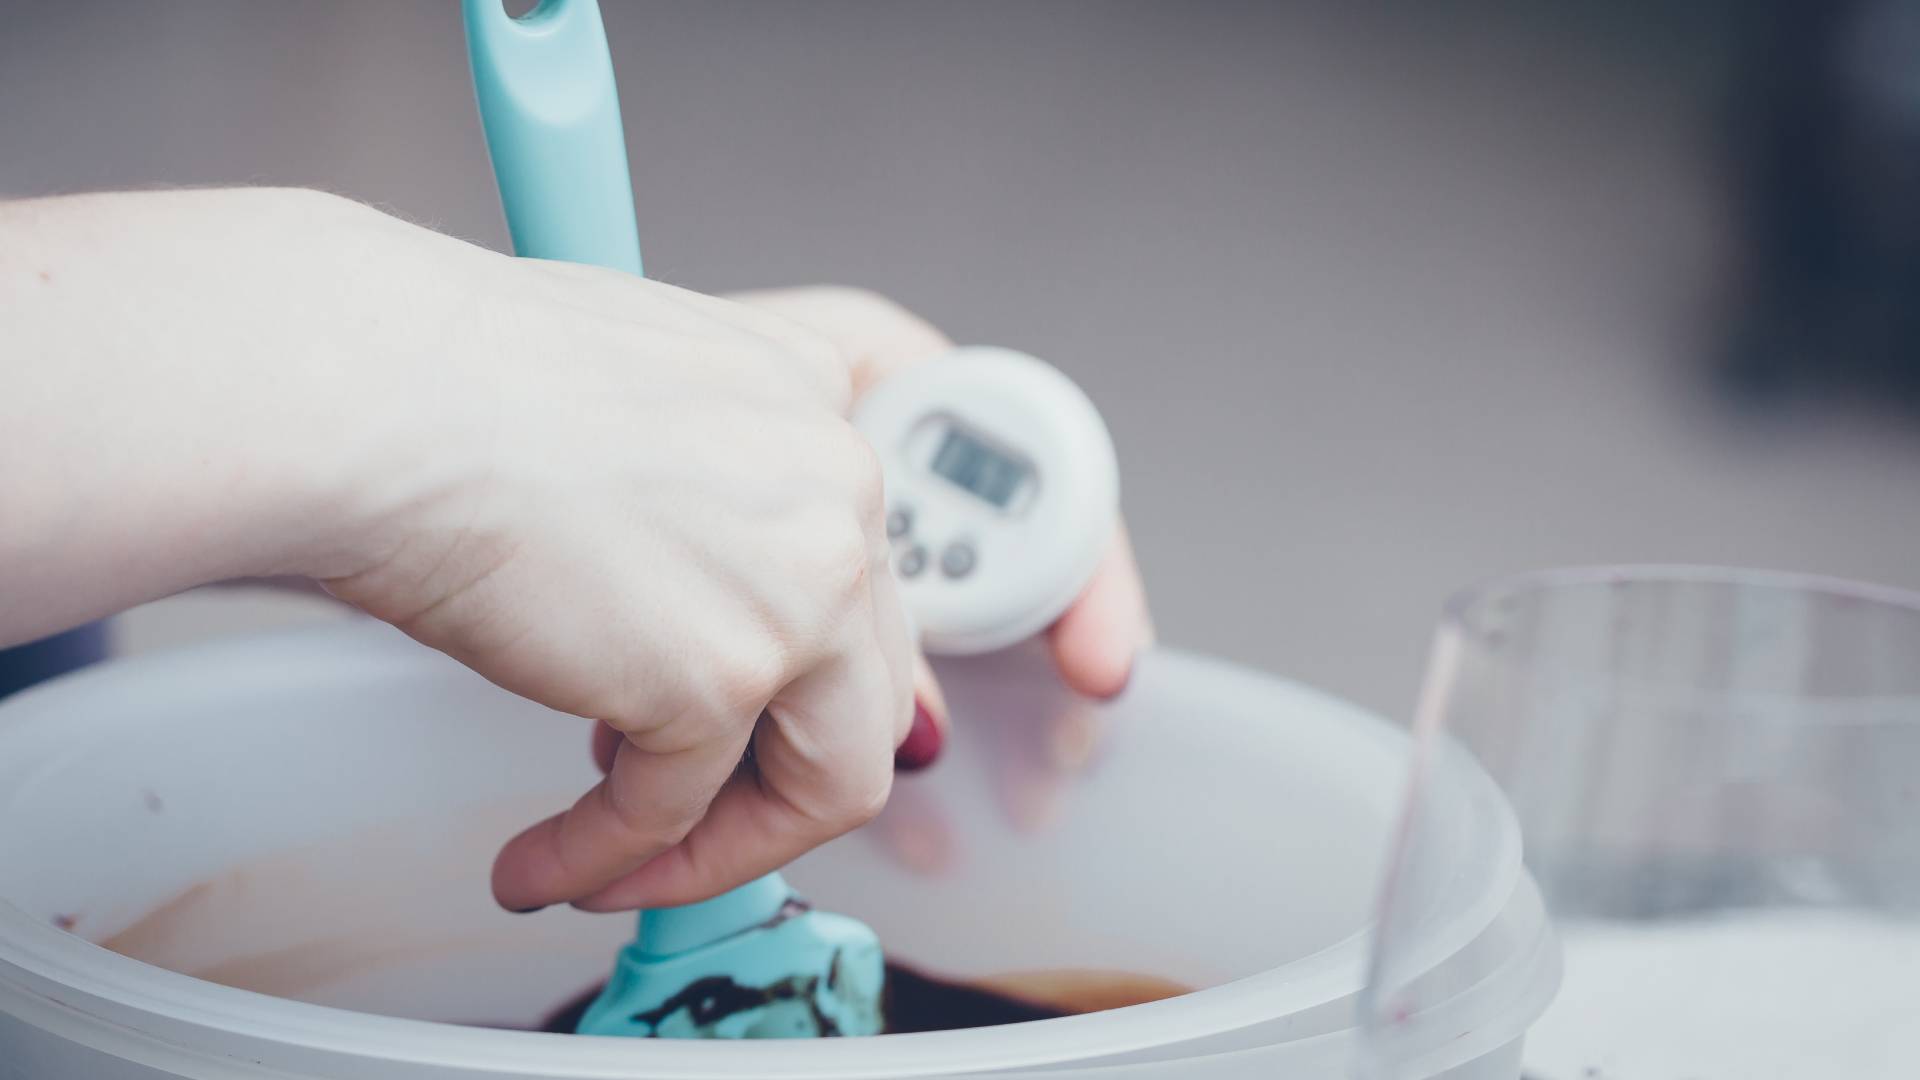
Scrape the chocolate back into the bowl with the remaining chocolate and bring it up to the desired re-warming temperature. If using the bowl method, place the bowl back over the bain-marie.
How to temper chocolate: Step 4
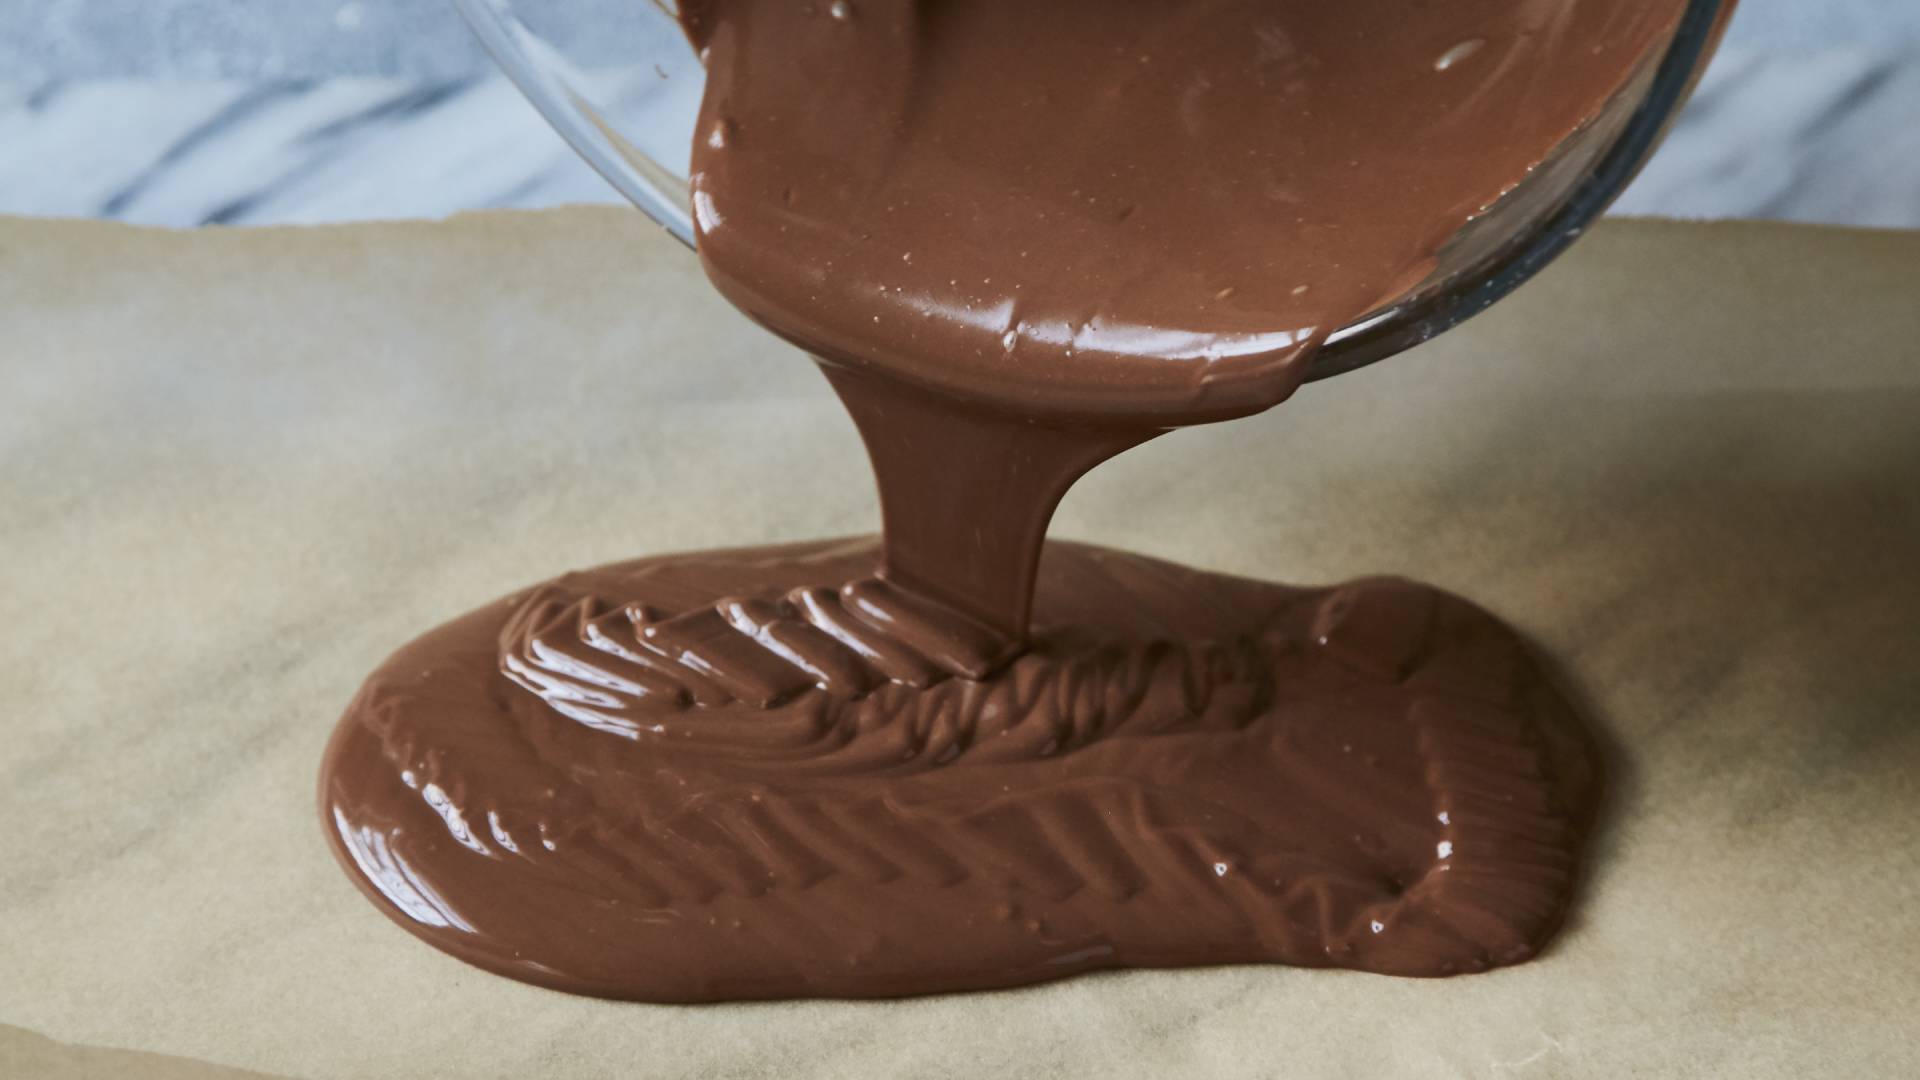
Once the desired temperature has been reached the chocolate is tempered and ready to use. You could spread it over a prepared baking sheet and sprinkle it with toppings to make your own slab or use it as your recipe requires.
How long does it take for tempered chocolate to set?
The chocolate should set in around 5 mins if it has been heated to the correct temperatures. It’s important not to put the chocolate in the fridge to quicken the process as it will put moisture into the mix and could cause it to stiffen.
The thickness of the chocolate will play a role in the time it takes too, our best advice is to be patient but if after 10mins it’s not set, you may need to re-start the process.
How to temper chocolate in the microwave
Deputy Food Editor Rose Fooks explains: ‘You can use a microwave to melt the chocolate faster before tempering it on marble. But then the second time it's easiest to warm through using a bain-marie.’
Rose also says that it’s important to thoroughly mix the chocolate between bursts in the microwave to evenly distribute the heat. This method is better when working with large quantities of chocolate, otherwise, the chocolate gets too hot too quickly.
How to save seized chocolate
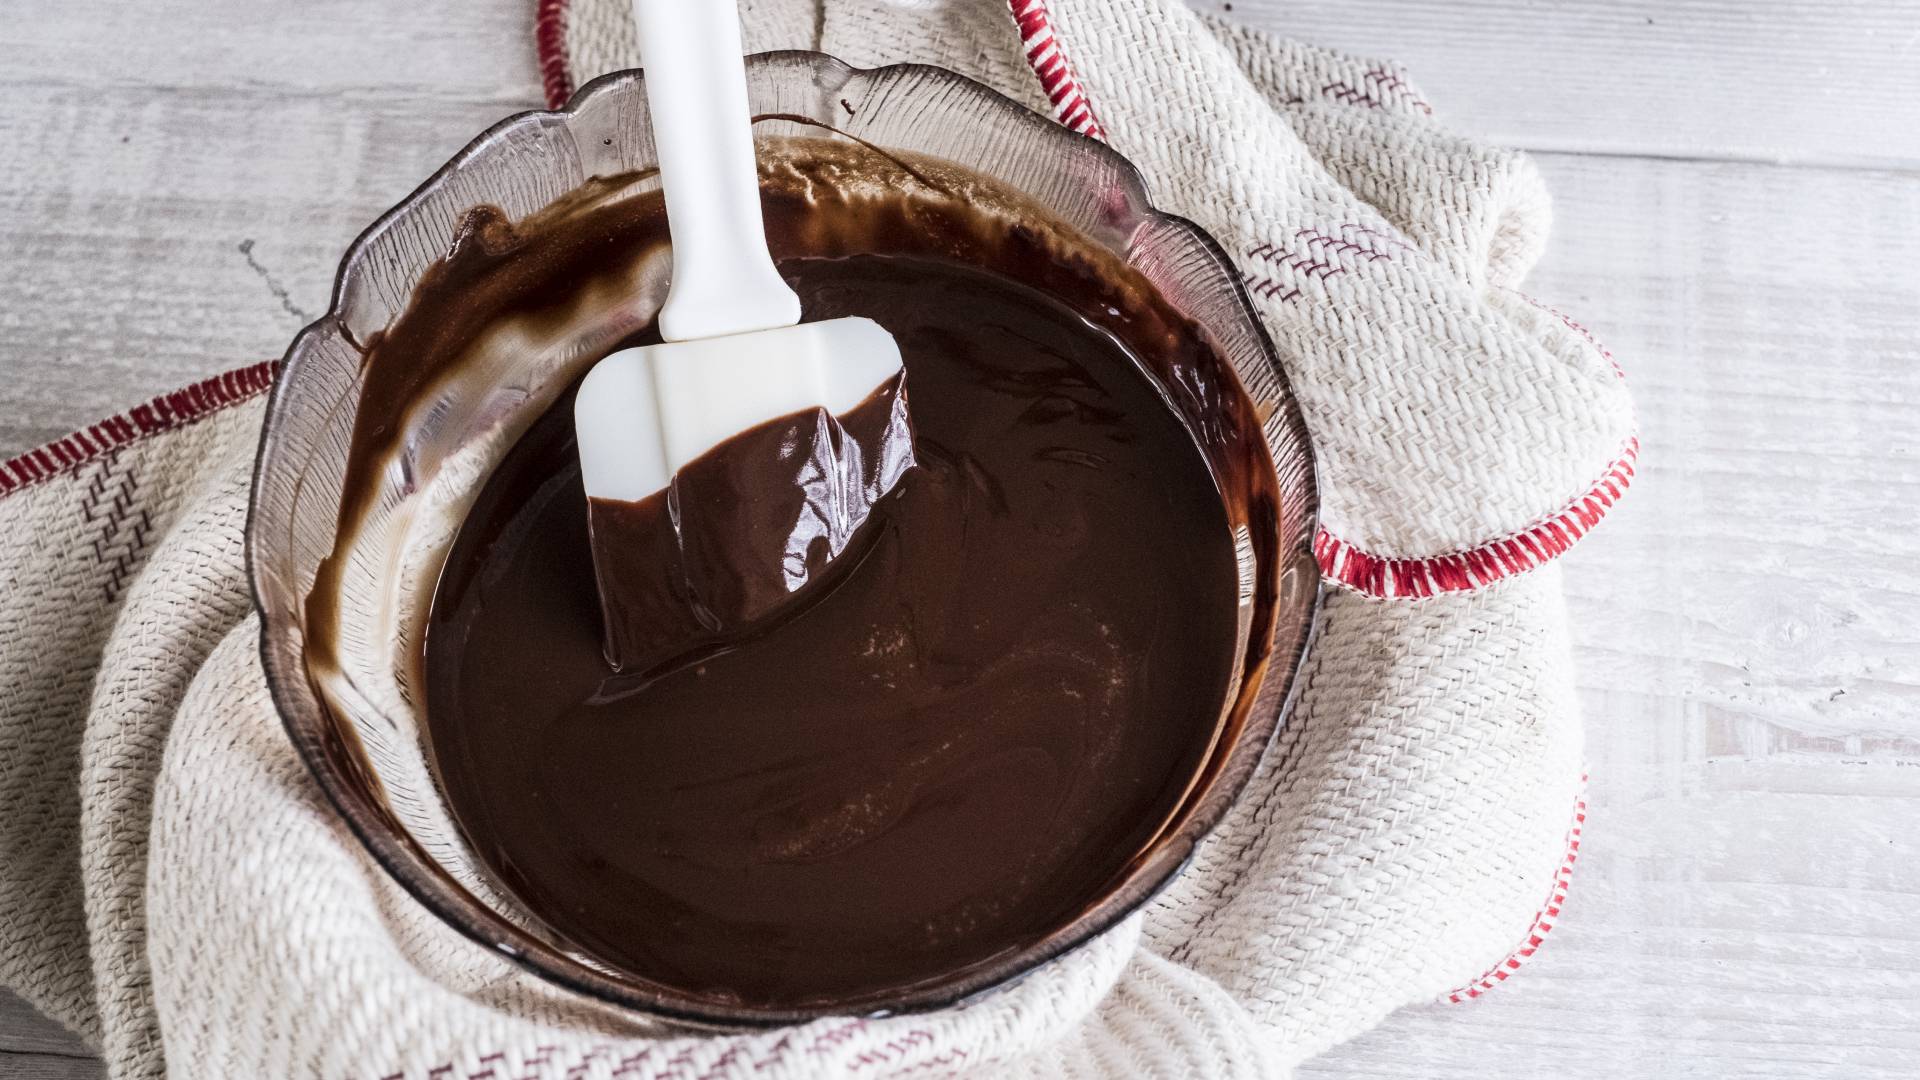
If your chocolate has seized it means that moisture has got into the mixture and it has started to stiffen or split. Rose explains that it’s not possible to save this chocolate if you need it to set and become hard again but it has other uses.
Try adding a little more chocolate to the mix or some fat in the form of cream or vegetable oil and it should come together again. You can also try 1tsp boiling water or Nigella Lawson suggests whisking in a knob of butter, off the heat, to bring the chocolate together again. You can use this chocolate to make brownies or to make a chocolate glaze for a cake or tart.
If your chocolate hasn’t set and tempered properly, you can start from the beginning. If the chocolate becomes lumpy when you are tempering, you can just re-heat it to the initial warming temperature and start again.
What happens if you don’t temper chocolate?
Chocolate that is not tempered properly will take a long time to set and the surface will look cloudy rather than shiny. It will also not contract as it sets, making it difficult to release the chocolate from your mould. This is a crucial step when making your own Easter eggs or homemade chocolates.
Recipes that use tempered chocolate
Chocolate ruffle cake
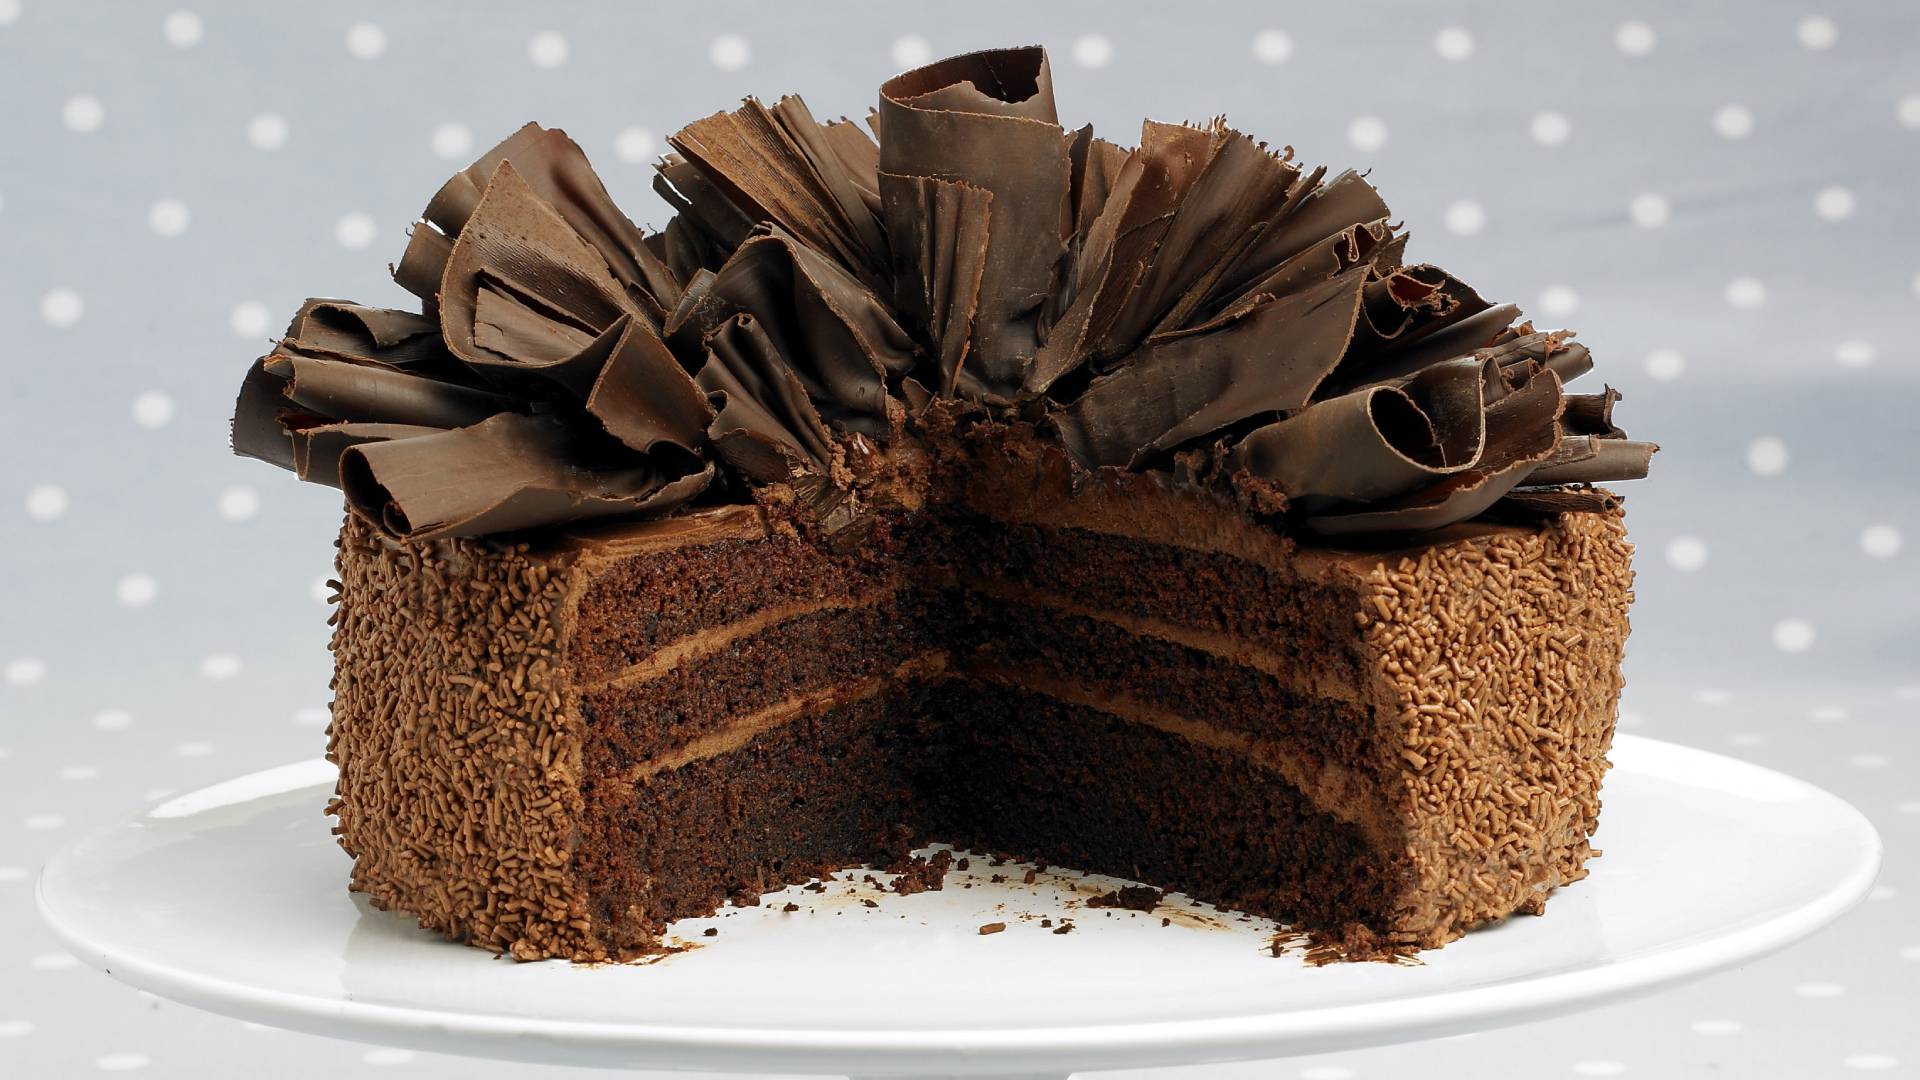
The perfect celebration cake for any chocolate-lover, this recipe features a chocolate sponge, ganache filling, and impressive decorative topping.
Get the recipe: Chocolate ruffle cake
Martha Collison’s peanut butter balls
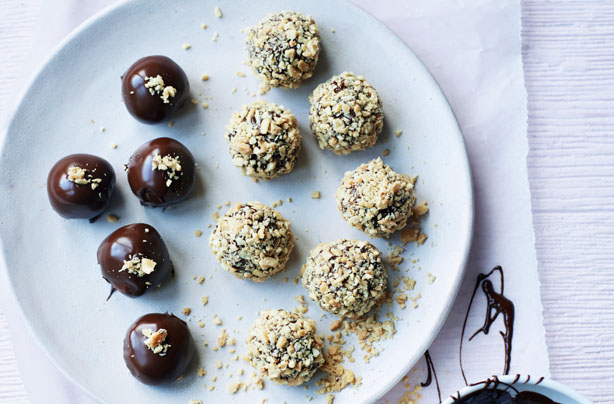
Quick, easy and perfect for making with kids, these peanut butter balls make a delicious snack. They are easily packaged up for lunchboxes and picnics and only use six ingredients.
Get the recipe: Martha Collison’s peanut butter balls
Chocolate praline meringue roulade
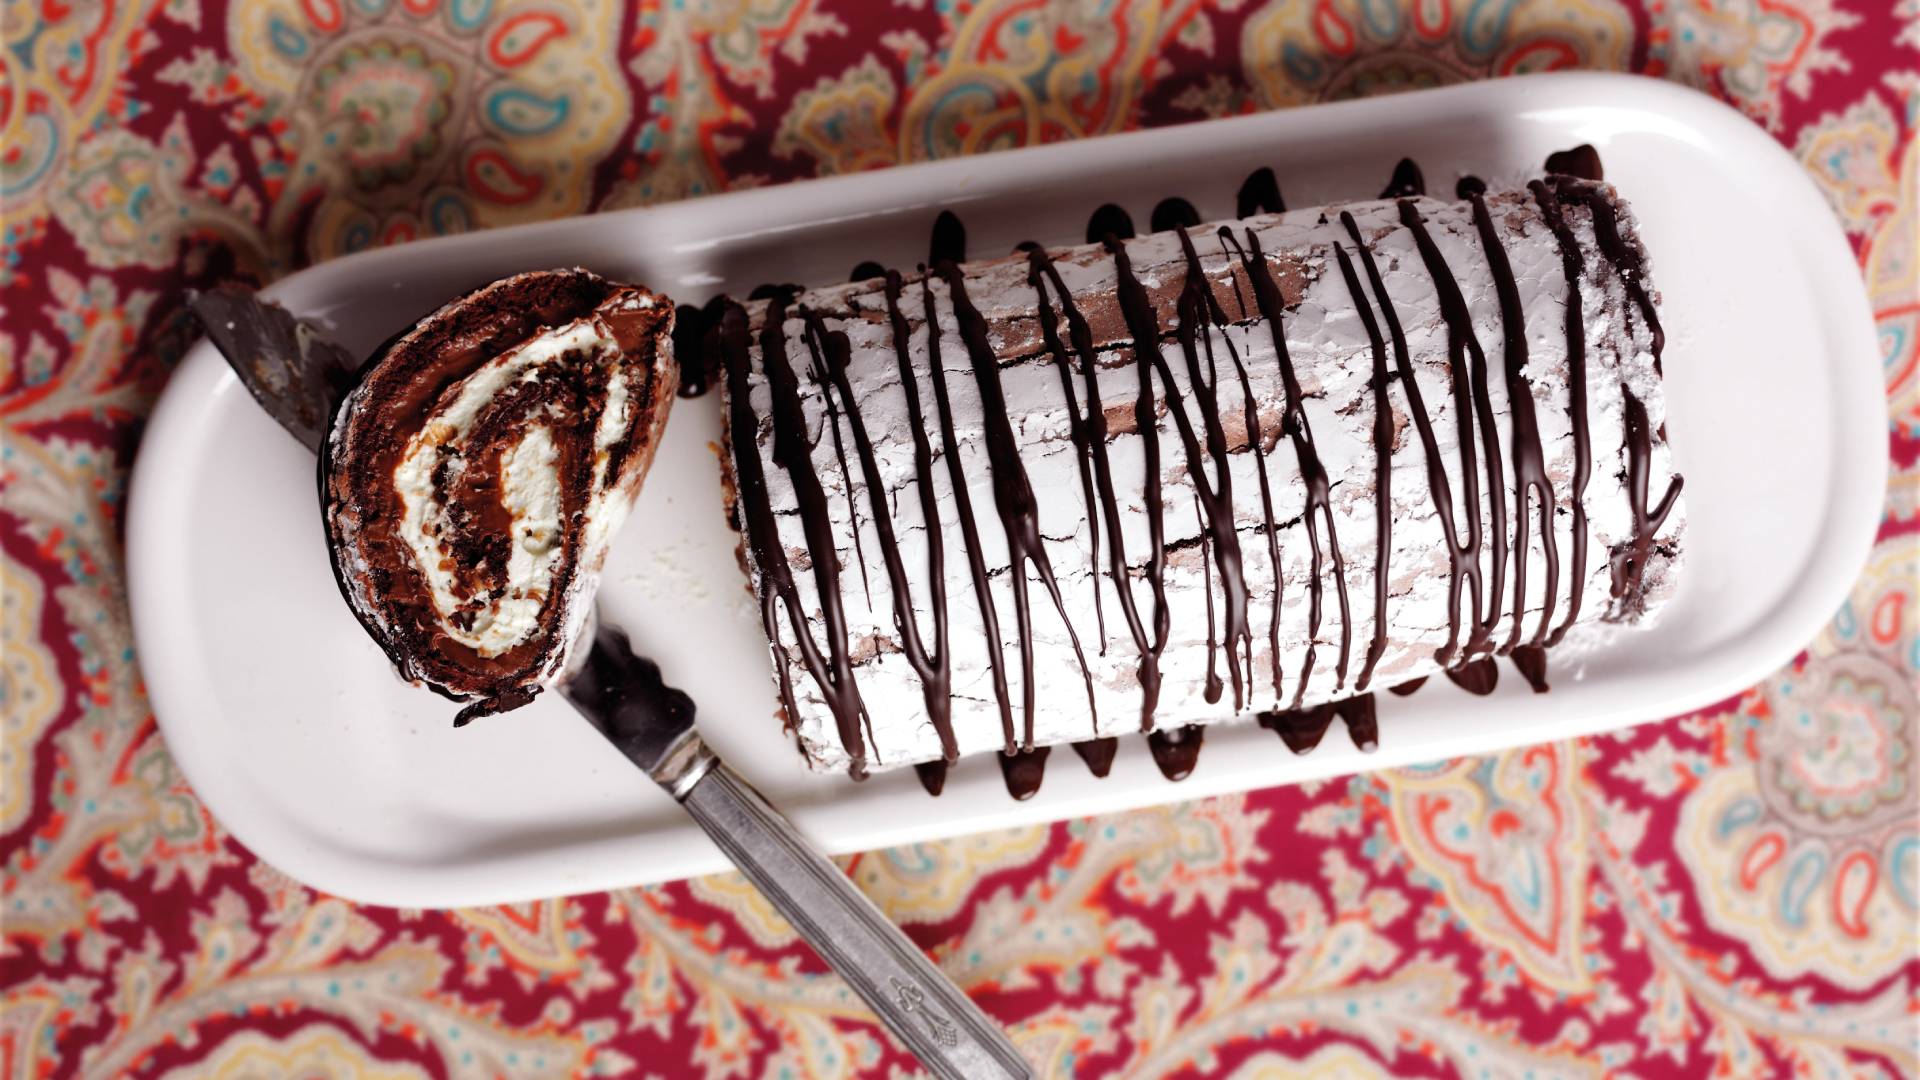
This dessert is one to impress your friends and family with. The crunchy meringue is a delicious match for the soft creamy filling and luxurious chocolate drizzle.
Get the recipe: Chocolate praline meringue roulade
Cinnamon marshmallows with chocolate spoons
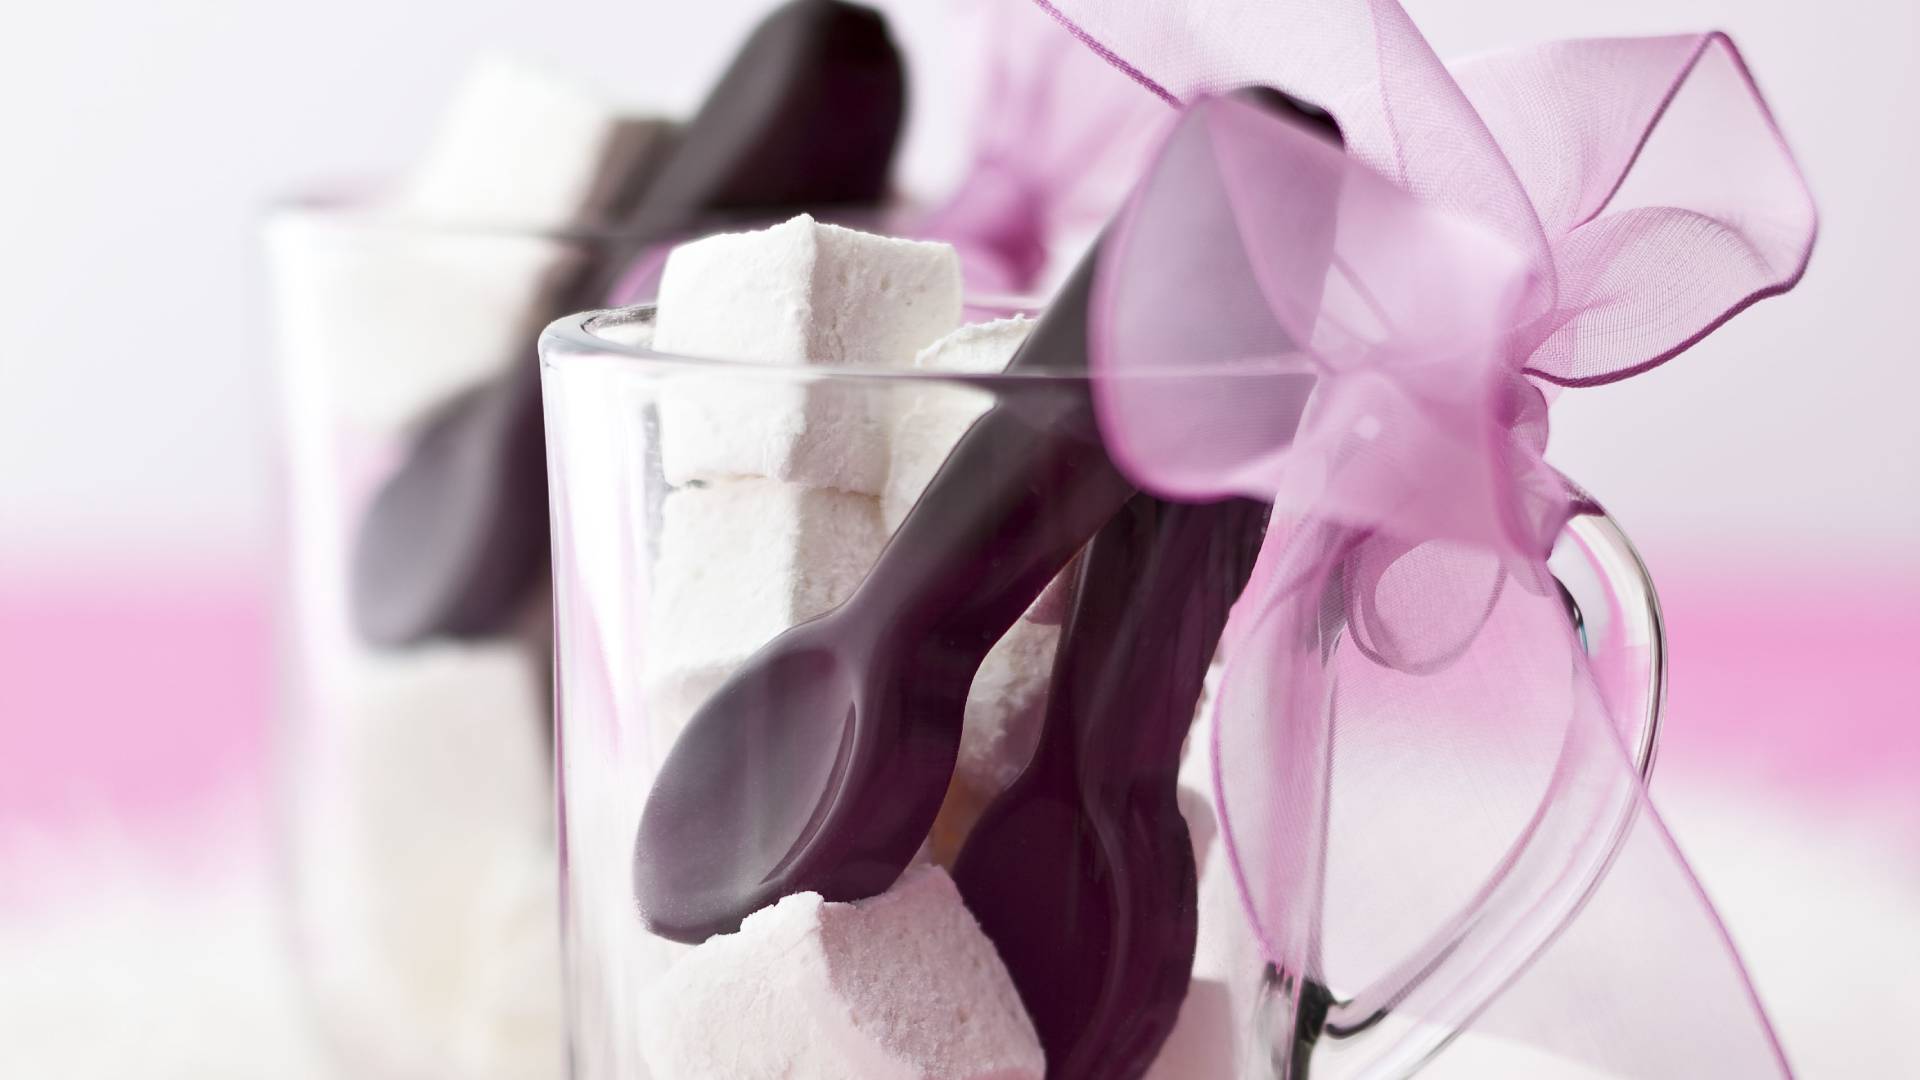
If you’re looking for some edible gift inspiration, this marshmallow and chocolate spoon set is perfect. It’s also a great thing to bring out at the end of any children’s parties or as a post-dinner treat during winter sleepovers.
Get the recipe: Cinnamon marshmallows with chocolate spoons
Chocolate truffle tree

This showstopper is great for lots of occasions but makes an especially good gift for the chocolate lover in your life. The recipe makes around 80 truffles so there’s plenty for you to taste for quality control along the way.
Get the recipe: Chocolate truffle tree

Jessica is a freelance food writer, stylist and recipe tester. She previously worked as Senior Food Writer at Future. While at Future Jessica wrote food and drink-related news stories and features, curated product pages, reviewed equipment, and developed recipes that she then styled on food shoots. She is an enthusiastic, self-taught cook who adores eating out and sharing great food and drink with friends and family. She has completed the Level 1 Associate course at the Academy of Cheese and is continually building on her knowledge of beers, wines, and spirits.