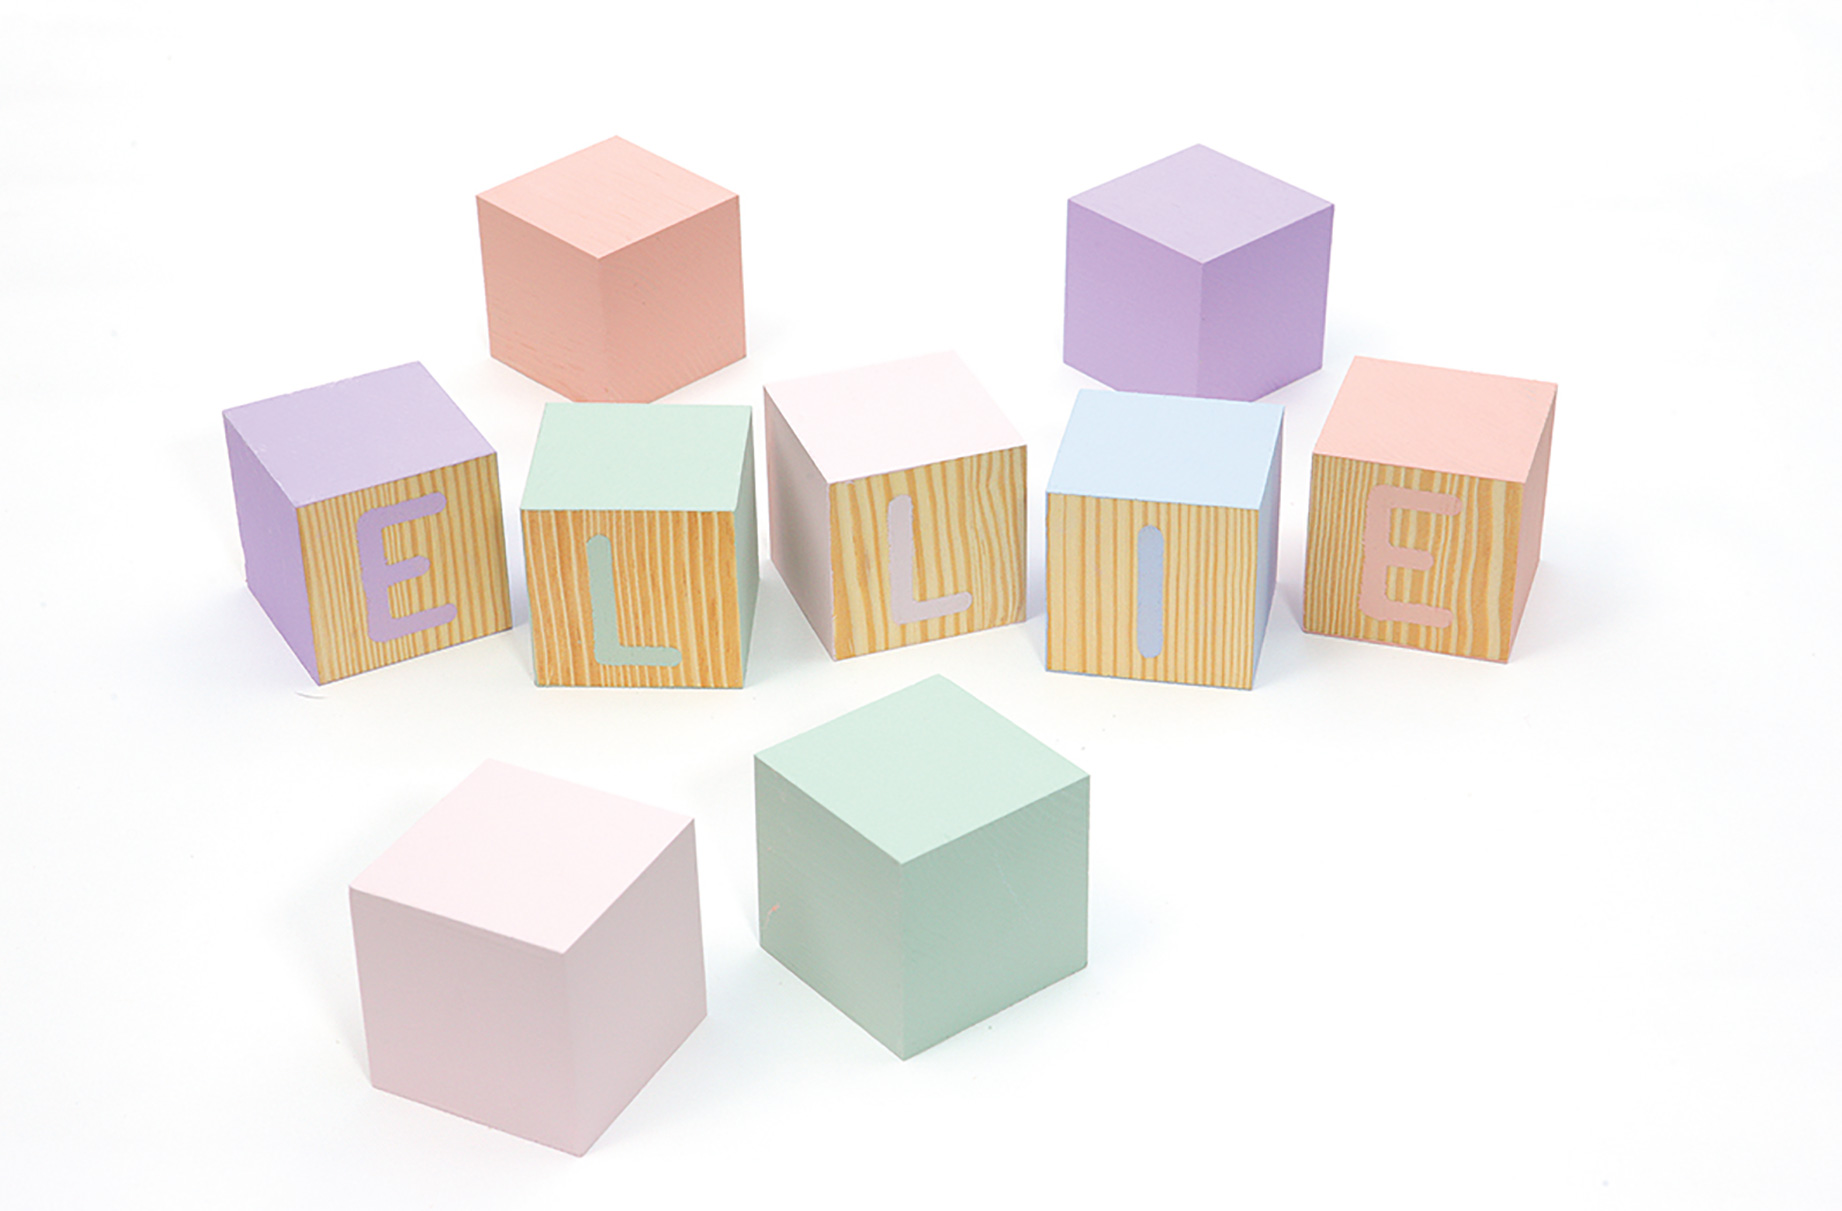
How to make personalised building blocks
Stencil these pretty building blocks to display in a nursery or bedroom


Stencil these pretty building blocks to display in a nursery or bedroom
To make these building blocks, all you need is some wooden blocks, an alphabet stencil and some chalk paint to create these pretty decorations for a child's room.
This is a great way of upcycling a set of tired and forgotten building blocks that are gathering dust, especially if your child has grown out of playing with them.
With a lick of paint and the addition of some carefully selected letters, you can transform the plain wood into a personalised display. Opt for your child's name or their first word to give a personal touch. If you don't have any stencils, you can easily draw around the shape of a cookie cutter and carefully paint inside the lines with a paintbrush instead. Or take a look at these free craft templates.
But remember, these are for decoration only and not suitable for use as a toy once they've been upcycled. Display on a shelf or atop a chest of drawers instead.
Don't fancy getting crafty? Here's a list of our favourite wooden toys to buy.
To make the blocks you will need:
- Nine 7cm wooden cubes
- Rustoleum chalky finish furniture paint in coral, strawberry vanilla, violet macaroon, powder blue and laurel green
- Alphabet stencil
- Small stencil brush
- Paintbrush
- Sandpaper
- Clear sealer
How to make personalised building blocks:
1. First, sand down each wooden block with some sand paper until the surface feels smooth. Then brush away any fine dust left on the block with a slightly damp cloth.
Parenting advice, hot topics, best buys and family finance tips delivered straight to your inbox.
2. Next place the alphabet stencil on the wooden cube and using a small amount of paint on the stencil brush, dab the letter design onto the block. Less is more when it comes to stencilling, so small amounts dabbed on slowly is better than flooding the stencil with paint.
3. Remove the stencil carefully and allow to dry completely.
4. Paint all the other sides in a matching or contrasting colour. Add another coat of paint if needed and allow to dry completely. Finish with a coat of clear sealer to help protect the paint if needed.

Esme is Future's resident craft expert, working across titles such as GoodTo, Woman&Home, Woman’s Weekly, Woman, Woman’s Own, Chat, Now, Pick Me Up and The Craft Network. Successfully turning her sewing hobby into a career, she's adept in a number of crafts, including sewing, papercraft, calligraphy, embroidery and printing.