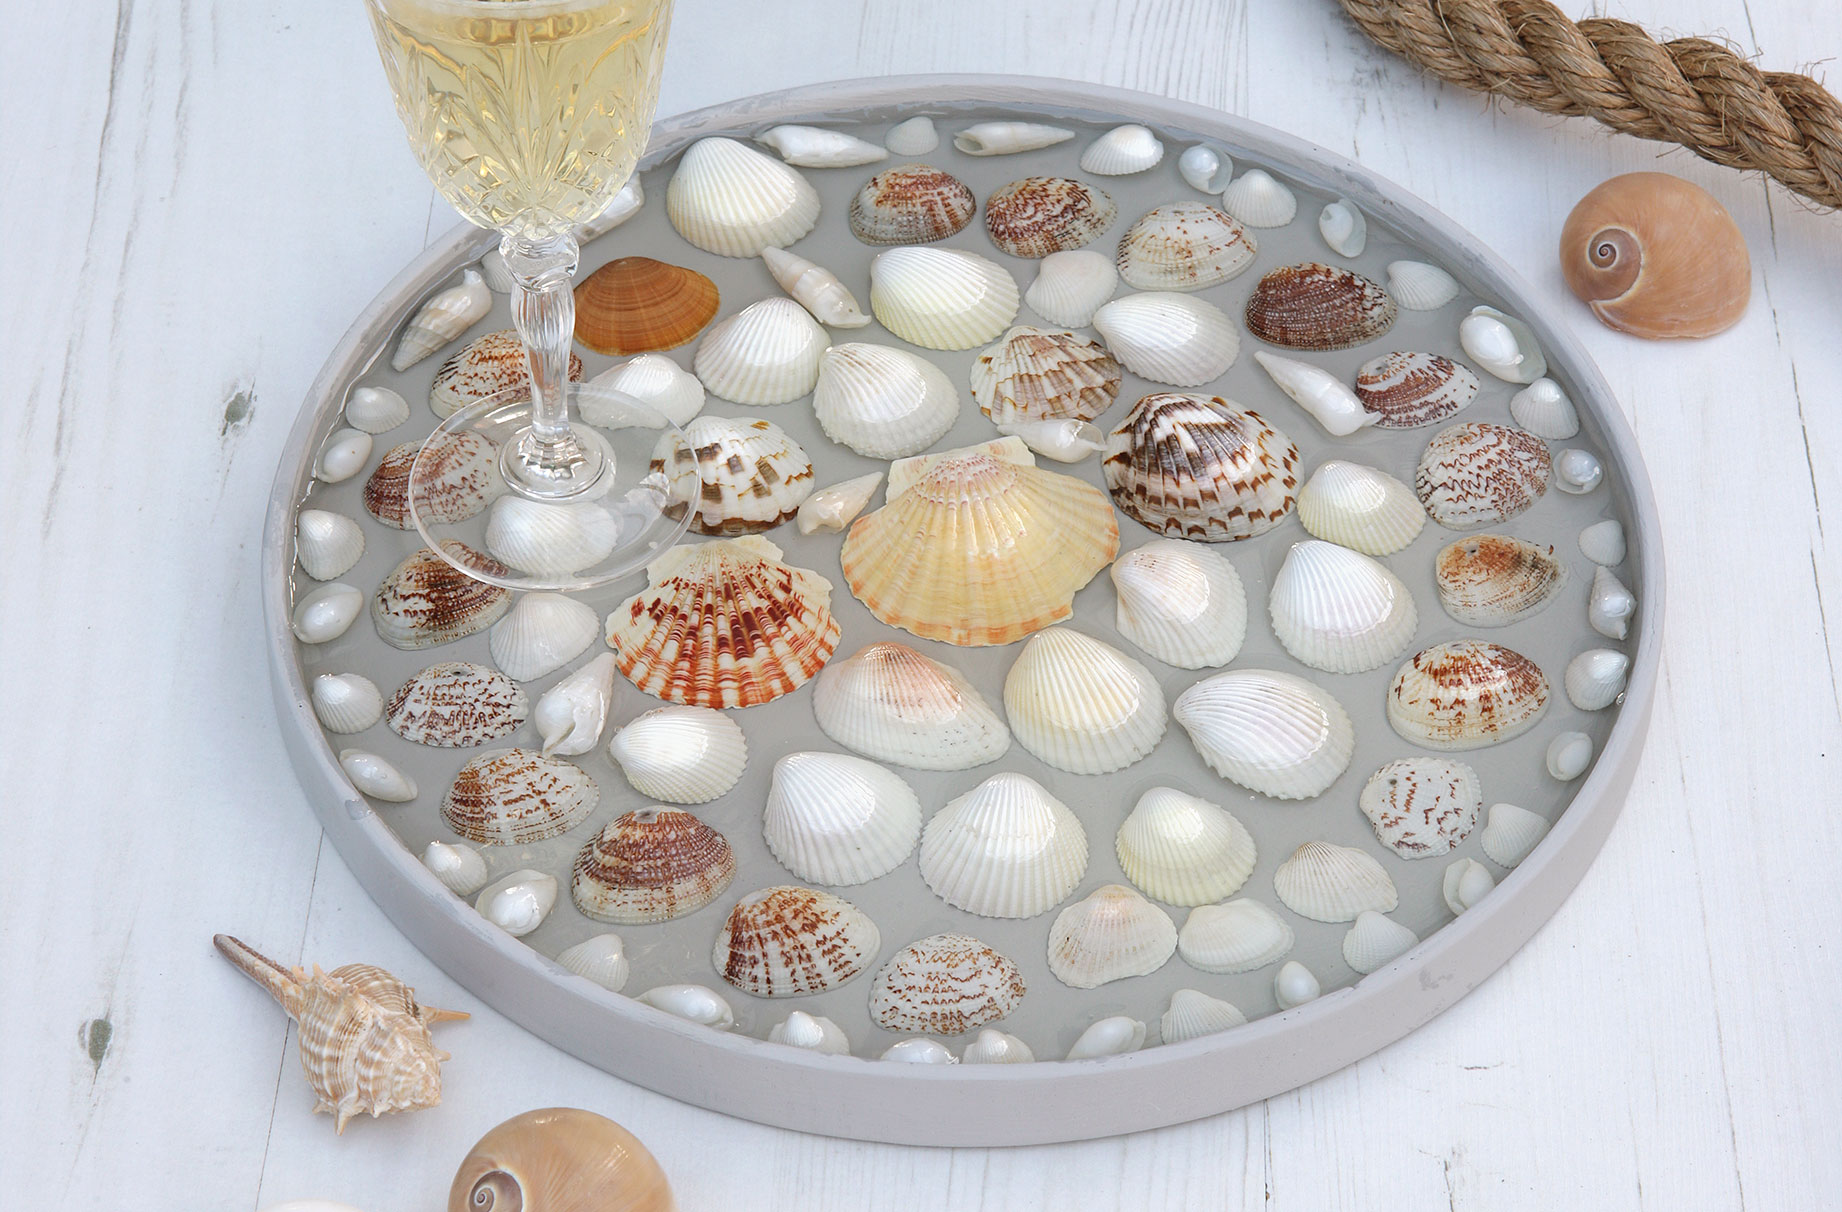
How to make a shell tray
Turn a favourite collection of shells into a seaside-themed serving tray with this clever resin technique


Parenting advice, hot topics, best buys and family finance tips delivered straight to your inbox.
You are now subscribed
Your newsletter sign-up was successful
Turn a favourite collection of shells into a seaside-themed serving tray with this clever resin technique
Making a resin shell tray is so easy with this fool-proof method. Gather up shells and other beachcombing finds to create your own coastal accessory.
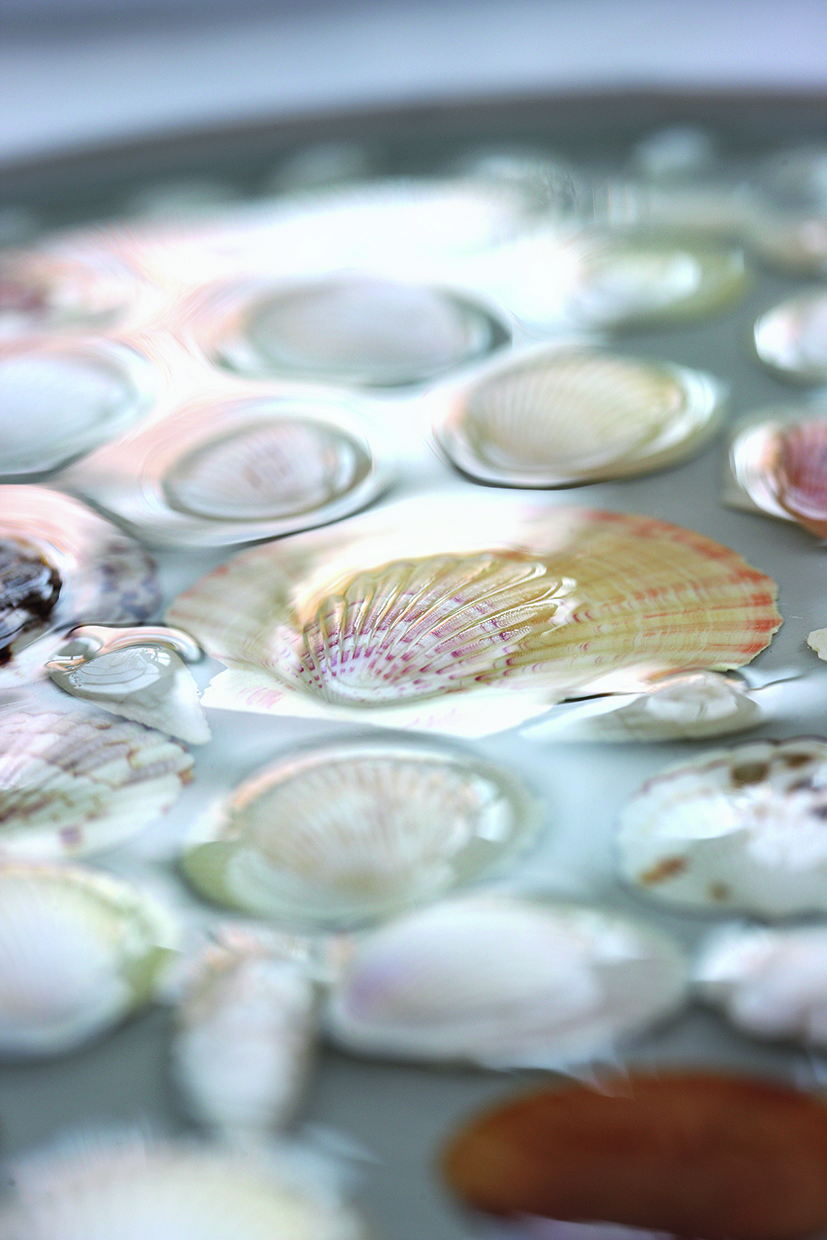
The flatter the shells, the less resin you’ll need to cover them. A few raised shells poking through the resin layer add texture, but cover them completely if you prefer.
If you love the nautical look, complete your coastal homeware collection with these rope coasters, shell vases and kitchen accessories.

You will need:
- Newspapers to protect work surface
- Fine sandpaper
- Round wooden tray
- Grey chalk paint
- Paintbrush
- Flat seashells
- Crystal resin kit
- Protective gloves
- Plastic cups
- Stirring stick
- Heat gun (optional) – to remove bubbles before the resin sets
For craft supplies, check out John Lewis & Partners

How to make the shell tray:
1. Cover your work surface with newspapers to protect it. Sand down the wooden tray with sandpaper and wipe down to remove dust.
2. Paint the tray with the chalk paint, following the manufacturer’s instructions, making sure to cover the underside, too – two coats should be enough. Allow to dry.
Parenting advice, hot topics, best buys and family finance tips delivered straight to your inbox.
3. Wash the shells with warm, soapy water and allow to dry. Arrange them in the tray in your desired pattern. Take a picture or make a rough sketch of your pattern. Remove the shells from the tray.
4. Wearing protective gloves, mix up 150ml of the resin and hardener liquids in the crystal resin kit, following the manufacturer’s instructions. Pour the resin and hardener into a plastic cup and mix continuously with the stirring stick for a couple of minutes. Pour into another plastic cup and continue stirring, until the mixture is completely clear.
5. Pour into the base of the tray and use the stick to spread the resin to the edges.
6. Position the shells back in the tray, pushing them down into the resin to adhere to the base. If using, remove any bubbles with a heat gun. Cover the tray to protect it from dust and allow it to set for 12 hours.
7. Make up a mix of the remaining hardener and resin, repeating the instructions in step four. Pour into the tray, coating the shells. Move across the shells for an even layer of resin. Use a heat gun again, if you like. Cover the tray and allow to set for 24 hours.

Esme is Future's resident craft expert, working across titles such as GoodTo, Woman&Home, Woman’s Weekly, Woman, Woman’s Own, Chat, Now, Pick Me Up and The Craft Network. Successfully turning her sewing hobby into a career, she's adept in a number of crafts, including sewing, papercraft, calligraphy, embroidery and printing.