How to upcycle a set of tins
Transform colourful kitchen containers into an eye-catching clock, a set of matching candles or a stylish kitchen storage solution


Parenting advice, hot topics, best buys and family finance tips delivered straight to your inbox.
You are now subscribed
Your newsletter sign-up was successful
Transform colourful kitchen containers into an eye-catching clock, a set of matching candles or a stylish kitchen storage solution
Learning how to upcycle tins couldn't be simpler! So, go to war on waste in your home with this fantastic upcycling project to turn kitchen tins into useful accessories. From candles to clocks, these innovative makes are sure to inspire.
Want to start upcycling around the rest of your home? How about an upcycled bench for your garden, a fresh look for your bedside table or wallpapered chest of drawers?
All lit up
Fill small tins with wax to create a row of retro candles.

You will need:
- Decorative metal tins
- Large saucepan
- Smaller saucepan or clean, dry, empty tin can
- Paraffin candle wax pellets (medium melt point)
- Long-handled metal spoon
- Preserving thermometer (optional)
- Candlewick with metal tab base
- Small glass jug
- Metal skewers
For craft supplies, check out Wilko
How to upcycle tins into candles:
1. Make sure the tin is clean and dry. Make a double boiler by filling a large saucepan halfway full with water and putting a smaller saucepan or an empty tin food can inside. No water should be in the smaller pot.
2. Empty some wax pellets into the top of the double boiler and set the heat on high. Stir the wax with the metal spoon frequently as it heats. Monitor the temperature of the wax with a preserving thermometer if using; the melting point for paraffin wax is around 53-54°C.
Parenting advice, hot topics, best buys and family finance tips delivered straight to your inbox.
3. Position a wick in the base of each tin then, using a jug, pour in the hot liquid wax. Fill to the brim, then secure the wick in the centre by placing a skewer on either side of it, resting on top of the tin. Before the wax sets completely, pierce any bubbles that appear and top up with more wax.
Time for tea
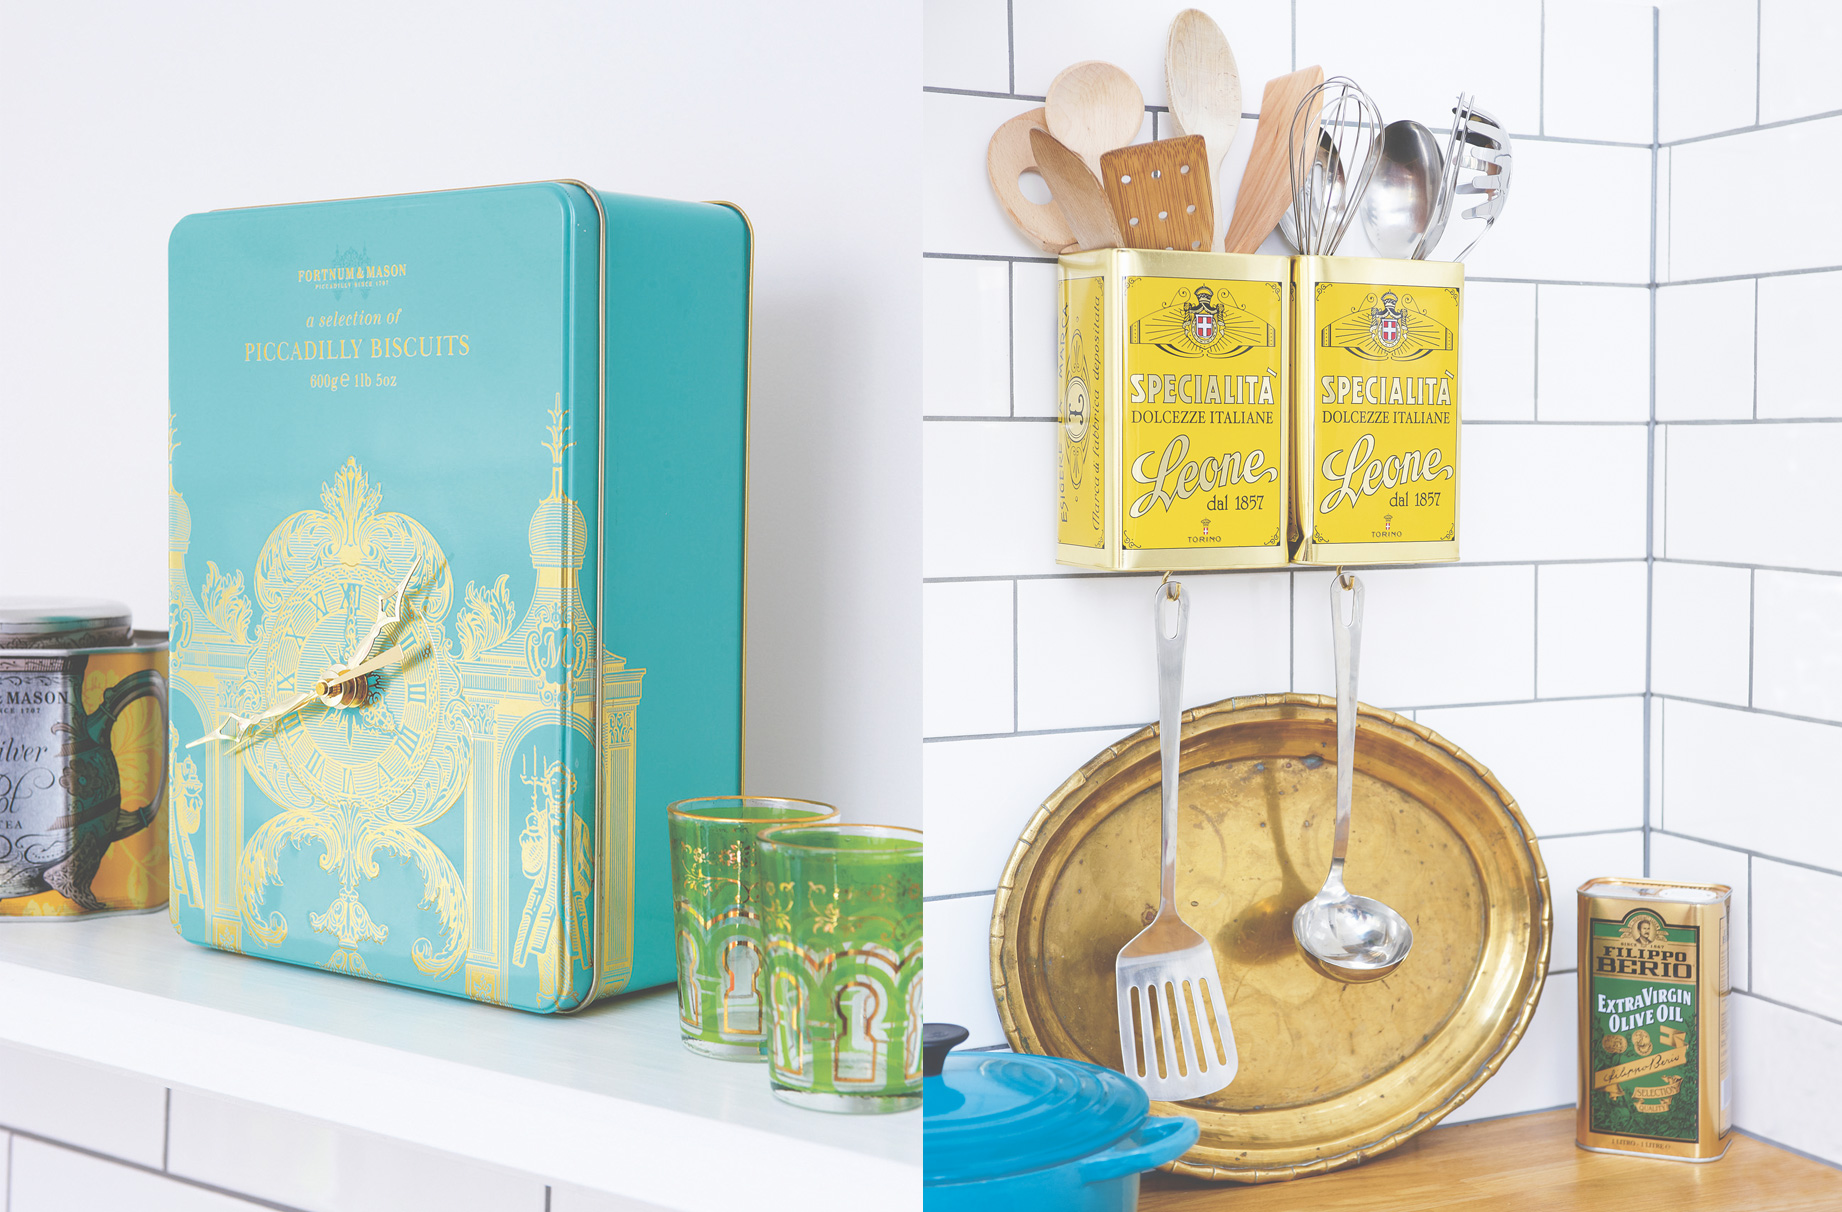
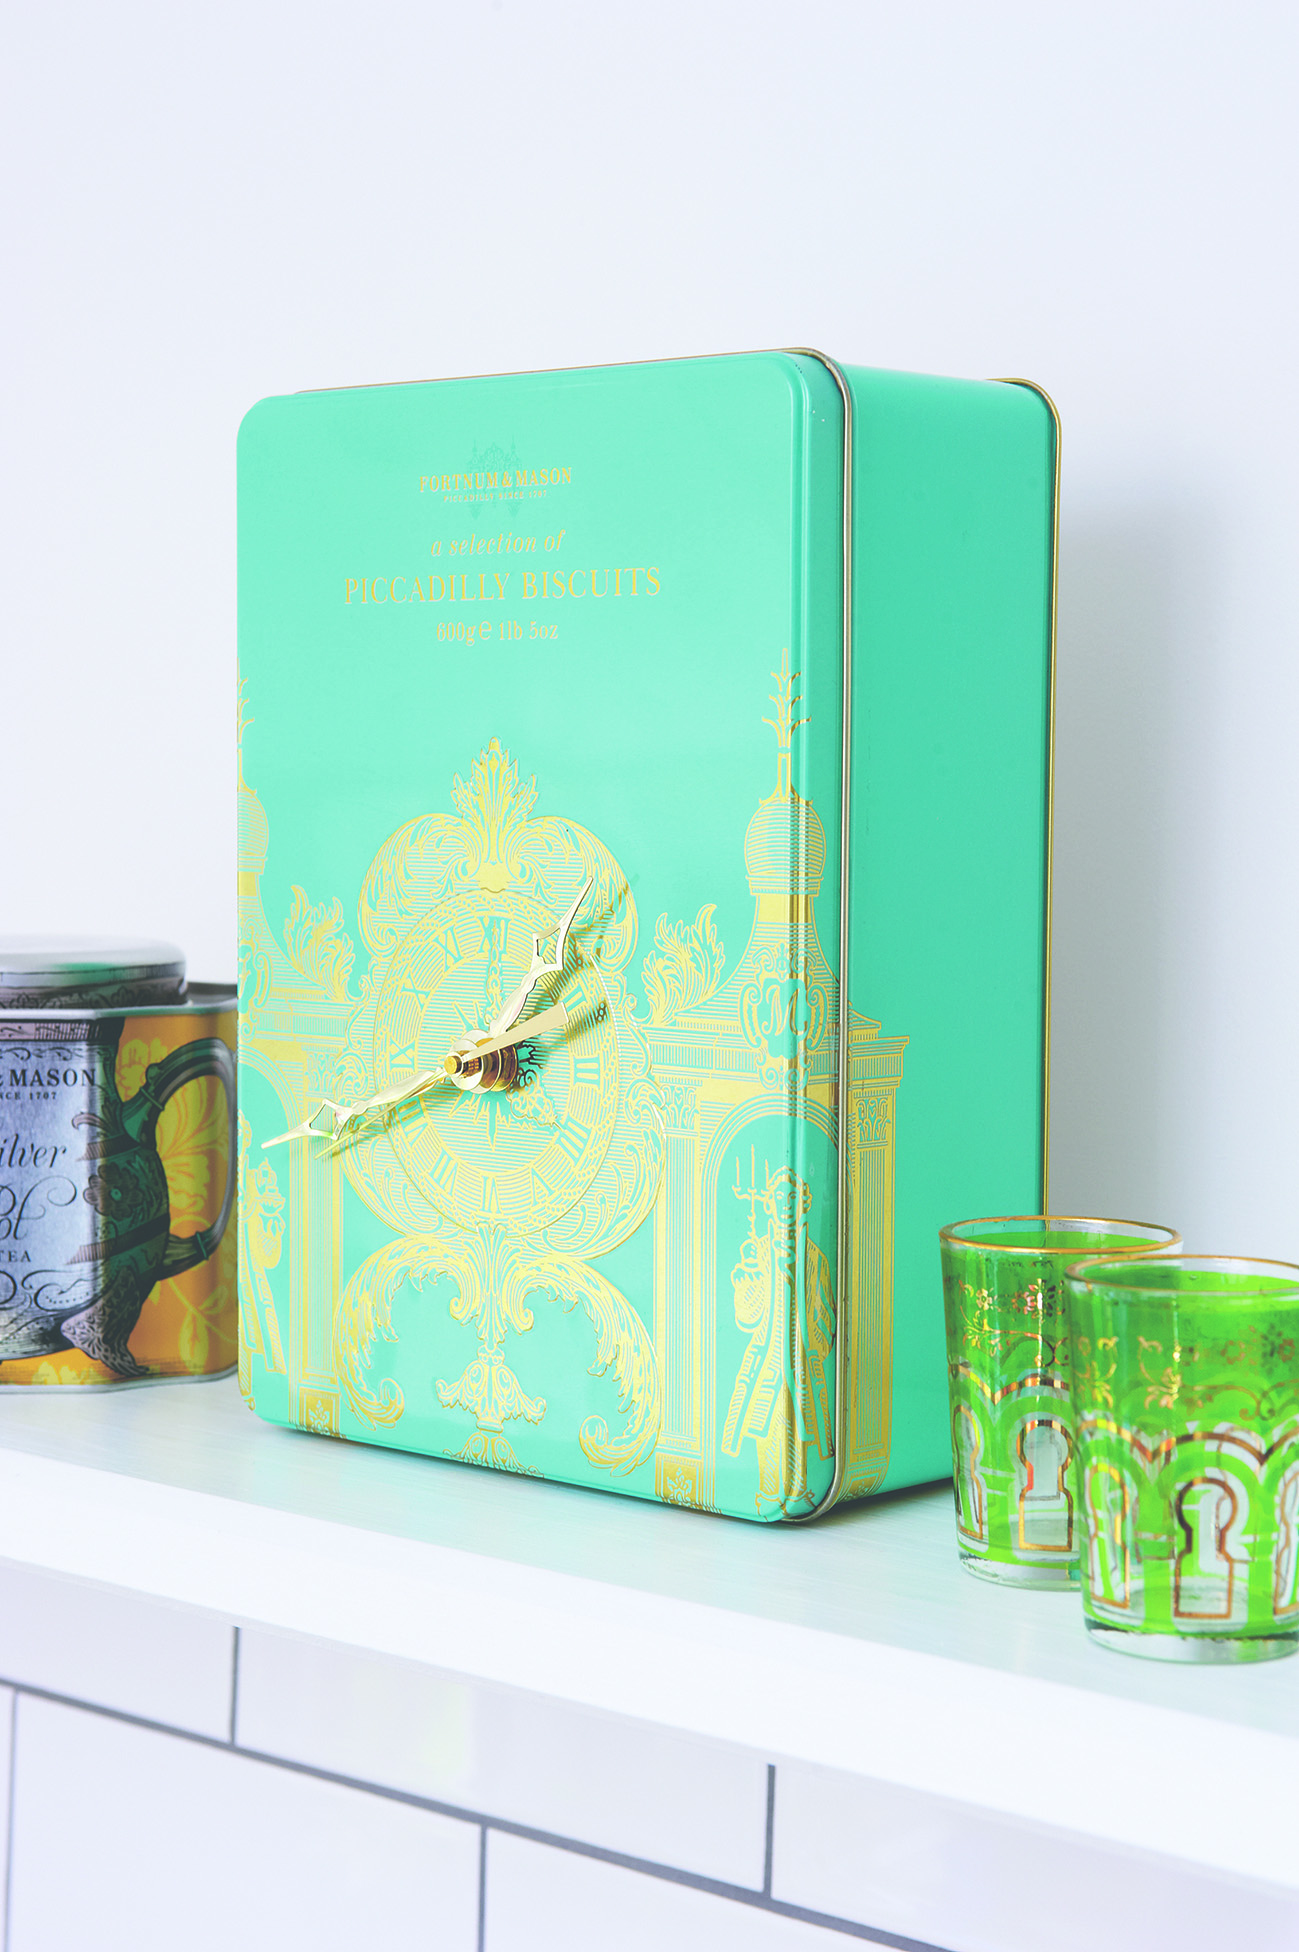
Turn a treasured tin into a clock for the mantelpiece or a shelf.

You will need:
- Decorative metal tin
- Electric drill
- Metal drill bit – see clock mechanism instructions for a specific size
- Block of wood
- Coarse grit sandpaper
- Quartz clock mechanism for craft projects
How to upcycle a tin into a clock:
1. Choose the position on your tin lid where you wish the clock hands to be and mark this. Using the drill, and with the lid supported on a block of wood, drill the required hole in the lid from front to back. File away any sharp edges at the back of the lid using the sandpaper.
2. Following the manufacturer’s instructions, assemble the clock in the correct order, with the mechanism behind the lid and the hands on the top. Put the hour hand in place first, followed by the minute and second hands, and secure with the small dome-head screw.
3. Ensure the hands can move freely over each other by viewing from the side and using your fingers to manipulate the hands gently. Put the battery in the mechanism box, set the correct time, and replace the lid onto the tin base. Stand securely on a shelf or drill another hole in the back of the tin to hang it on a wall.
Upcycled tin kitchen helper
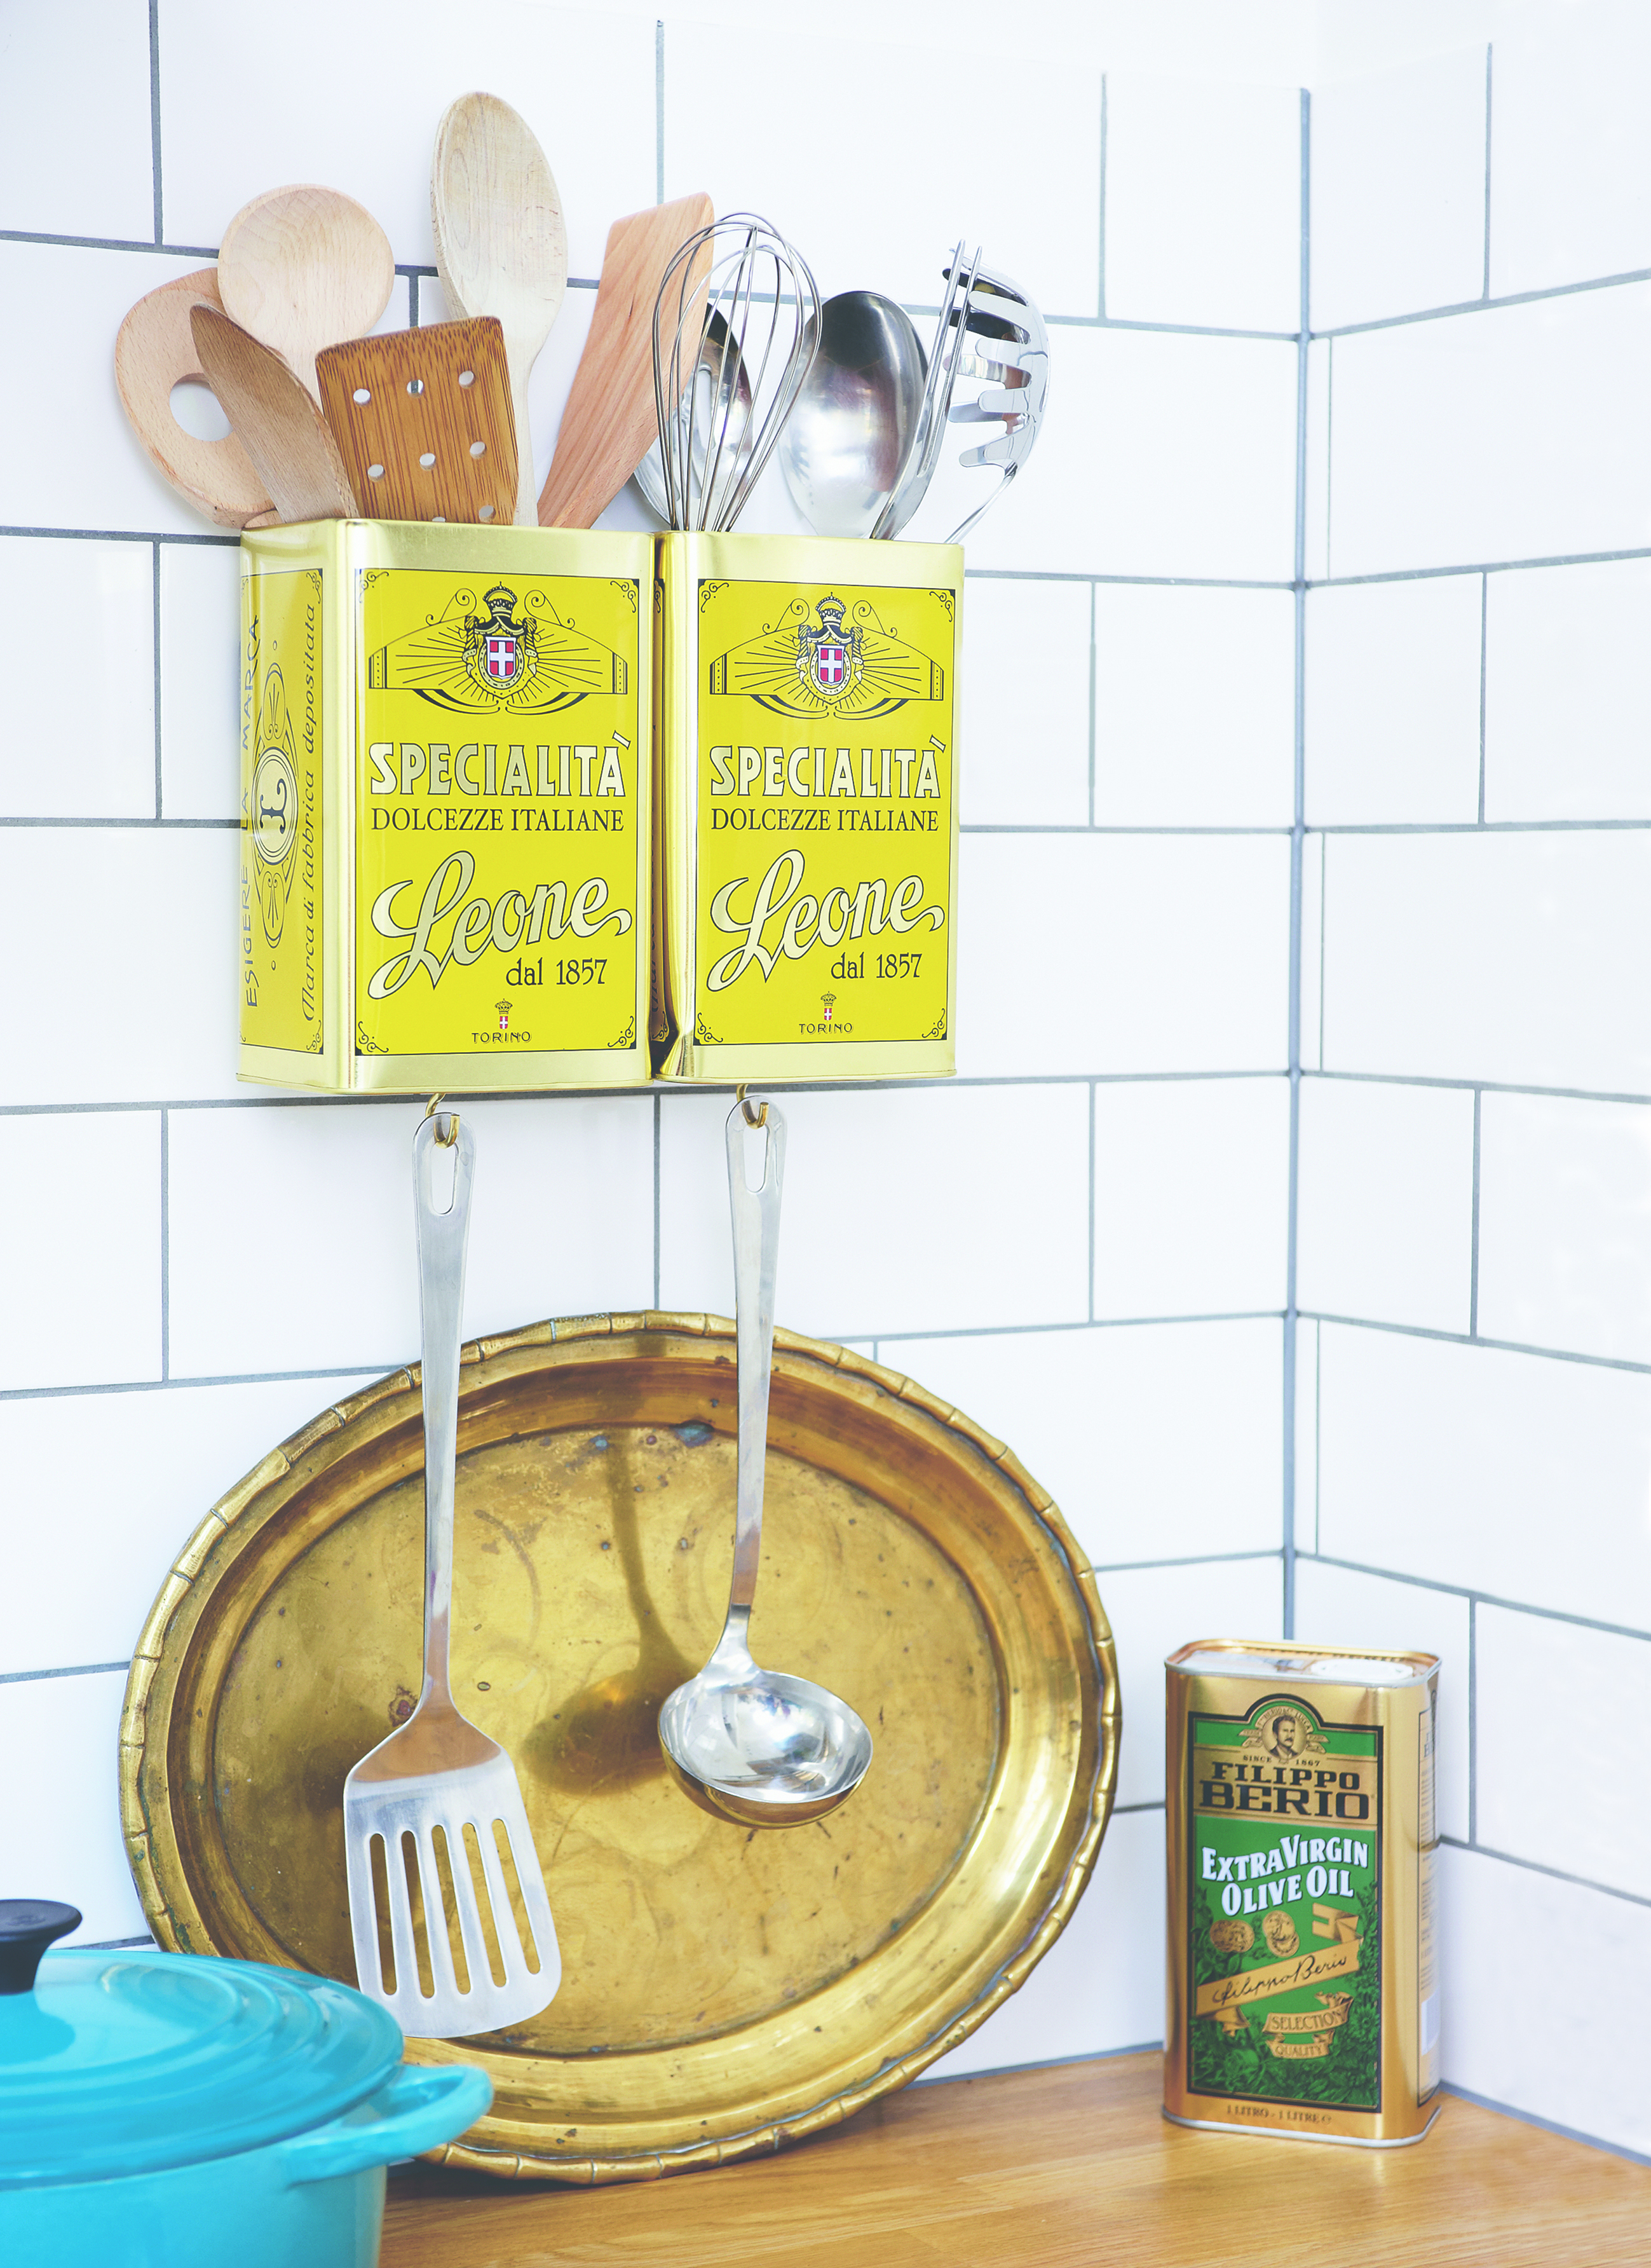
Brighten up a kitchen corner and keep essential equipment to hand with this striking utensil holder.

You will need:
- Decorative metal tins
- Tape measure
- Pencil
- Electric drill
- Screw-in cup hooks
- Nylon Rawlplugs
- Two pieces of 18 x 38mm timber batten, see step 2 for cut length
- Small metal drill bit
- Wood drill bit
- Six 25mm-long screws
- Two 60mm-long screws
- Screwdriver
How to upcycle tins into utensil holders:
1. To add a hanging hook, measure and mark the centre of the tin base. Using a drill and a small bit suitable for metal, drill a small hole at this point. Hold a Rawlplug on the inside of the tin and screw a cup hook in from the outside: the Rawlplug will grip the hook and stop it becoming loose when utensils are hung from it.
2. To secure a pair of tins to the wall, drill two parallel holes in the back of each tin, approximately a third of the way down. Cut two pieces of timber batten the width of the two tins. In one batten, drill four holes in the 38mm face of the timber that line up with the four holes in the back of the tins. Then drill two long holes in the same piece of timber in the 18mm face, placing one close to each end. Screw this batten onto the back of the tins using Rawlplugs on the inside to grip the screws.
3. Drill two holes in the 38mm face of the second batten. Position the second batten on the wall and fix it in place by drilling holes in the wall to match and using screws and Rawlplugs. Rest the batten at the back of the tins on top of the wall batten and secure in place with the long screws in the two outer holes.

Esme is Future's resident craft expert, working across titles such as GoodTo, Woman&Home, Woman’s Weekly, Woman, Woman’s Own, Chat, Now, Pick Me Up and The Craft Network. Successfully turning her sewing hobby into a career, she's adept in a number of crafts, including sewing, papercraft, calligraphy, embroidery and printing.