How to make an embroidered clutch bag
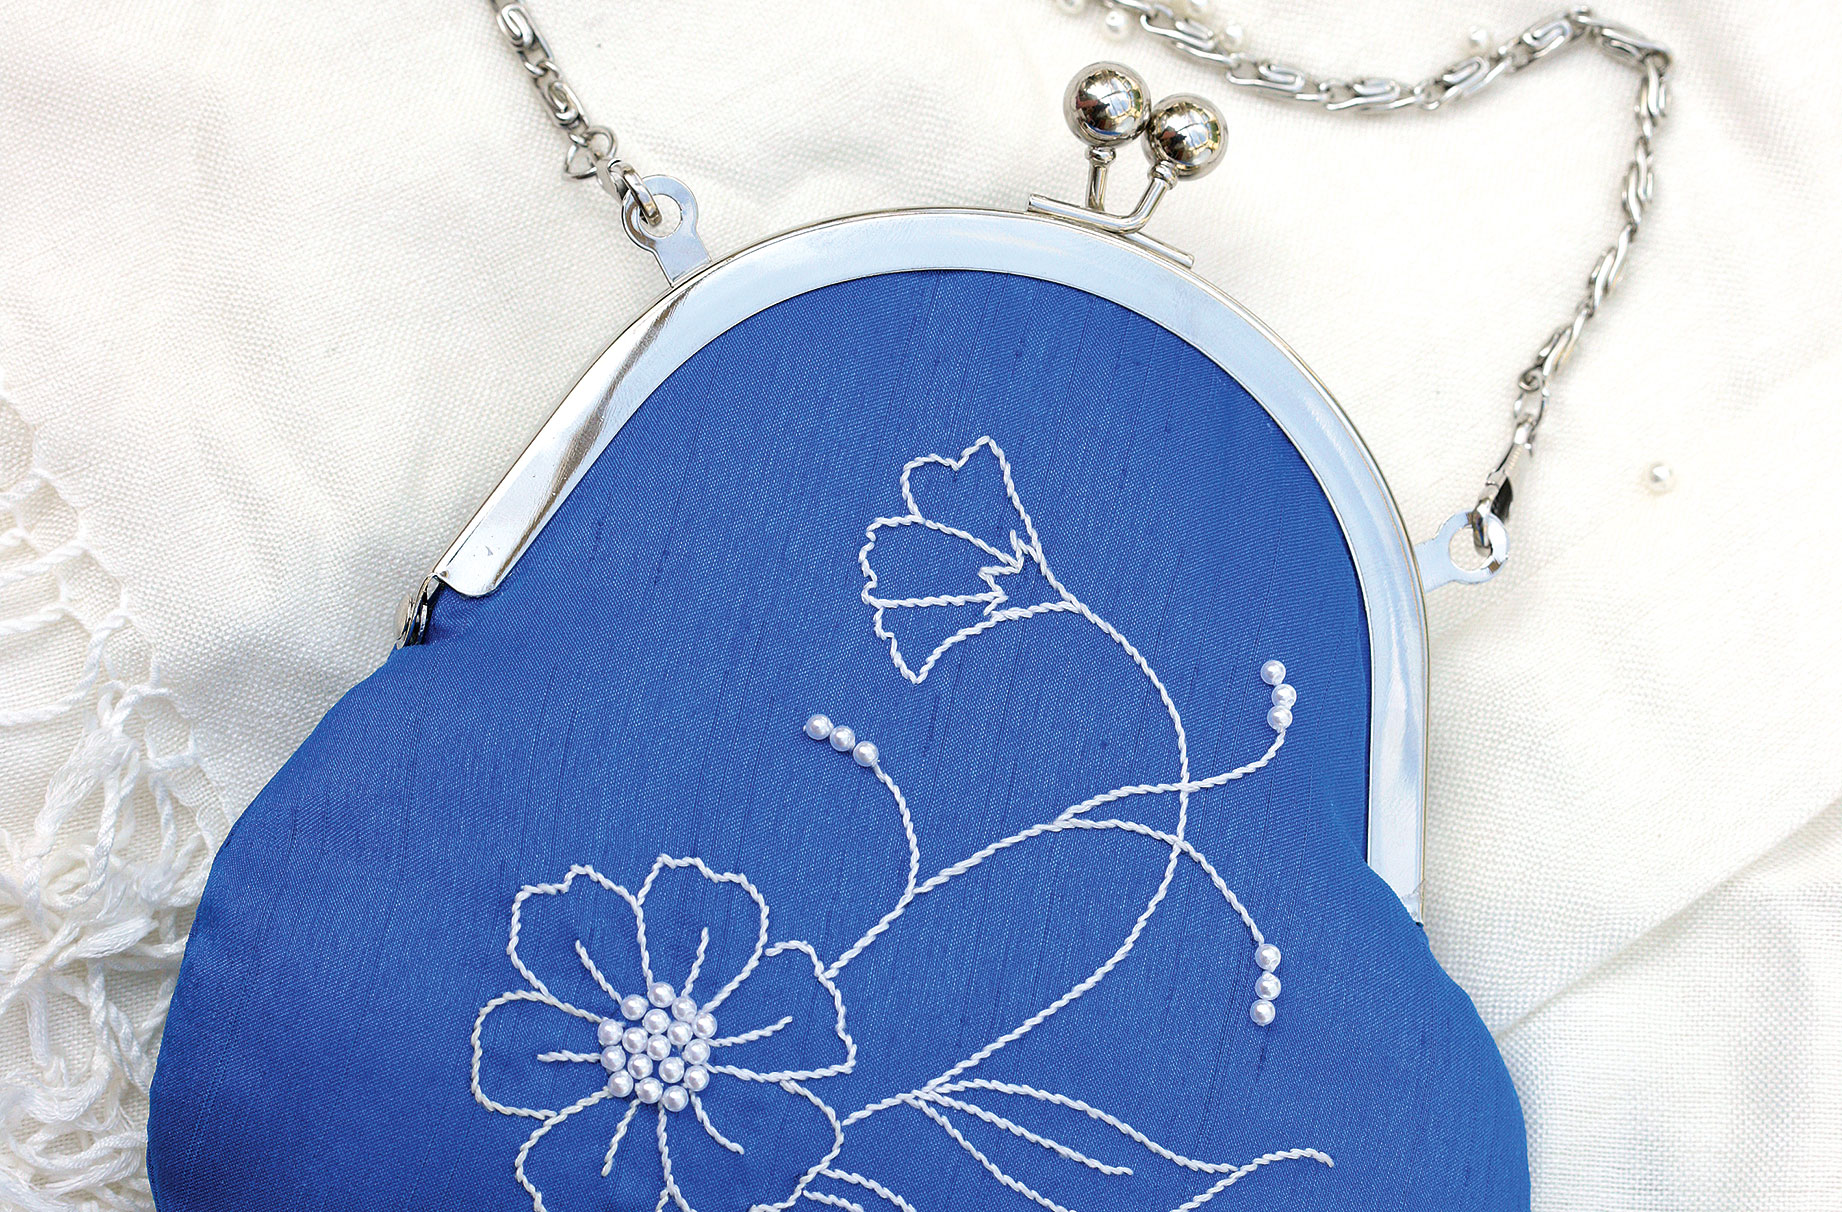
Delicately embroidered and beaded, this stylish blue evening bag can be made in any colour to match a special outfit


Parenting advice, hot topics, best buys and family finance tips delivered straight to your inbox.
You are now subscribed
Your newsletter sign-up was successful
Delicately embroidered and beaded, this stylish blue evening bag can be made in any colour to match a special outfit
It's so easy to make an embroidered clutch bag with some simple stitching techniques. Wow your friends on your next night out with this show-stopping design.
You'll need to be comfortable with a needle and thread to make this embroidered clutch bag. So, if you need some practice, start off with this embroidered tote bag or this simple cotton bag instead.
Through this project, we're sure you'll find a new love of embroidery. Why not try out some other stitching techniques? Like this cross-stitch cushion project.
To make an embroidered clutch bag you will need:
- Enlarged pattern - DOWNLOAD PDF
- Tracing paper and sharp HB pencil
- 65 x 40cm rectangle of silk or polyester fabric
- 45 x 25cm rectangle of lightweight wadding and lining
- White stranded cotton embroidery thread
- Approx. 26 x 3mm white pearl beads
- 30cm embroidery hoop
- Matching sewing thread
- Curved 13.5 x 9cm metal glue-in purse frame with loops
- Purse chain
- Masking tape
- Strong textile glue e.g. Gutermann HT2
For sewing supplies, check out John Lewis & Partners
Making the paper patterns:
On a photocopier, enlarge the pattern so the bag measures 20cm across. Trace the pattern onto tracing paper. Mark the crosses, notches, embroidery motif and dots with a pencil. Cut out the pattern. Redraw the embroidery motif and dots on the wrong side of the tracing with a pencil.
Cutting out the pattern pieces:
1. Ensure that arrows run in the same direction as the grain of the fabric.
Parenting advice, hot topics, best buys and family finance tips delivered straight to your inbox.
2. Cut one 40 x 40cm square and one purse from fabric. Cut one pair of purses from wadding and lining.
3. Lightly draw the crosses and notches on the wrong side of the fabric and lining purses. Snip the notches. With right sides facing up, tape the pattern on the centre of the fabric square. 4. Draw around the pattern then redraw the embroidery motif and dots to transfer them to the fabric. Remove the pattern.
How to embroider the clutch bag:
Fix the fabric square right side up centrally in the embroidery hoop. Pull the fabric taut. Use three strands of embroidery thread to embroider the motif with stem stitch. Sew a bead at the dots. Sew beads around the bead at the flower centre. Remove the embroidery. Press the embroidery face down on a towel to avoid squashing the stitches.

How to make an embroidered clutch bag:
1. Take a 1cm seam allowance and stitch seams with right sides together and raw edges level.
2. Cut out the embroidered purse, lightly draw the crosses and notches on the wrong side. Snip the notches. Then tack the wadding to the wrong side of the fabric purses.
3. Pin and stitch the lower notched edges of the fabric purses together between the crosses. Clip the curves and press the seam open.
4. Repeat step 2 to make the lining, leaving a gap between the notches to turn through later. Then turn the fabric purse right side out and insert it into the lining, matching the seams.
5. Pin the upper edge of one purse and lining together. Starting at one cross, hand sew the upper edge with a neat backstitch for about 2cm. Repeat at the other end of the upper edge. Next machine stitch the upper edge between the hand stitching. Repeat on the other upper edge. Carefully trim away the wadding in the seam allowances. Snip the curves.
6. Pull the purse right side out through the gap in the lining. Then slipstitch the gap closed. Push the lining into the purse. Press the upper edges.
Adding the clasp to the clutch bag:
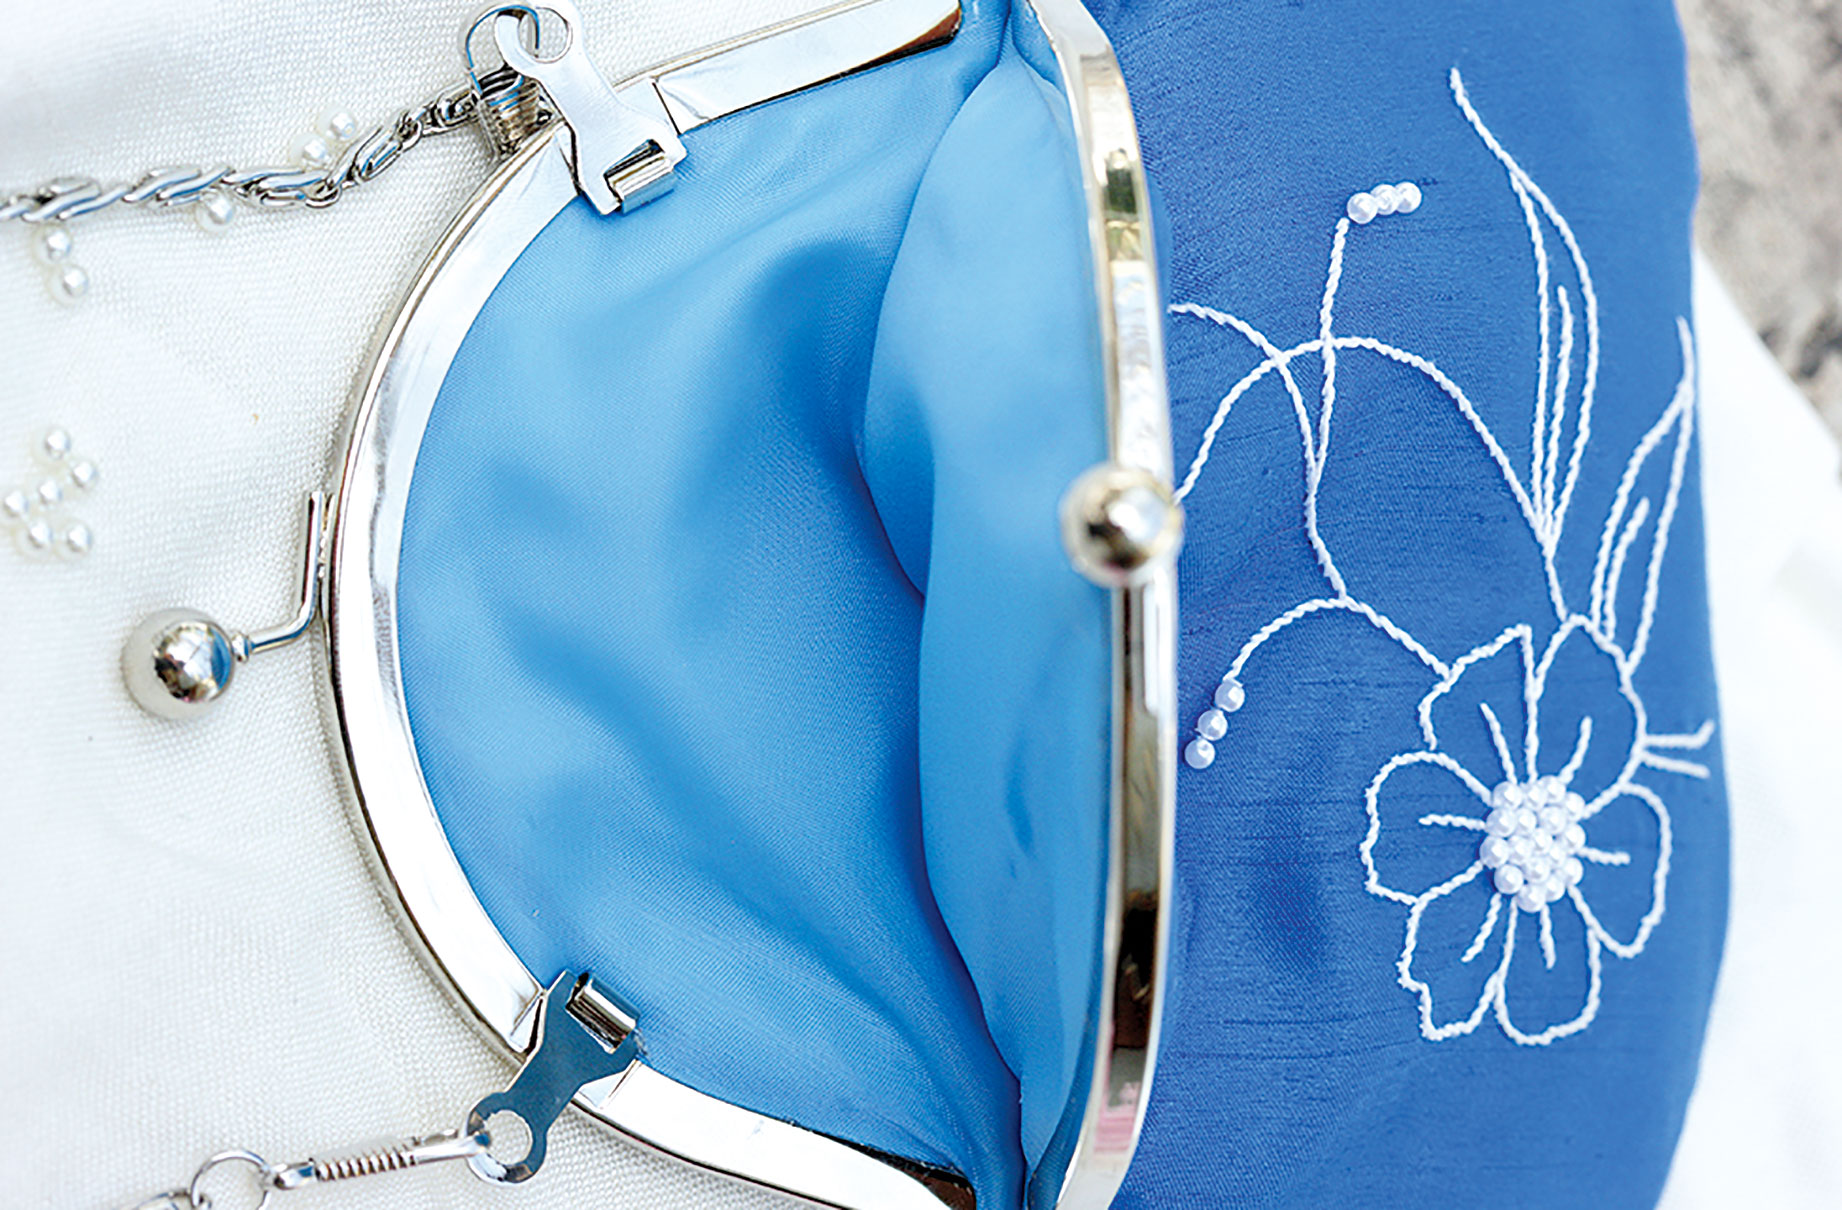
1. Stick a piece of masking tape to each section of the purse frame at the centre. Mark the centre on the tape with the pencil. Mark the centre of the upper edges of the purse with a pin. Open the frame wide. Follow the glue manufacturer’s instructions to run a line of glue generously inside one channel of the frame. Then apply glue to the upper edge of the purse front, starting and finishing 1.5cm above the intersection of the seams. Leave to start to dry if instructed to do so (if using Gutermann HT2 glue, leave to dry for five minutes). Don’t worry if you get glue on the outside of the metal frame, it is easy to scrape off.

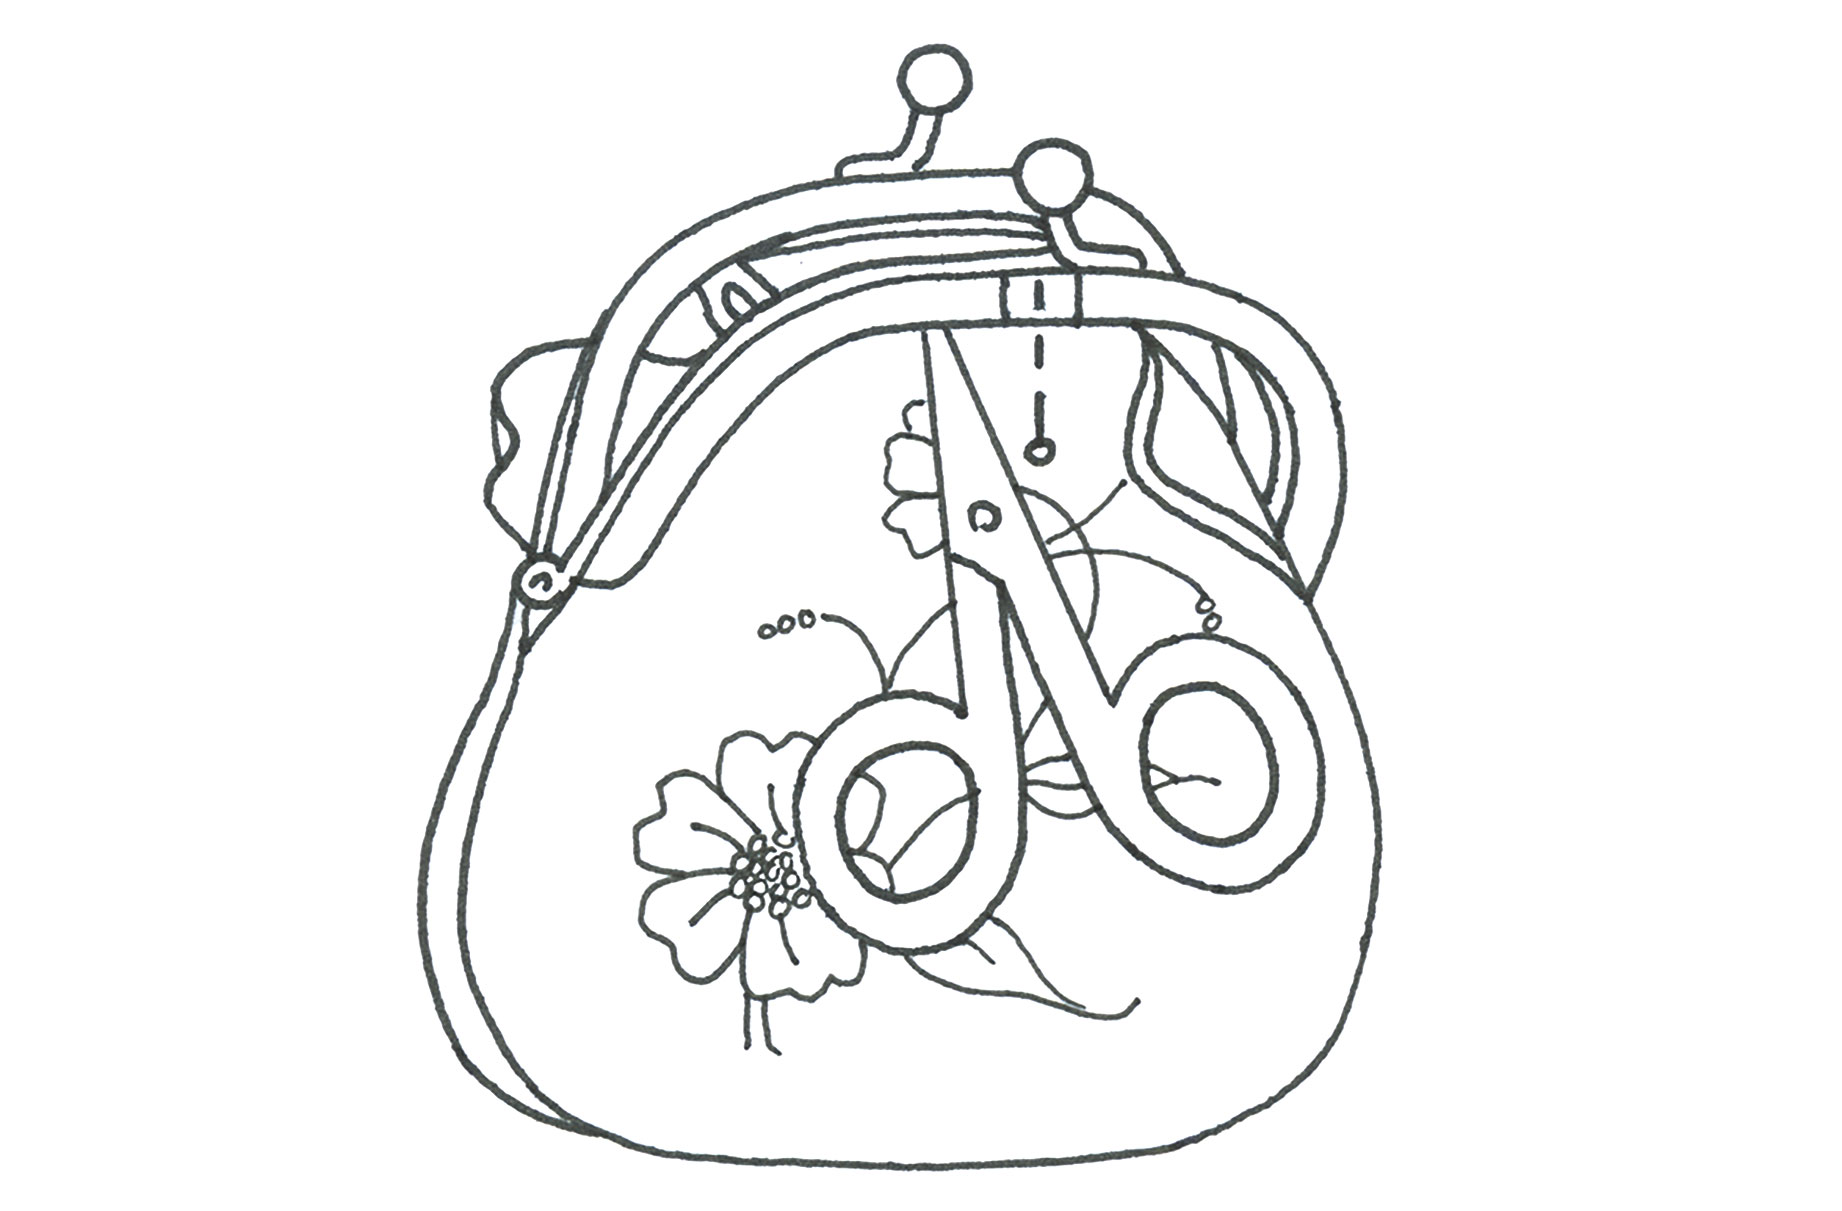
2. Lastly insert the upper edge of the purse front into the frame channel, matching centres. Carefully ease the purse into the channel as far as it will go using the tip of a scissor blade on the outside and then the inside of the purse. Leave to dry then repeat on the upper edge of the purse back. Leave the glue to dry completely before handling. Finish by clipping the chain ends onto the loops.

Esme is Future's resident craft expert, working across titles such as GoodTo, Woman&Home, Woman’s Weekly, Woman, Woman’s Own, Chat, Now, Pick Me Up and The Craft Network. Successfully turning her sewing hobby into a career, she's adept in a number of crafts, including sewing, papercraft, calligraphy, embroidery and printing.