Chocolate fingers cake

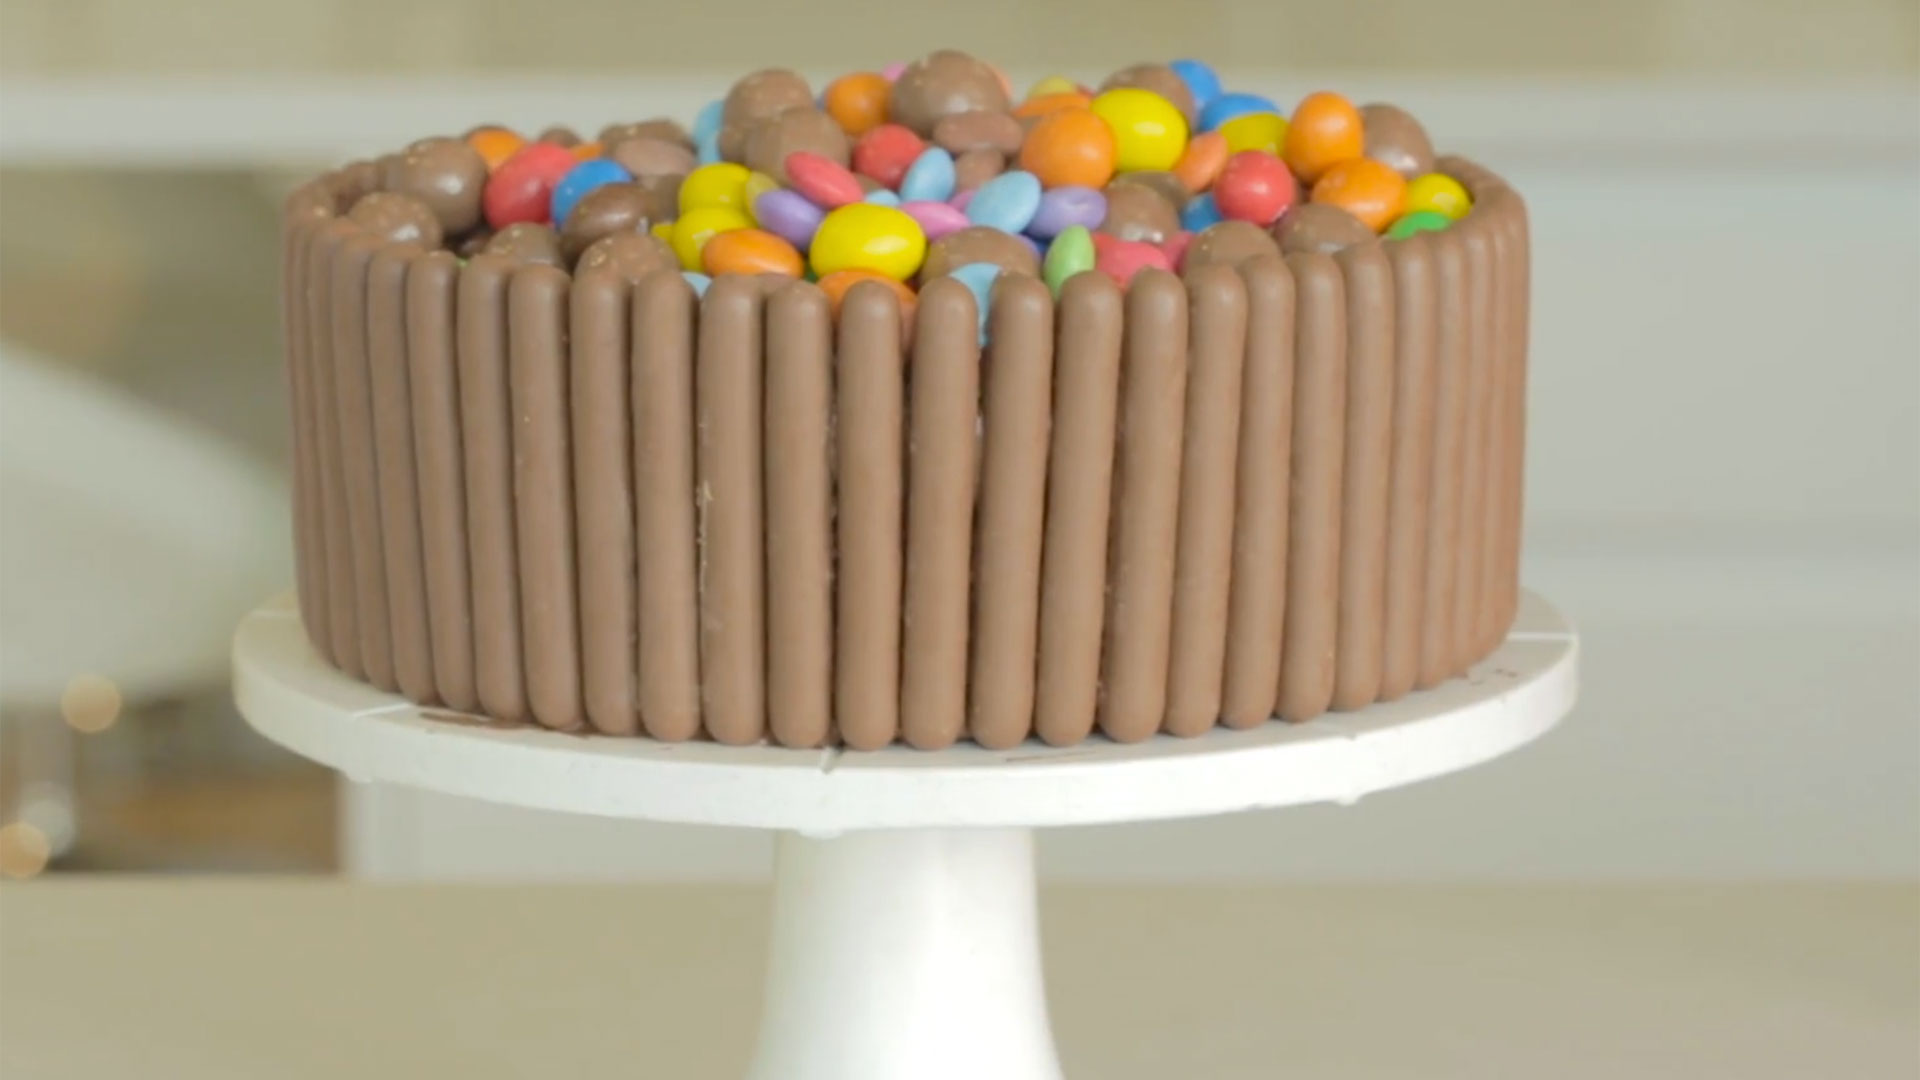
This chocolate fingers cake would make the perfect centerpiece for a birthday celebration and it's so easy to make.
This delicious chocolate finger cake will serve six to eight people and takes just 25 mins to cook and 30 mins to prepare. The chocolate fingers create a lovely nest for topping your cake with lots of chocolate treats.
Similar to our pick 'n mix sweetie cake, we've decorated this cake with a mixture of M&Ms, Smarties, and Malteasers but you're making it for someone special you could top it with their favourites - fresh berries, white chocolate buttons, or even jellied sweets will work well. If you'd rather decorate your chocolate cake with whole chocolate bars you might like our chocolate drip cake.
This cake is covered with a Nutella layer but you can substitute it for milk, dark or white melted chocolate or chocolate buttercream.
Watch how to make a chocolate fingers cake
Ingredients
For the cake:
200g butter 200g caster sugar 4 medium eggs 150g self-raising flour 50g cocoa powder ½tsp baking powder
To decorate and fill:
Parenting advice, hot topics, best buys and family finance tips delivered straight to your inbox.
Nutella 3 packs chocolate fingers M&Ms, Smarties, Maltesers
How to make a chocolate fingers cake
Step 1
Preheat oven 180C, gas 4. Grease and line 2 x 20cm cake tins with greaseproof paper. Use the all-in-one method to make your sponge; pour all of the ingredients into a large mixing bowl and whisk with an electric hand whisk until combined.
Step 2
Once combined, pour into the cake tins making sure they’re as even as possible. Bake in the oven for 20-25 mins until springy to touch.
Step 3
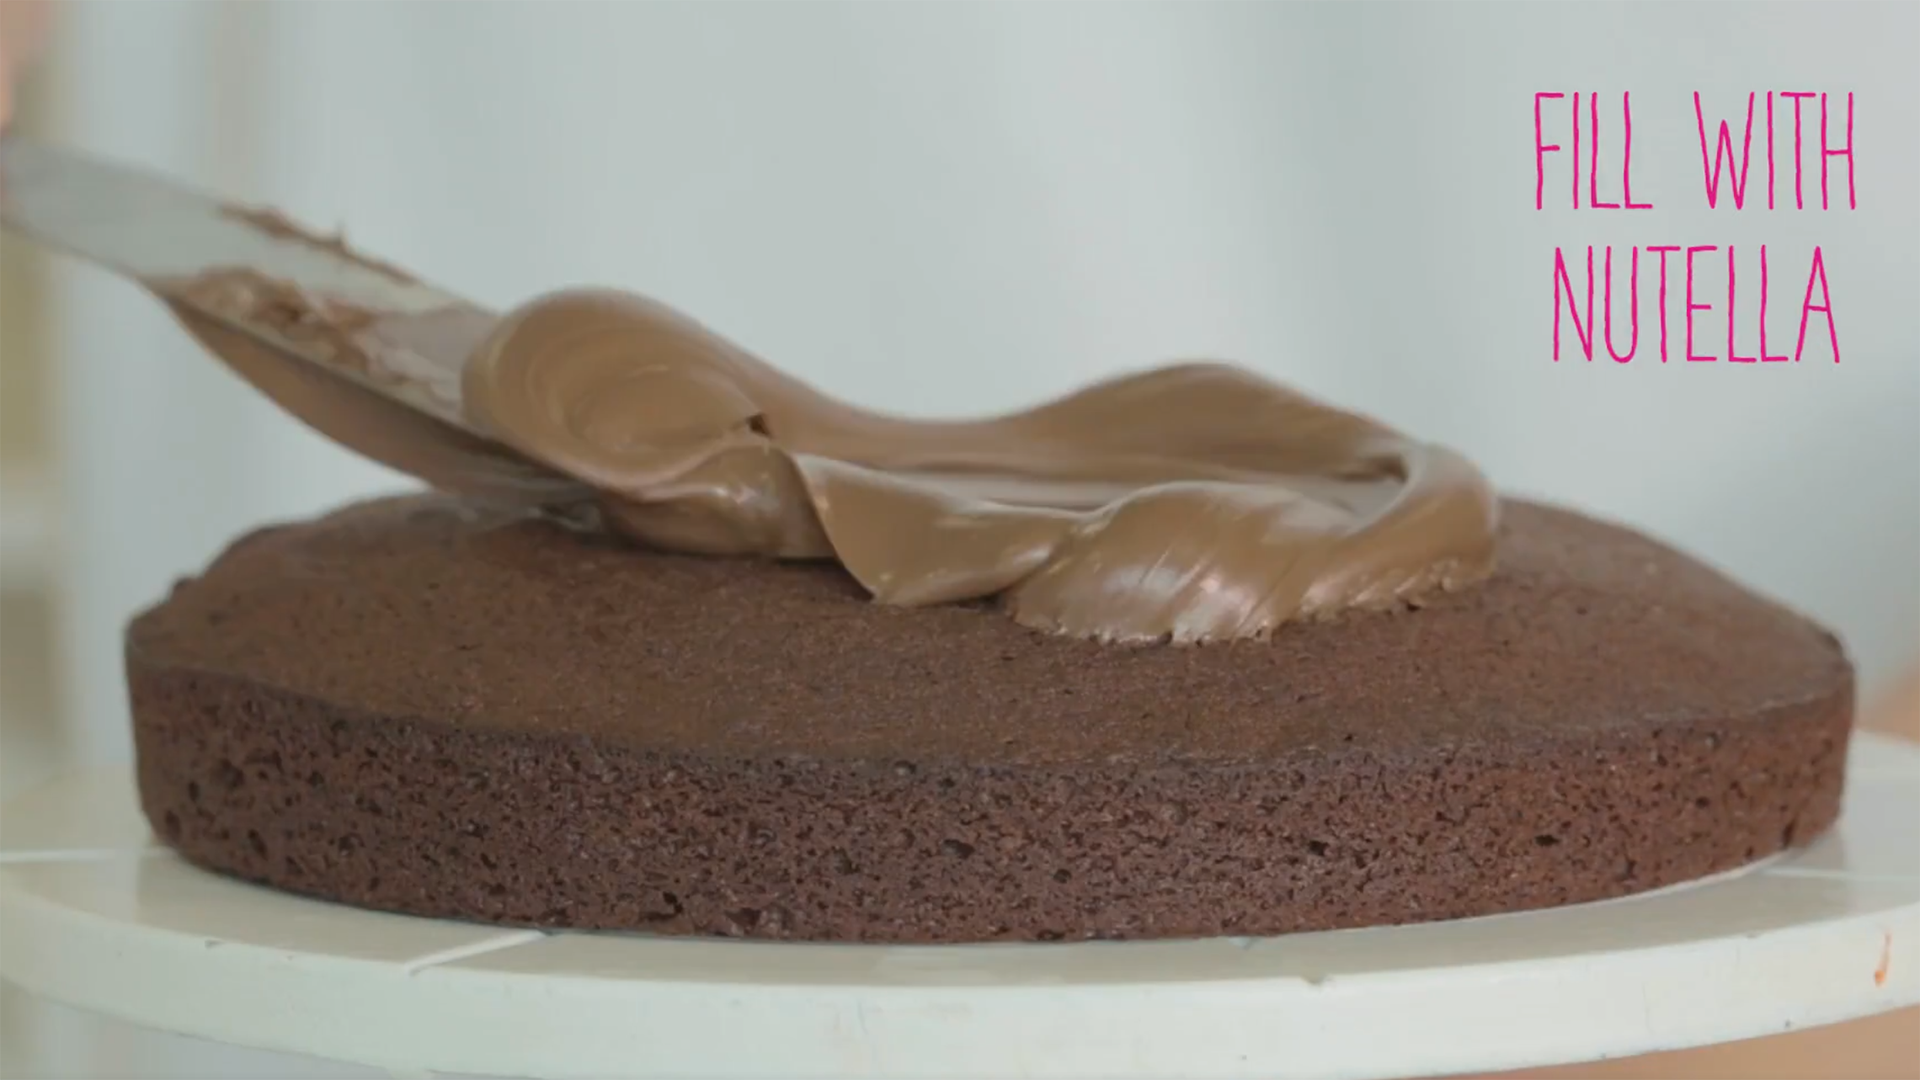
Once baked, turn the cakes out onto a wire rack and leave to cool a little. Put the base cake onto a serving plate. Spread Nutella over the base cake then sandwich the two cakes together.
Step 4
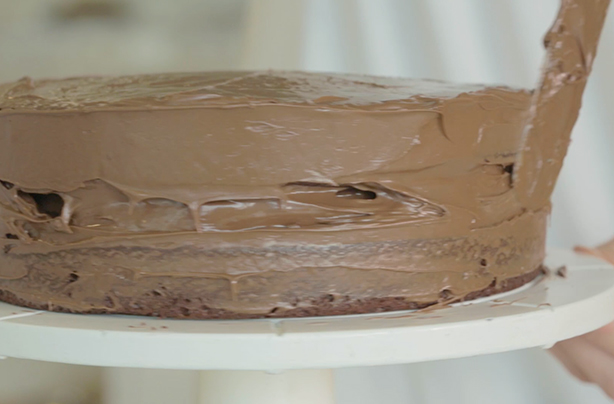
Spread the rest of the Nutella over the top of the cake using a spatula and spread evenly, letting it drip down the sides. Wipe any excess chocolate off the plate with a warm wet cloth, turning the plate as you go.
Step 5
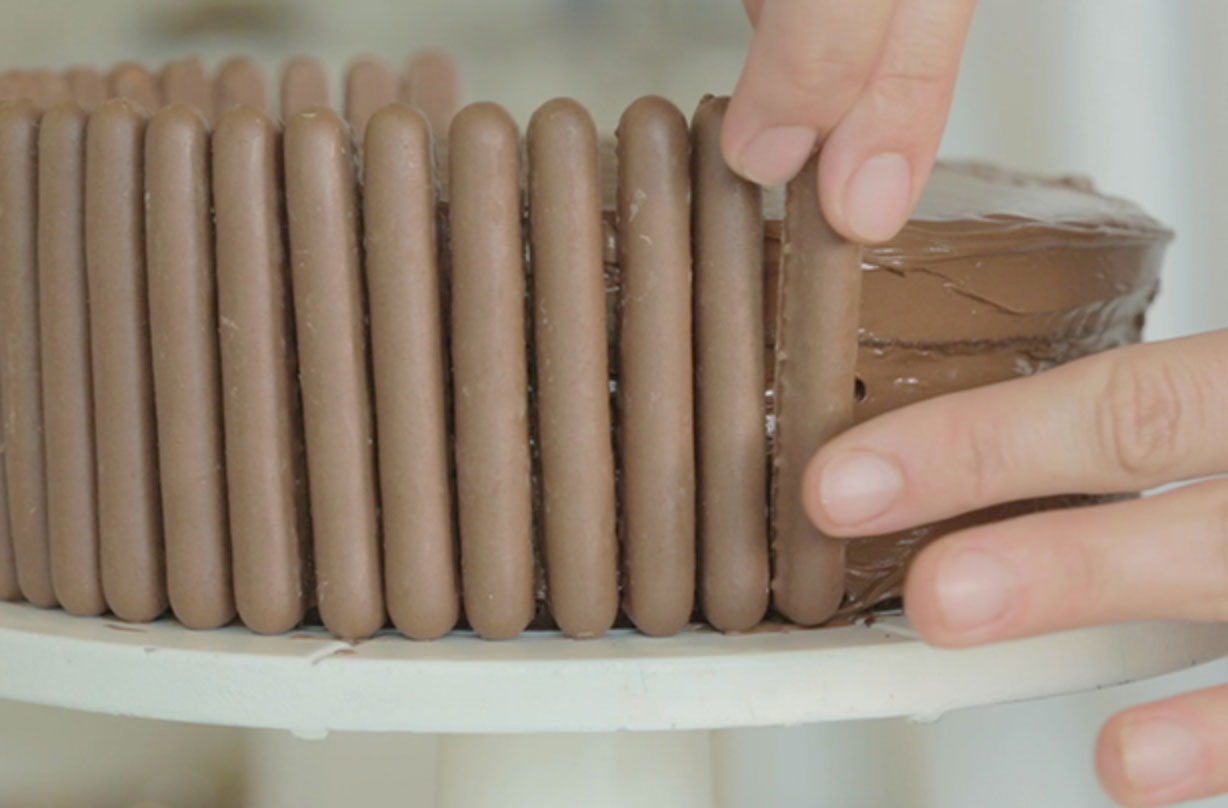
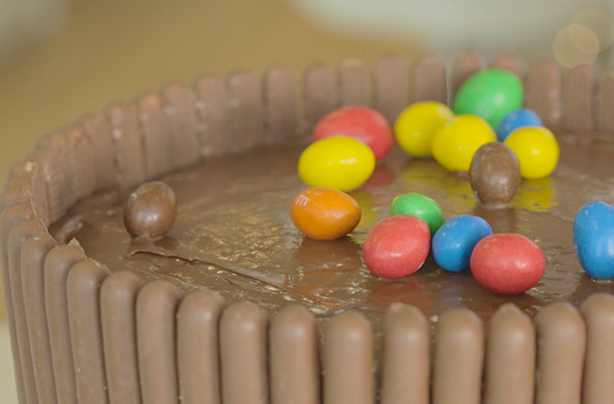
Begin to stick the chocolate fingers around the outside, pressing firmly in the middle of each chocolate finger so it sticks properly. The trick is to let the bottom of the chocolate finger rest on the plate and the middle stick to the cake. Leave the cake to one side so the chocolate fingers can stick. Meanwhile, decide which sweets you’re going to use to fill it.
Step 6
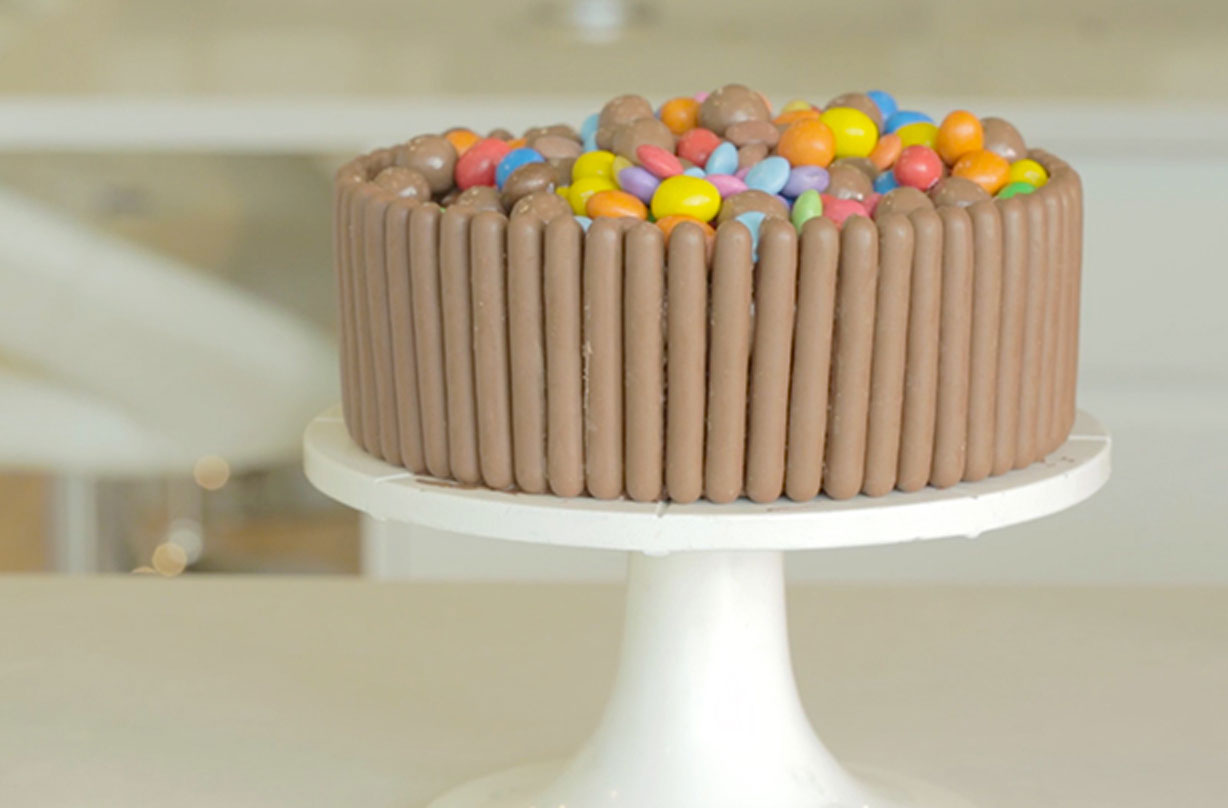
Scatter the sweets over the cake and pile them up until you’re happy. Store this cake in the fridge until it’s ready to be served.
Step 7
Ta-dah! Your beautiful chocolate fingers cake is ready.
This chocolate finger cake can be stored in the fridge until served and is best eaten on the day. If you have any leftovers store them in an airtight container for up to 3 days.
You might also like...
Mary Berry's chocolate cake Maltesers cake Nutella chocolate cake

Jessica Dady is Food Editor at GoodtoKnow and has over 12 years of experience as a digital editor, specialising in all things food, recipes, and SEO. From the must-buy seasonal food hampers and advent calendars for Christmas to the family-friendly air fryers that’ll make dinner time a breeze, Jessica loves trying and testing various food products to find the best of the best for the busy parents among us. Over the years of working with GoodtoKnow, Jessica has had the privilege of working alongside Future’s Test Kitchen to create exclusive videos - as well as writing, testing, and shooting her own recipes. When she’s not embracing the great outdoors with her family at the weekends, Jessica enjoys baking up a storm in the kitchen with her favourite bakes being chocolate chip cookies, cupcakes, and a tray of gooey chocolate brownies.