How to do a push-up: Follow this 30-day plan - building up to a full bodyweight workout
Follow our 30-day press-up challenge to strengthen your upper body – beginning on the knees and gradually building up to a full bodyweight workout

Discover how to do a push-up with our easy-to-follow 30-day press-up challenge, where we show you how to gradually build up to a full bodyweight movement.
Push-ups certainly aren't easy, but once you've built up your confidence, they'll soon become a main-stay in your HIIT workouts and could help you to progress to learning how to do burpees. After a month, you’ll have mastered a full bodyweight press-up by working up to it slowly, at a pace that suits you. Fitness expert and personal trainer Jade Hansle demonstrates how to do a push-up. She told us: "Push-ups are great for building upper body strength. When carried out in the correct form, they can also strengthen the lower back and core by engaging your tummy muscles." According to the National Academy of Sports Medicine, push-ups also target the triceps, chest muscles, and shoulders.
"This challenge is designed to gradually increase your upper body strength and perfect your push-up form," adds Jade. "If performed correctly you will start to notice a difference in around one week. Full push-ups (on your toes) can be very difficult if you're a beginner. Performing a push-up on your knees with the correct form is still extremely effective at working your upper body.
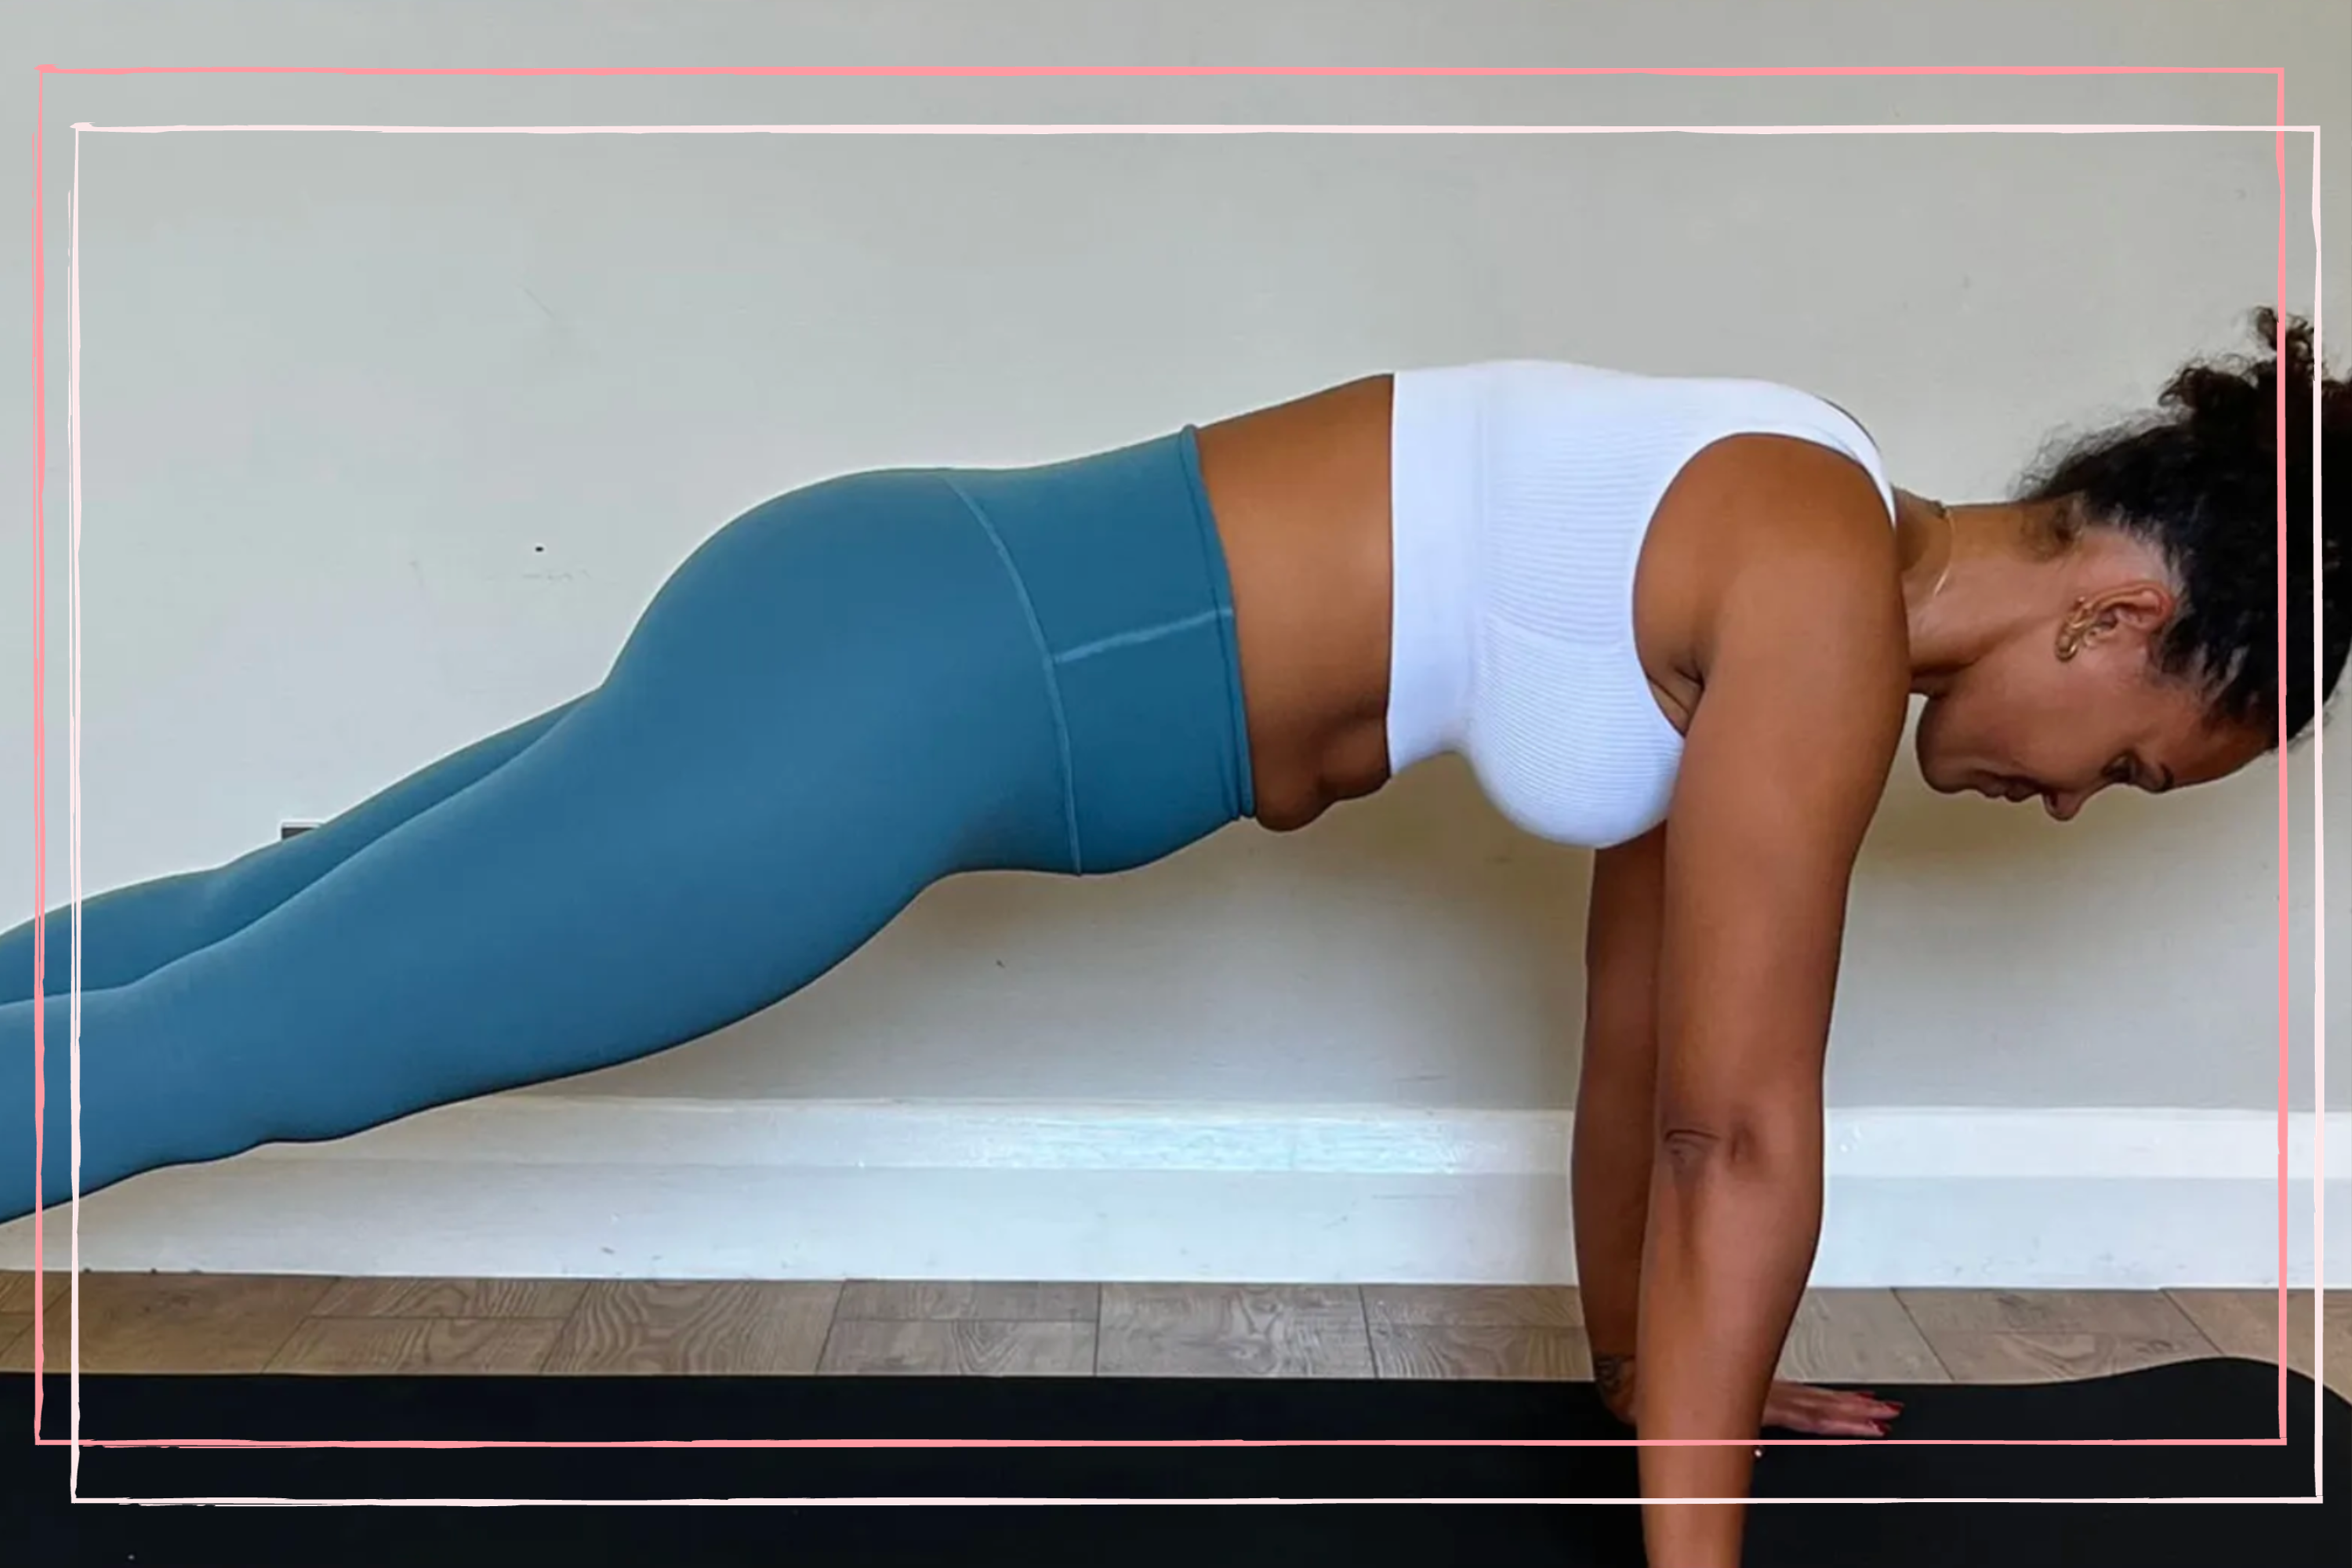
How to do a push up
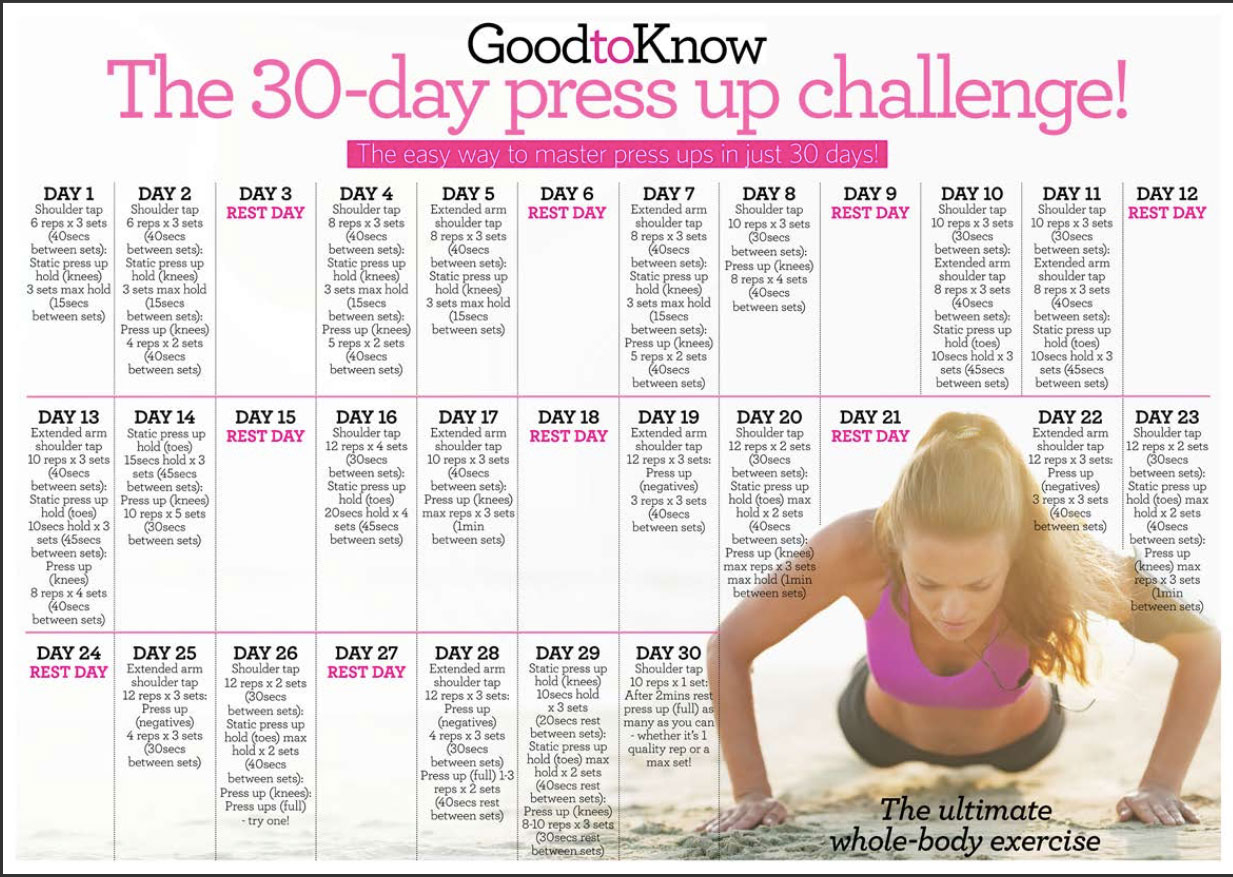
30-day push-up challenge
Overseen by fitness expert Jade Hansle, the 30-day press-up challenge begins with 6 reps x 3 sets of shoulder taps and 3 x 15-sec static press-up hold on your knees, progresses to the press-up on the toes, and results in a full bodyweight press-up. In the video and photos below, Jade shows you exactly how you can perform each exercise at home – no personal trainers or equipment needed.
When learning how to do a push-up, form is everything. Jade Hansle told us, "It's important to ensure you have the correct form when performing push-ups. Poor form can lead to injuries in the shoulders, wrists, and possibly lower back. It is also essential you include rest days, increasing the amount of training you're doing or upping the intensity, without giving your body enough time to rest and recover, is a common cause of injuries."
The push-up challenge exercises
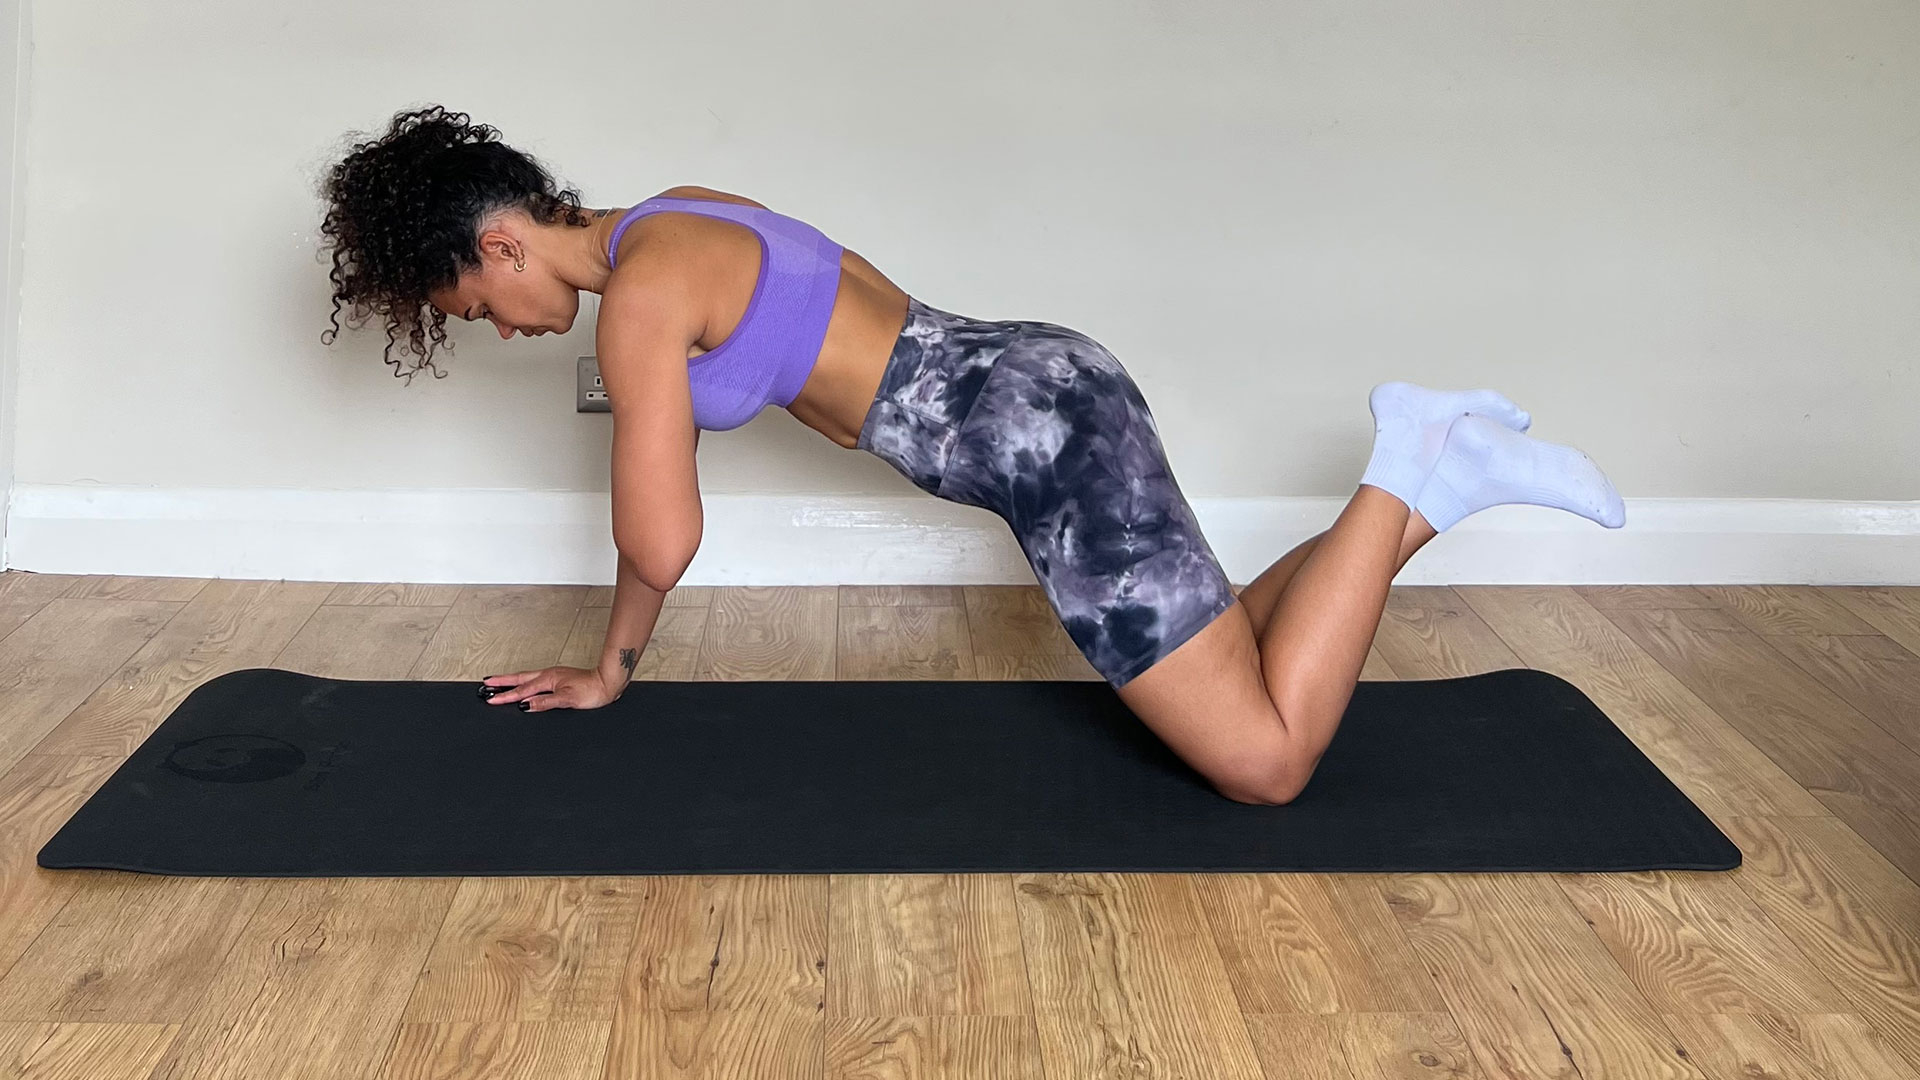
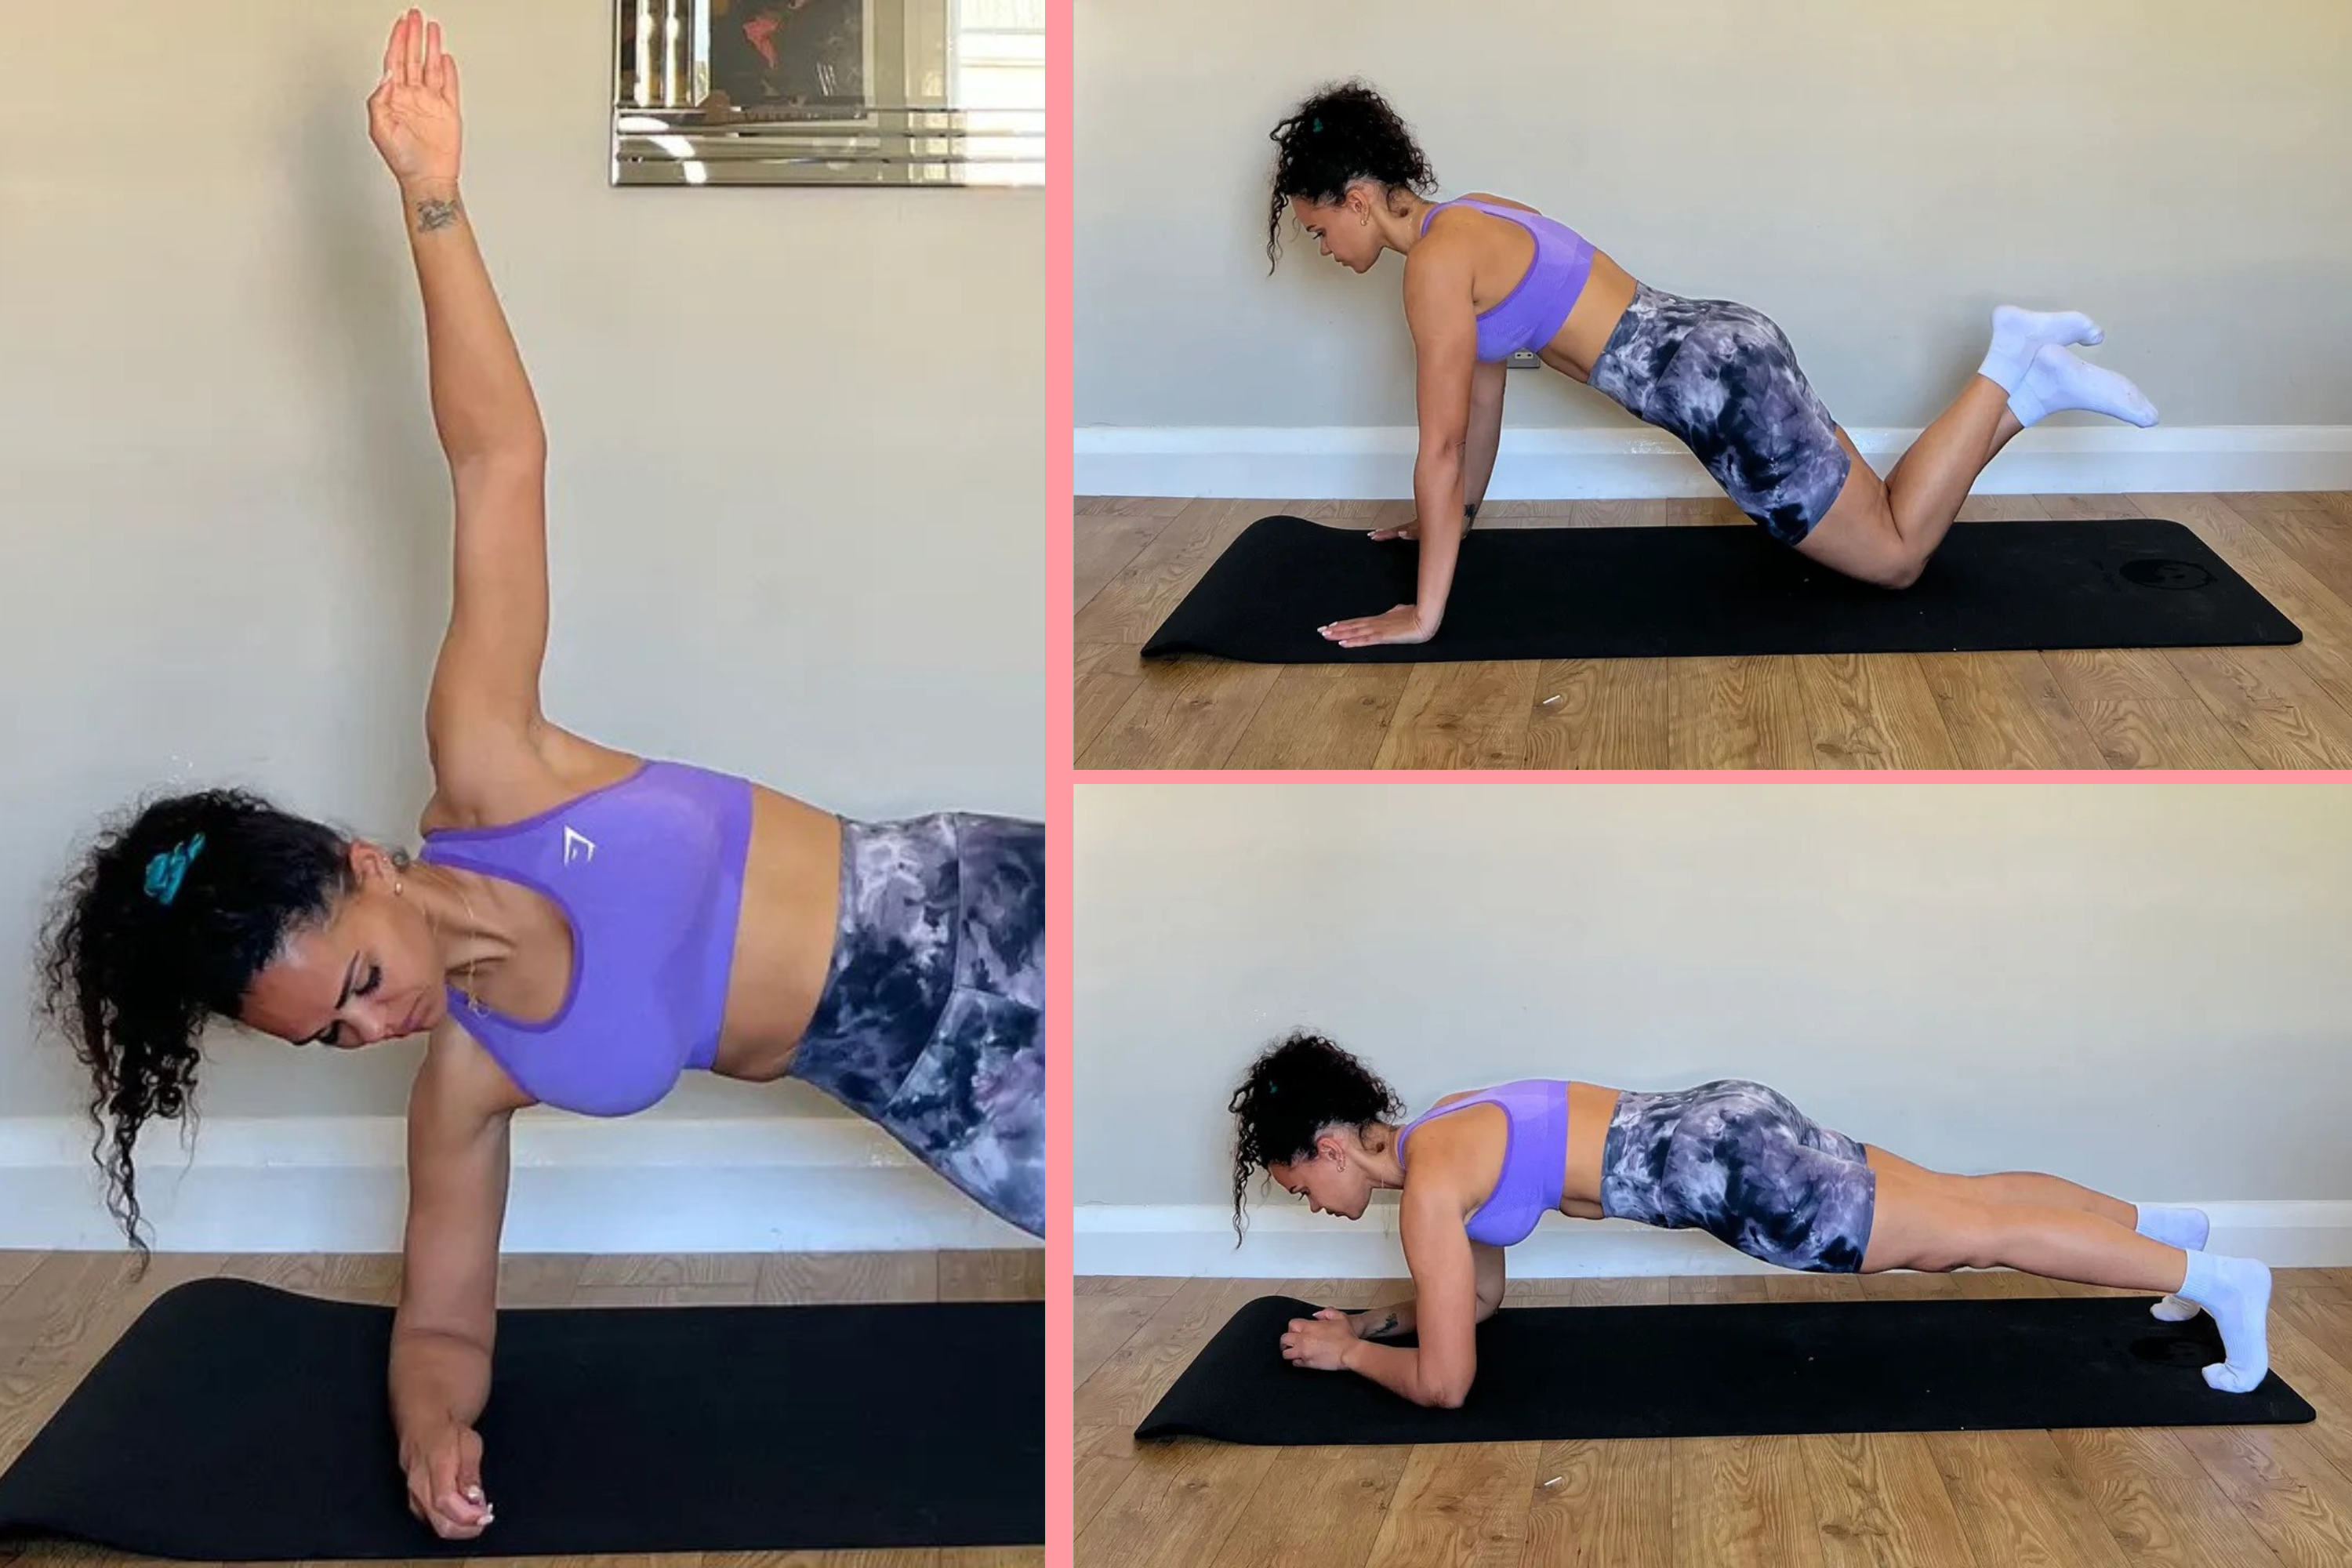
1. Shoulder tap
- Begin on your knees with your hands on the floor, directly underneath your armpits.
- Lower your hips towards the floor so your weight is on your hands and your chest is over your hands.
- Pull your tummy muscles in towards your spine and then lift one hand to touch your opposite shoulder before replacing and repeating with the other arm.
- Repeat for the desired repetitions.
- By keeping your tummy muscles engaged you will find it easy to keep your hips still during the exercise
"Shoulder taps are one of the most functional movements you can do because they require you to keep your hips and shoulders squared, " says Jade. "They are a great way to challenge your core as you will have to work hard to keep your hips from swinging side to side whilst you're performing the exercise."
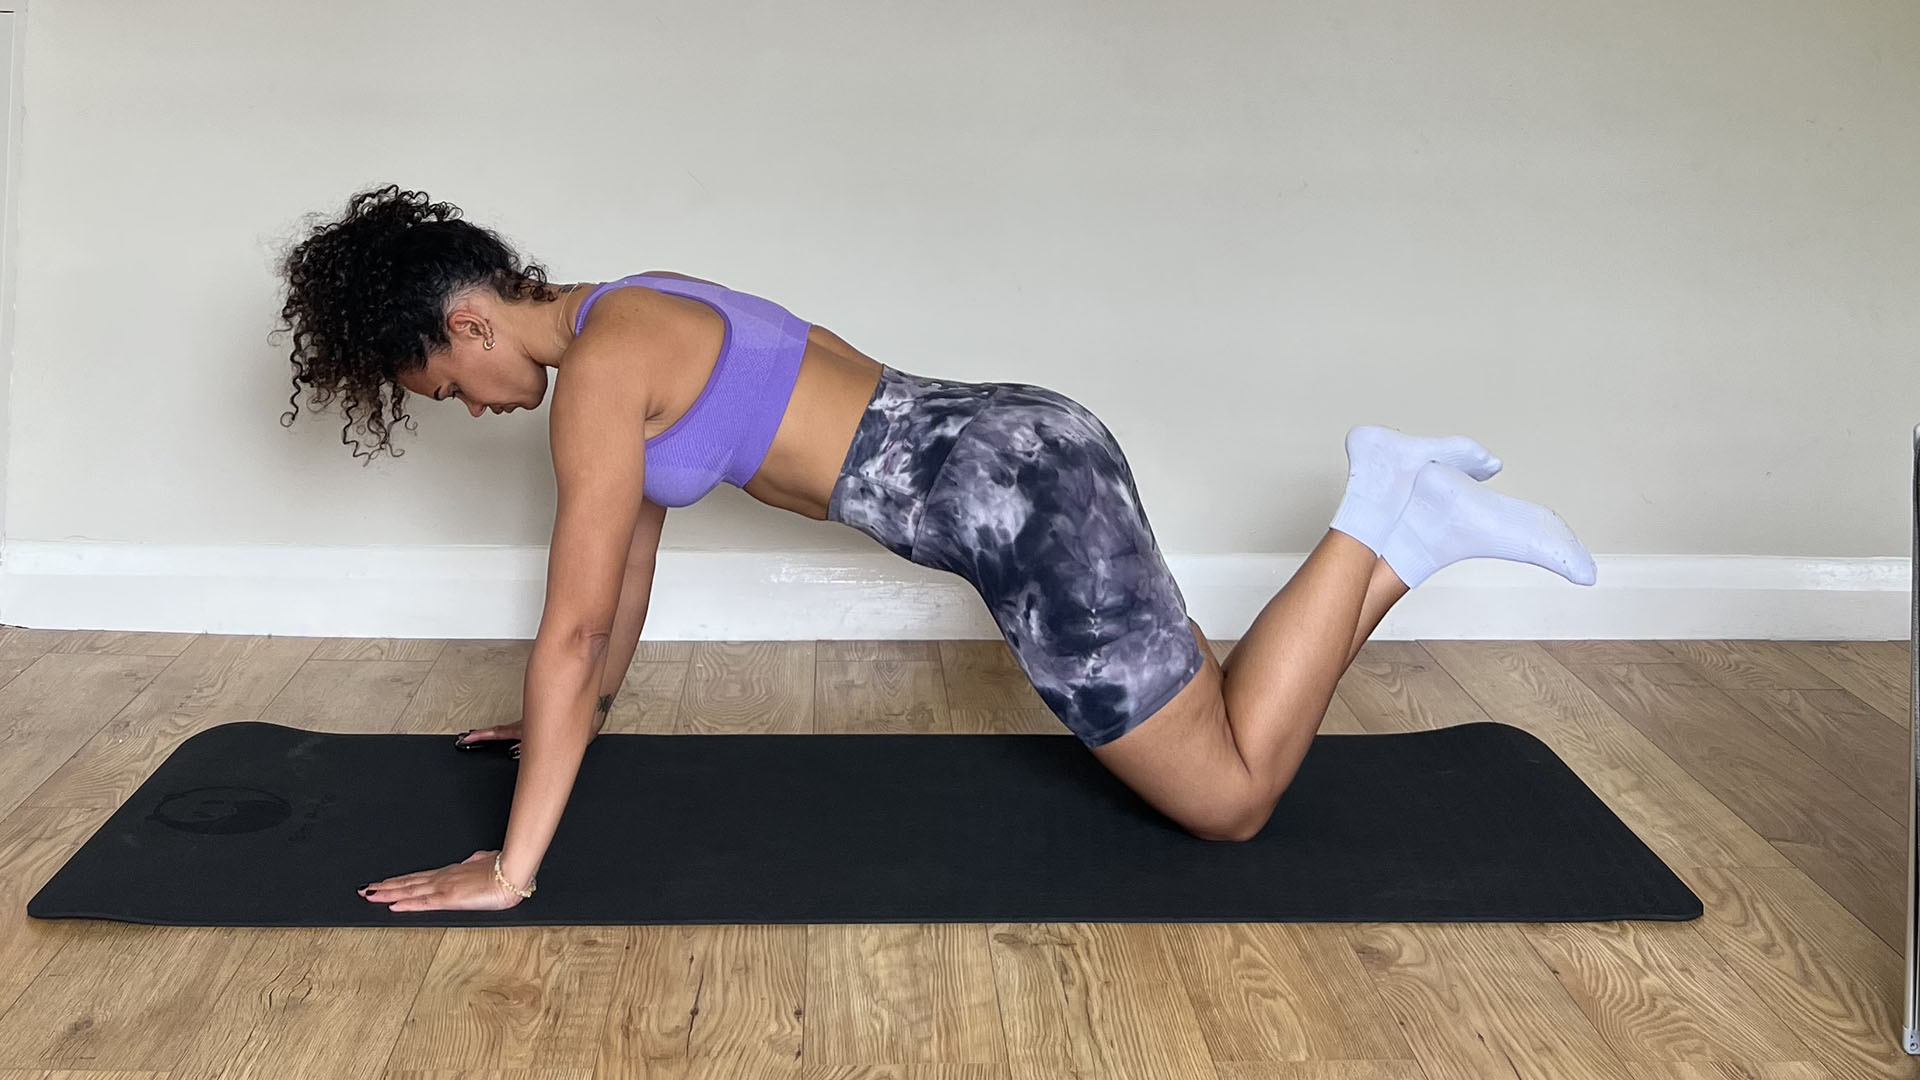
Shoulder tap press up starting position
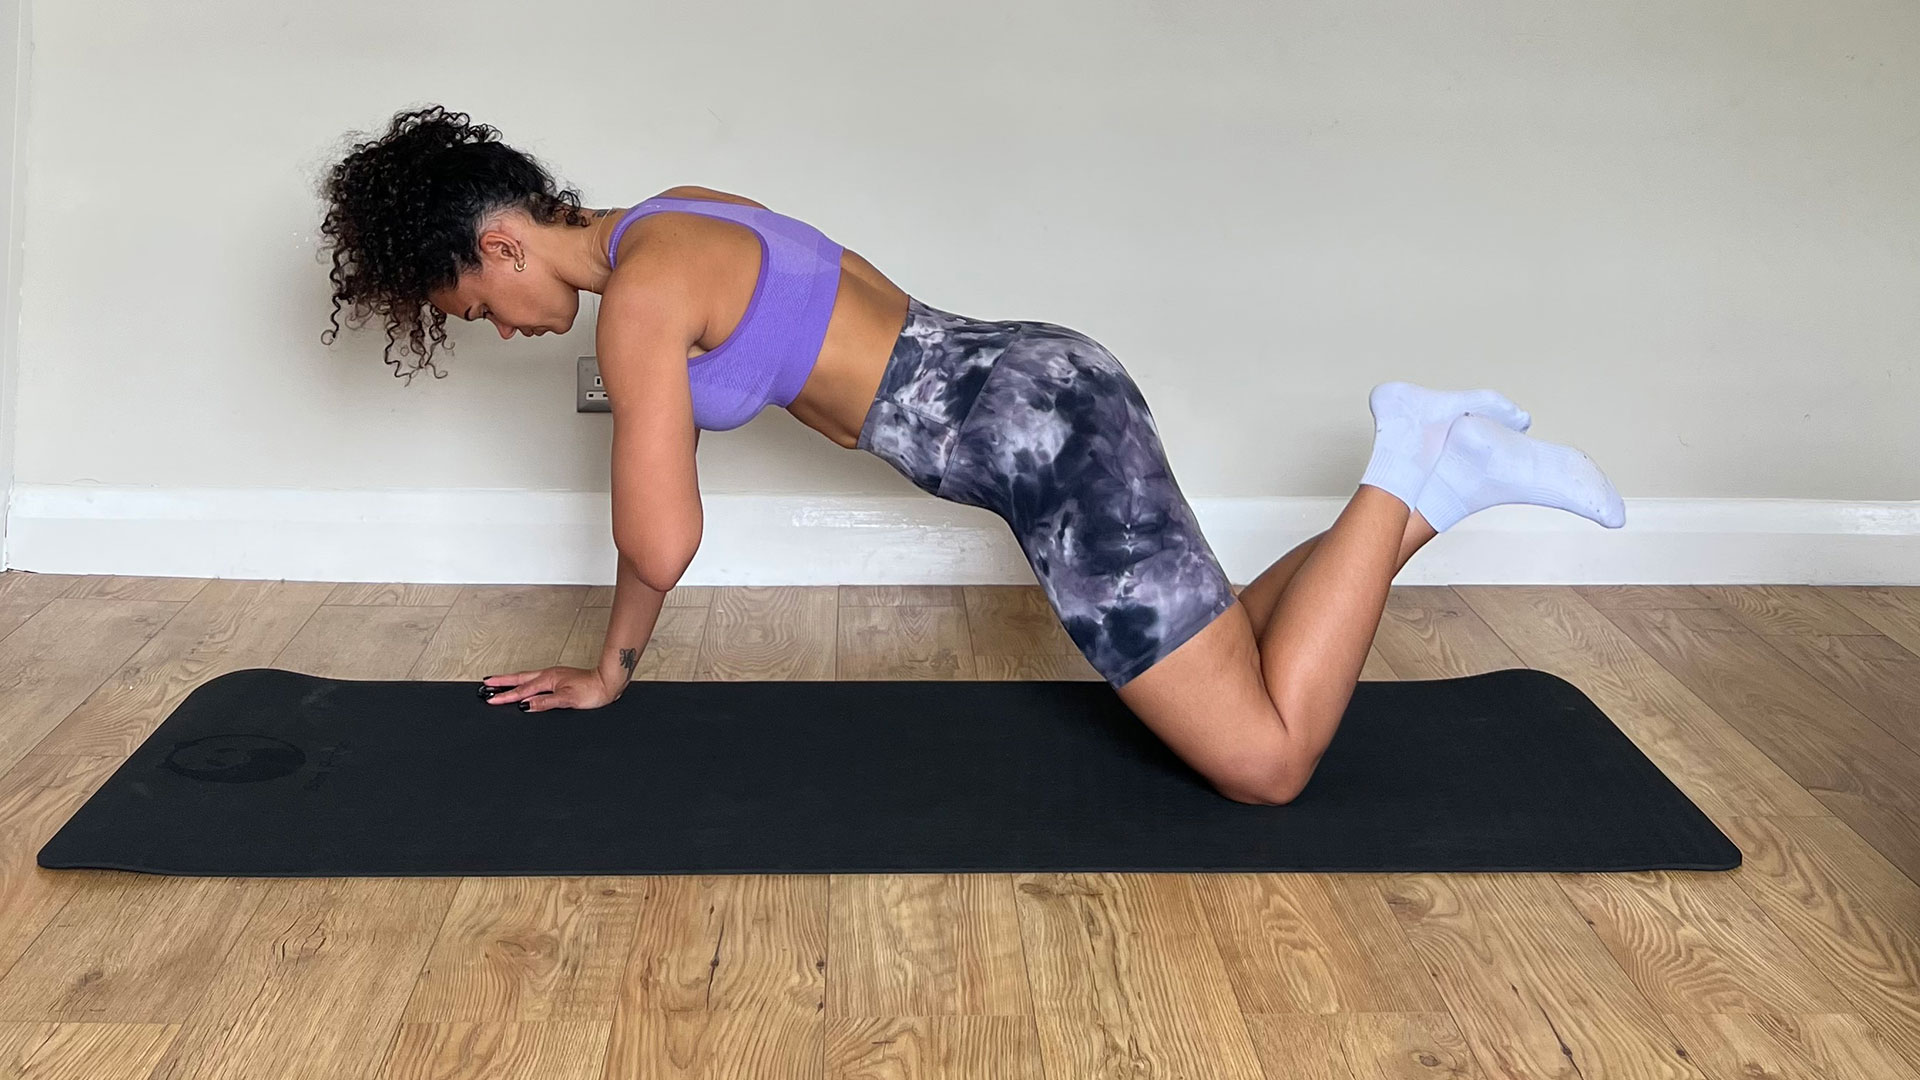
Shoulder tap press up
2. Static push-up hold on the knees
- Start by adopting the press-up on your knees position, ensuring your hands are wider than your shoulders and your chest is over your hands.
- Keep your elbows in tight towards your torso
- Then lower your body halfway towards the floor (so your elbow would be nearly at 90 degrees) and at this point hold the position for as long as possible – until you fail.
- Keep your tummy muscles in at all times and your chest proud and over your hands (this provides the best mechanical position for the shoulders and reduces the involvement of the neck).
Jade tells us: “This static exercise is designed to prepare your muscles and shoulder joint stabilisers for the bottom position of the press up, where your muscles are at their full stretch and essentially weakest point. Ensuring your tummy muscles are pulled in towards your spine during the exercise will ensure you don’t injure your lower back. When we refer to ‘tummy muscles in’ we are referring to your transverse abdominals which are deep core muscles that wrap around your midsection like a corset and protect your back."
Parenting advice, hot topics, best buys and family finance tips delivered straight to your inbox.
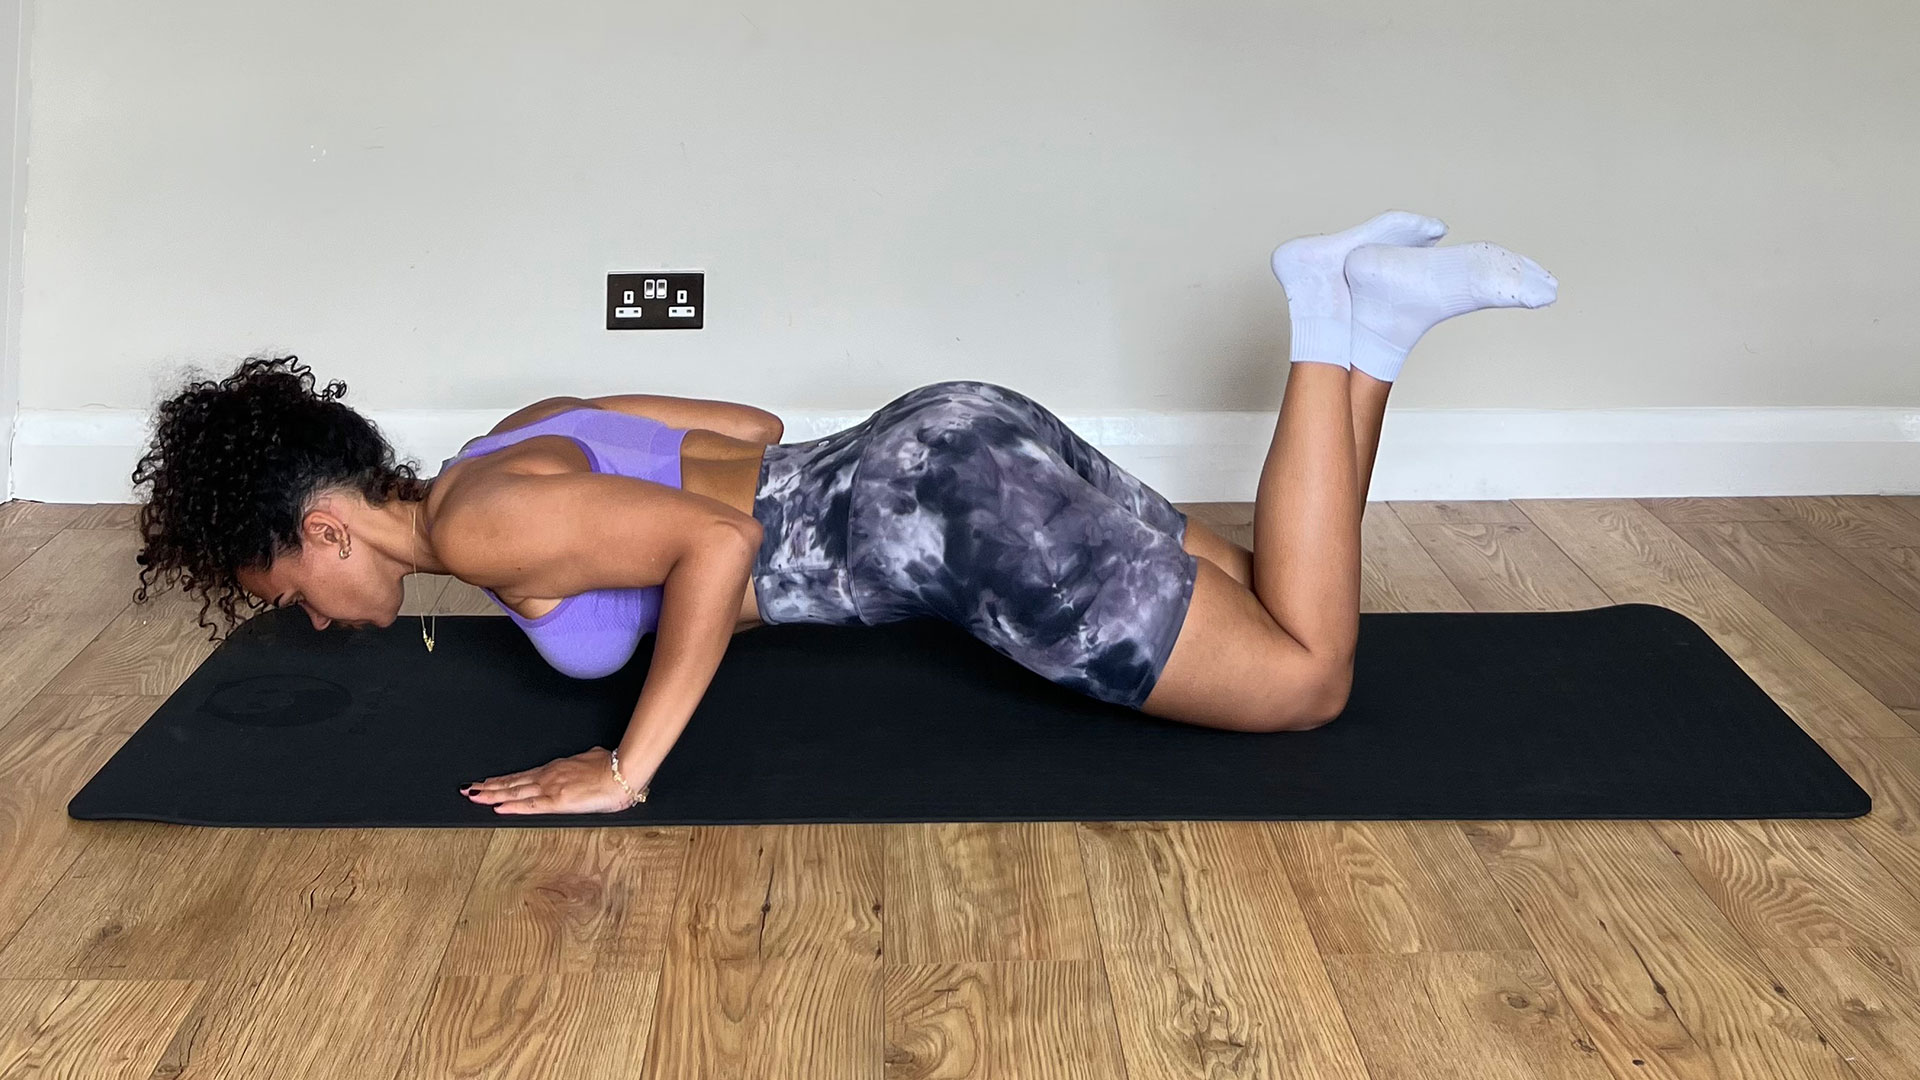
3. Push-up (knees)
The halfway point to full press-ups, this on-knees version is a press-up, just with a lesser percentage of your body weight. Aim for as full a range of motion as possible with each rep.
- Start by adopting the press-up on your knees position.
- Ensuring your tummy muscles are pulled in towards your spine and your chest remains over your hands
- Spread your fingers out so you have better stability
- Lower your body until your chest is close to the floor before returning to the start position
- Push your body back by pushing into the ground with your hands.
- repeat

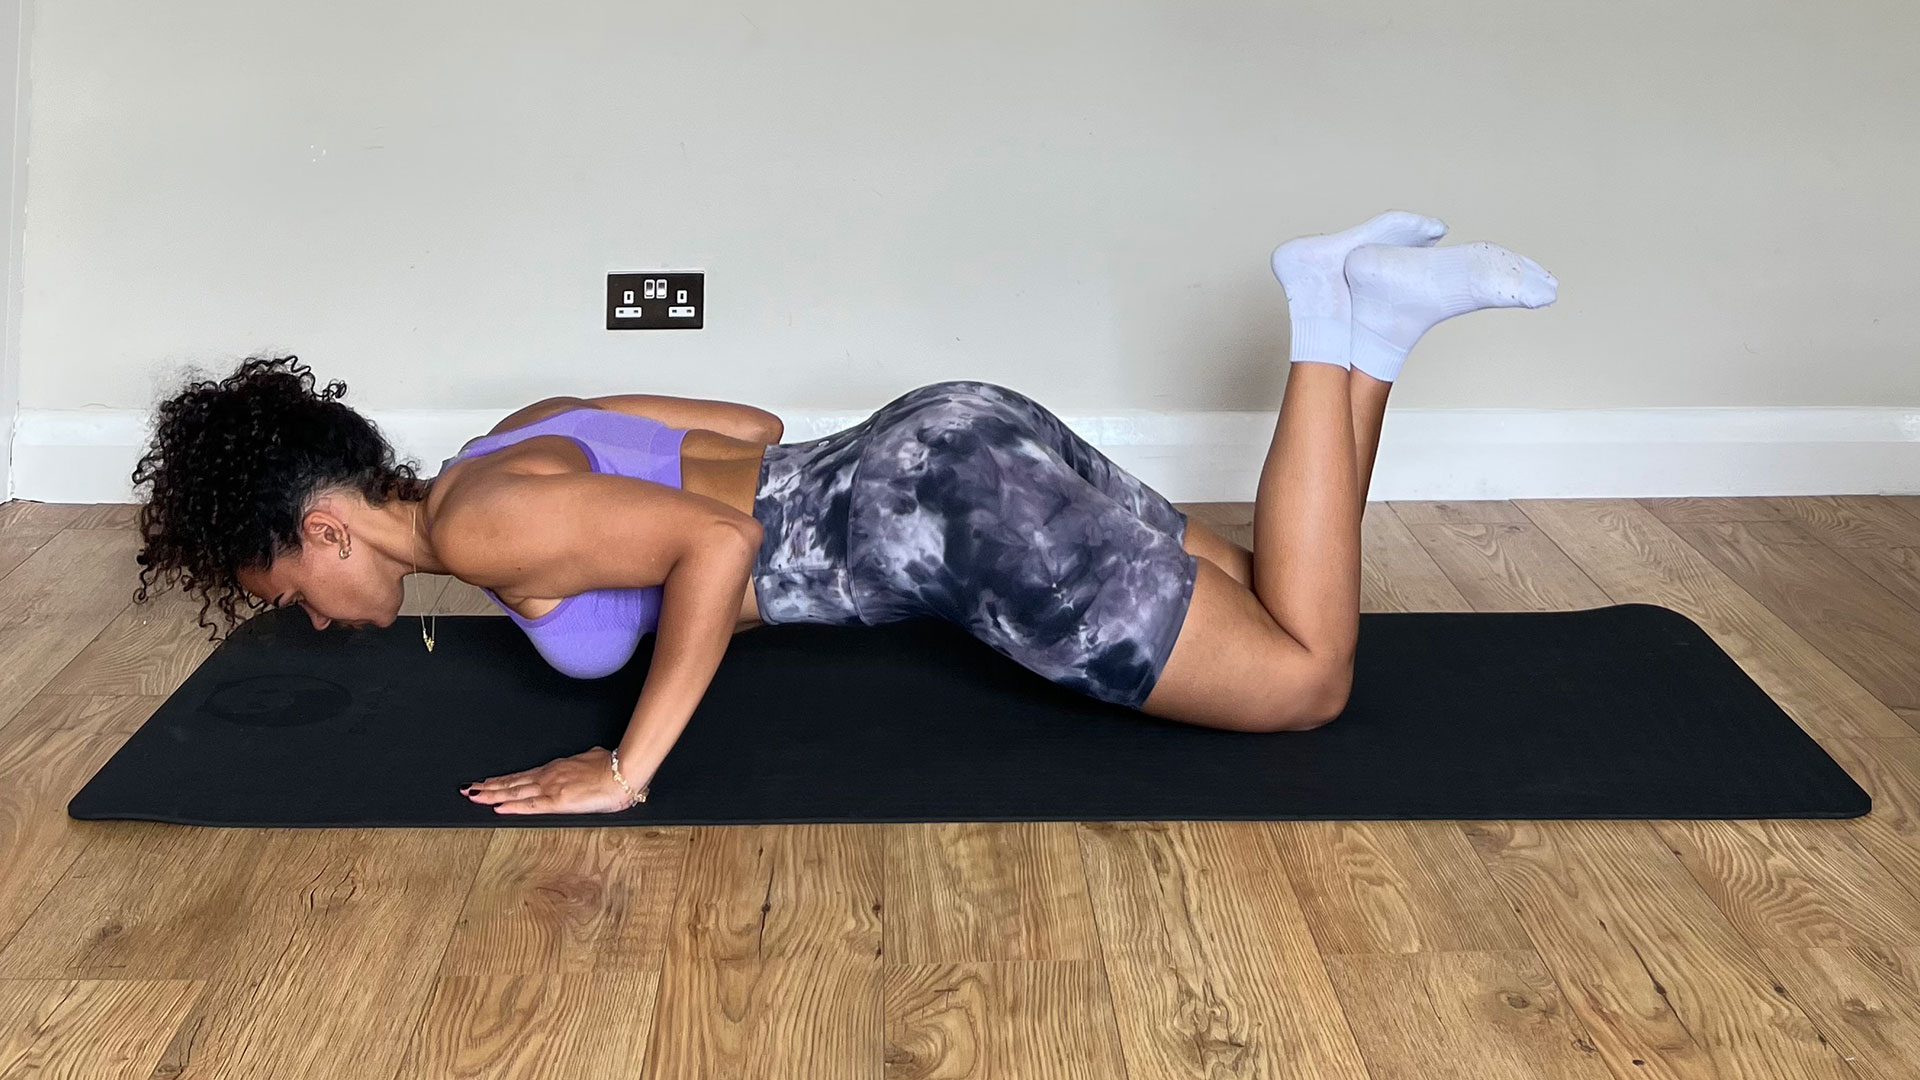
4. Extended arm shoulder tap
This is simply the advanced version of the shoulder taps on knees, the difference being you will be balancing on your toes in essentially the starting position of a full press up, when you do the shoulder taps. Jade told us, “The same rules apply here – chest over hands, tummy in, and use the positioning of your feet to make this manageable. The closer together your feet the harder it will be, feet further apart provide a better-balanced tripod. Wider feet and a tighter core will ensure you have a much more stable position."
5. Static push-up hold (toes)
This static exercise is the progression of the on-knees version, a step closer to the full press-up. “Remember this is designed to prepare your muscles and shoulder joint stabilisers for the bottom position of the press up where your muscles are at their full stretch and essentially weakest point," Jade advises. This will feel hard as it is the hardest point of the press-up – which is why we are considering it and isolating it.
- Adopt the press-up position on the toes
- With your tummy pulled in towards your spine, lower yourself towards the floor to a weight you can manage to sustain for the desired time period
- Keep your tummy muscles in at all times and your chest proud and over your hands - this provides the best mechanical position for the shoulders and reduces the involvement of the neck.
- Keep your hips up, so they don't dip down and put excessive strain on your lower back
- Hold this position for as long as you can.
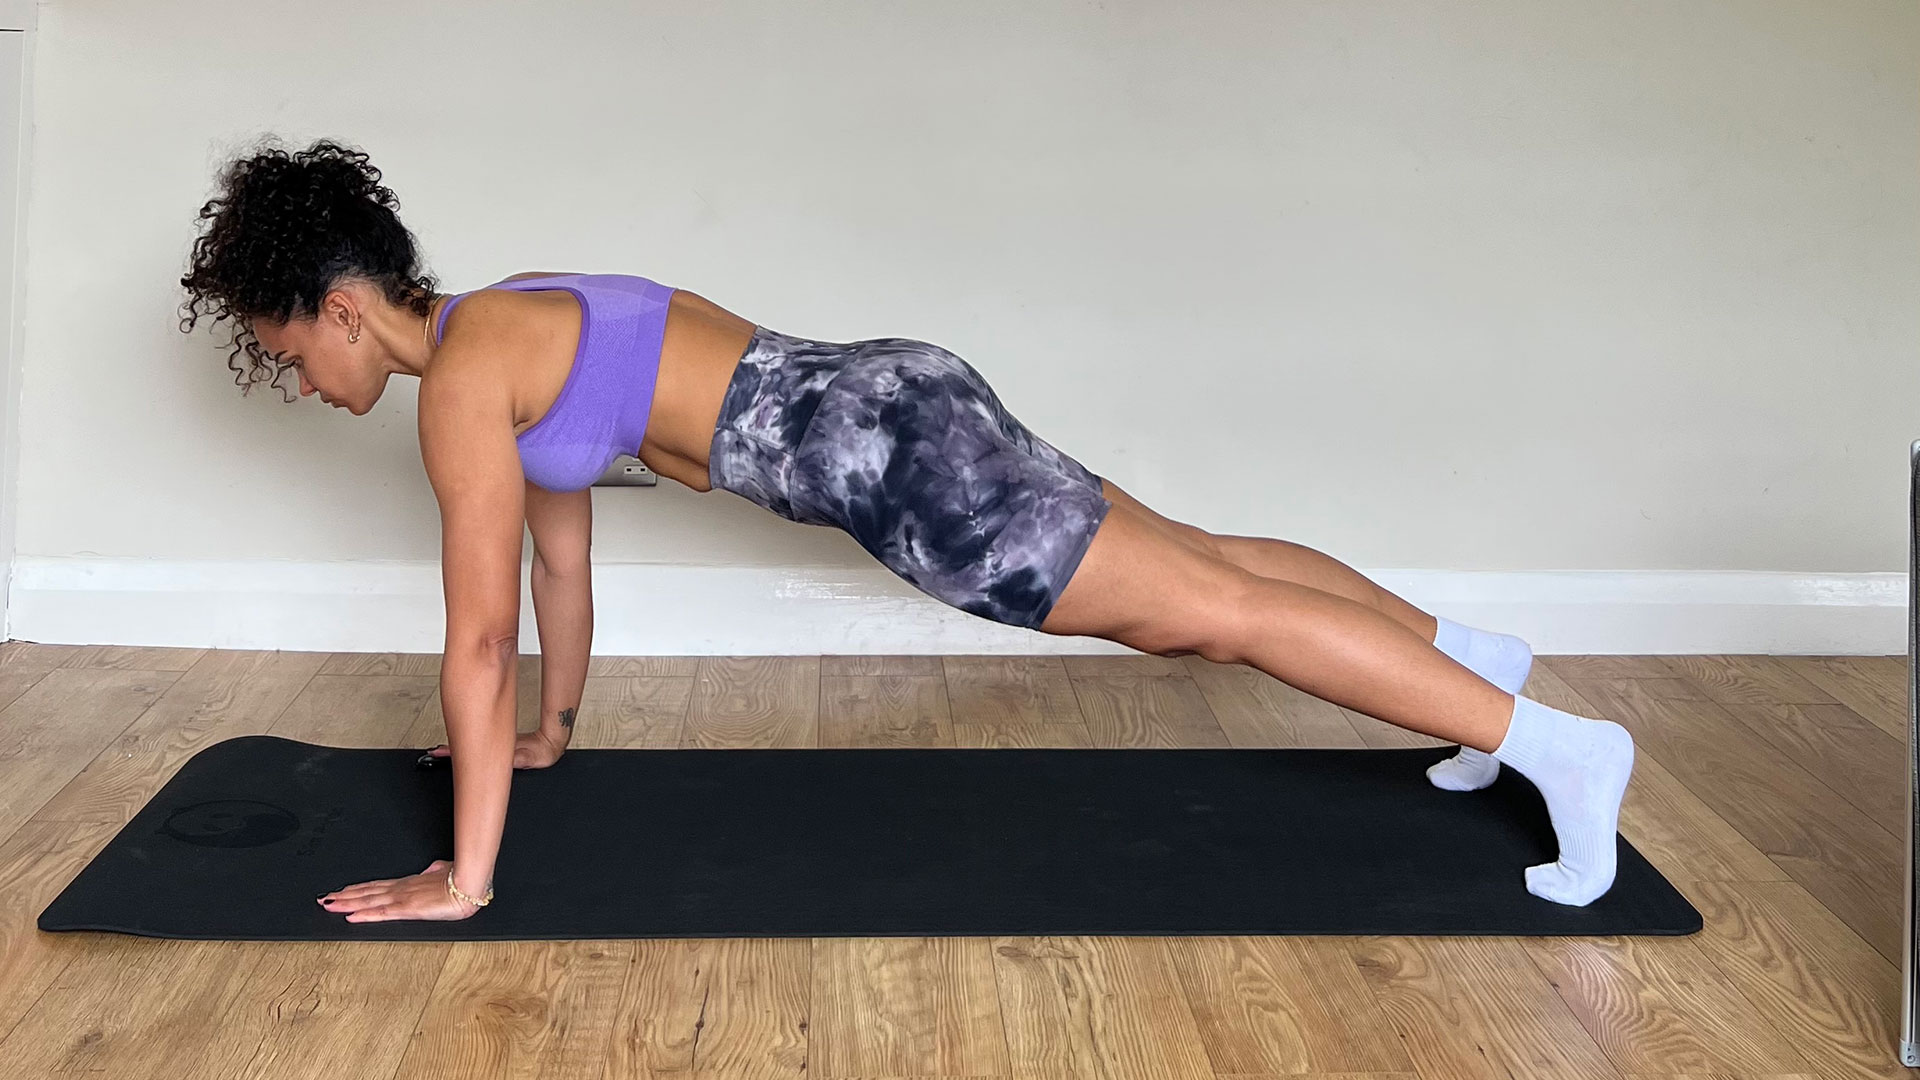
Static press up hold
This advanced exercise is all about training the muscles when they’re lengthening. Jade advises, “Working on this part of the movement creates significant strength to prepare and propel you towards that full press up. The key is to lower your body slowly, as slow as you can.”
- Start with the full press-up position
- With your tummy muscles pulled in towards your spine, slowly lower your body to the floor.
- Spread your hands out for better stability
- Keep your hips up so your body is in a straight line
- Once you make contact with the floor (hopefully gently) you can simply push back onto your knees and gently come and then adopt the press-up position again.
- Then once again repeat the lowering movement to the floor.
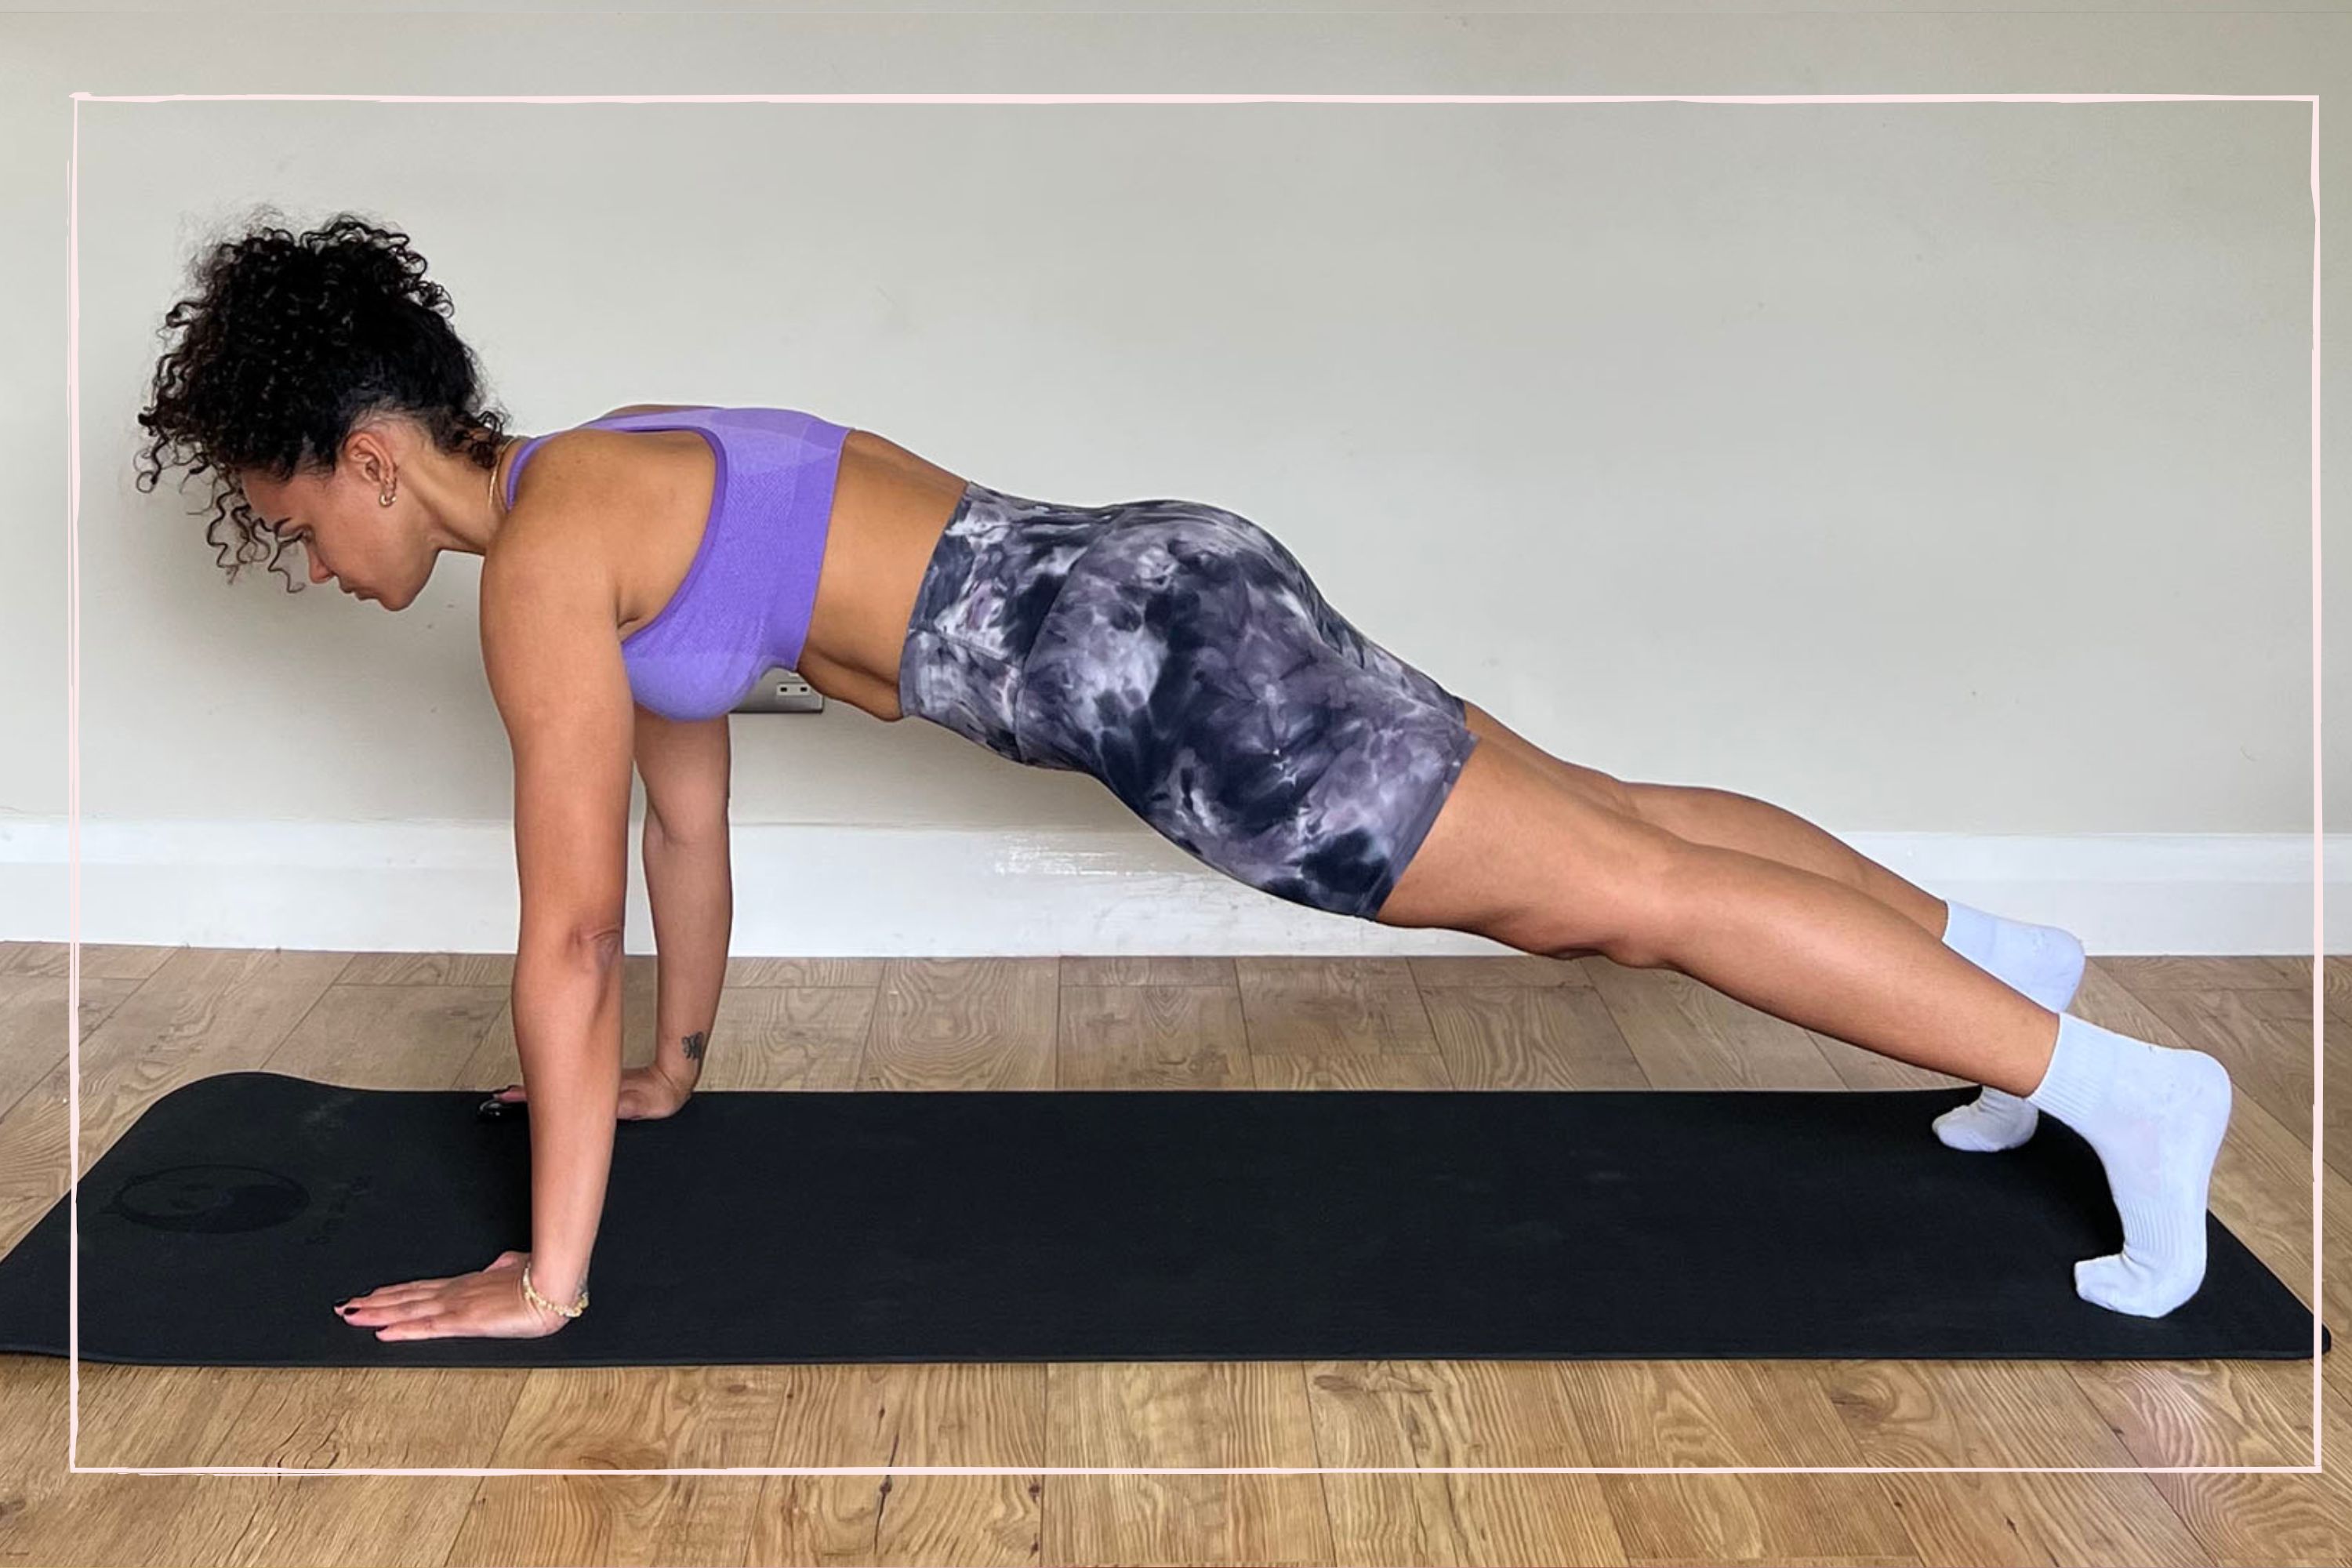
6. Full push-up
- Adopt the full press-up position with hands wider than shoulders, chest over hands and your tummy muscles pulled in.
- Spread out your hands for better stability
- Lower your body halfway to the floor (ideally to 90 degrees at your elbow)
- push down into the floor with your hands to push the body back up to extended elbows.
It's the move you've been aiming for - Jade has a few more tips for getting it right. "It is crucial to keep your tummy muscles in tight", she told us. "And keep your hips elevated slightly to avoid dipping your back and creating a ‘snaking up’ movement. Your body should be like a ‘plank’ throughout the entire movement."


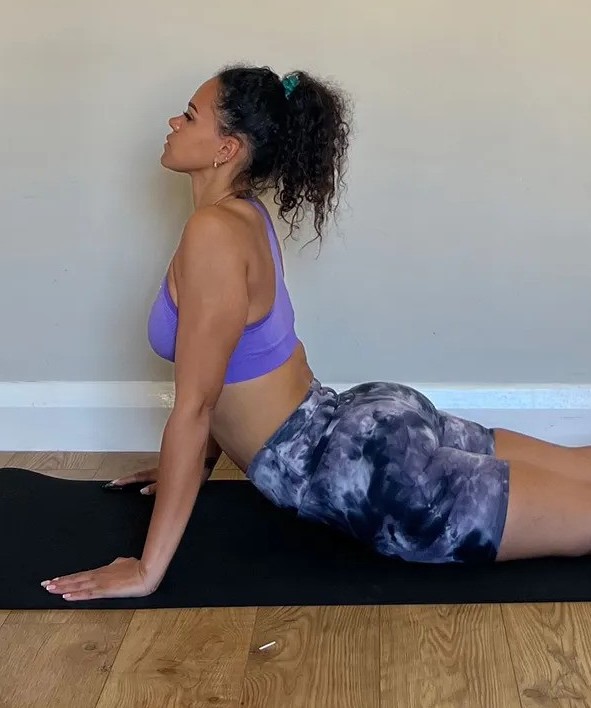
"As a Personal Trainer, my passion is to guide people towards a healthier lifestyle. Everybody is unique, with their own strengths and limitations. My method is to build a custom plan based on your health, schedule and more importantly, fitness goals. With a speciality in strength training, I aim to transform your body and help you be the best version of yourself.
I love helping women lift weights and gain confidence in the gym. As a pre and postnatal specialist (and mother of two), I understand the importance of staying fit during and after your pregnancy."
Continue reading

From building healthy family relationships to self-care tips for mums and parenting trends - Daniella also covers postnatal workouts and exercises for kids. After gaining a Print Journalism BA Hons degree and NCTJ Diploma in Journalism at Nottingham Trent University, Daniella started writing for Health & Wellbeing and co-hosted the Walk to Wellbeing podcast. She has also written for Stylist, Natural Health, The Sun UK and Fit & Well. In her free time, Daniella loves to travel, try out new fitness classes and cook for family and friends.
