Parenting advice, hot topics, best buys and family finance tips delivered straight to your inbox.
You are now subscribed
Your newsletter sign-up was successful
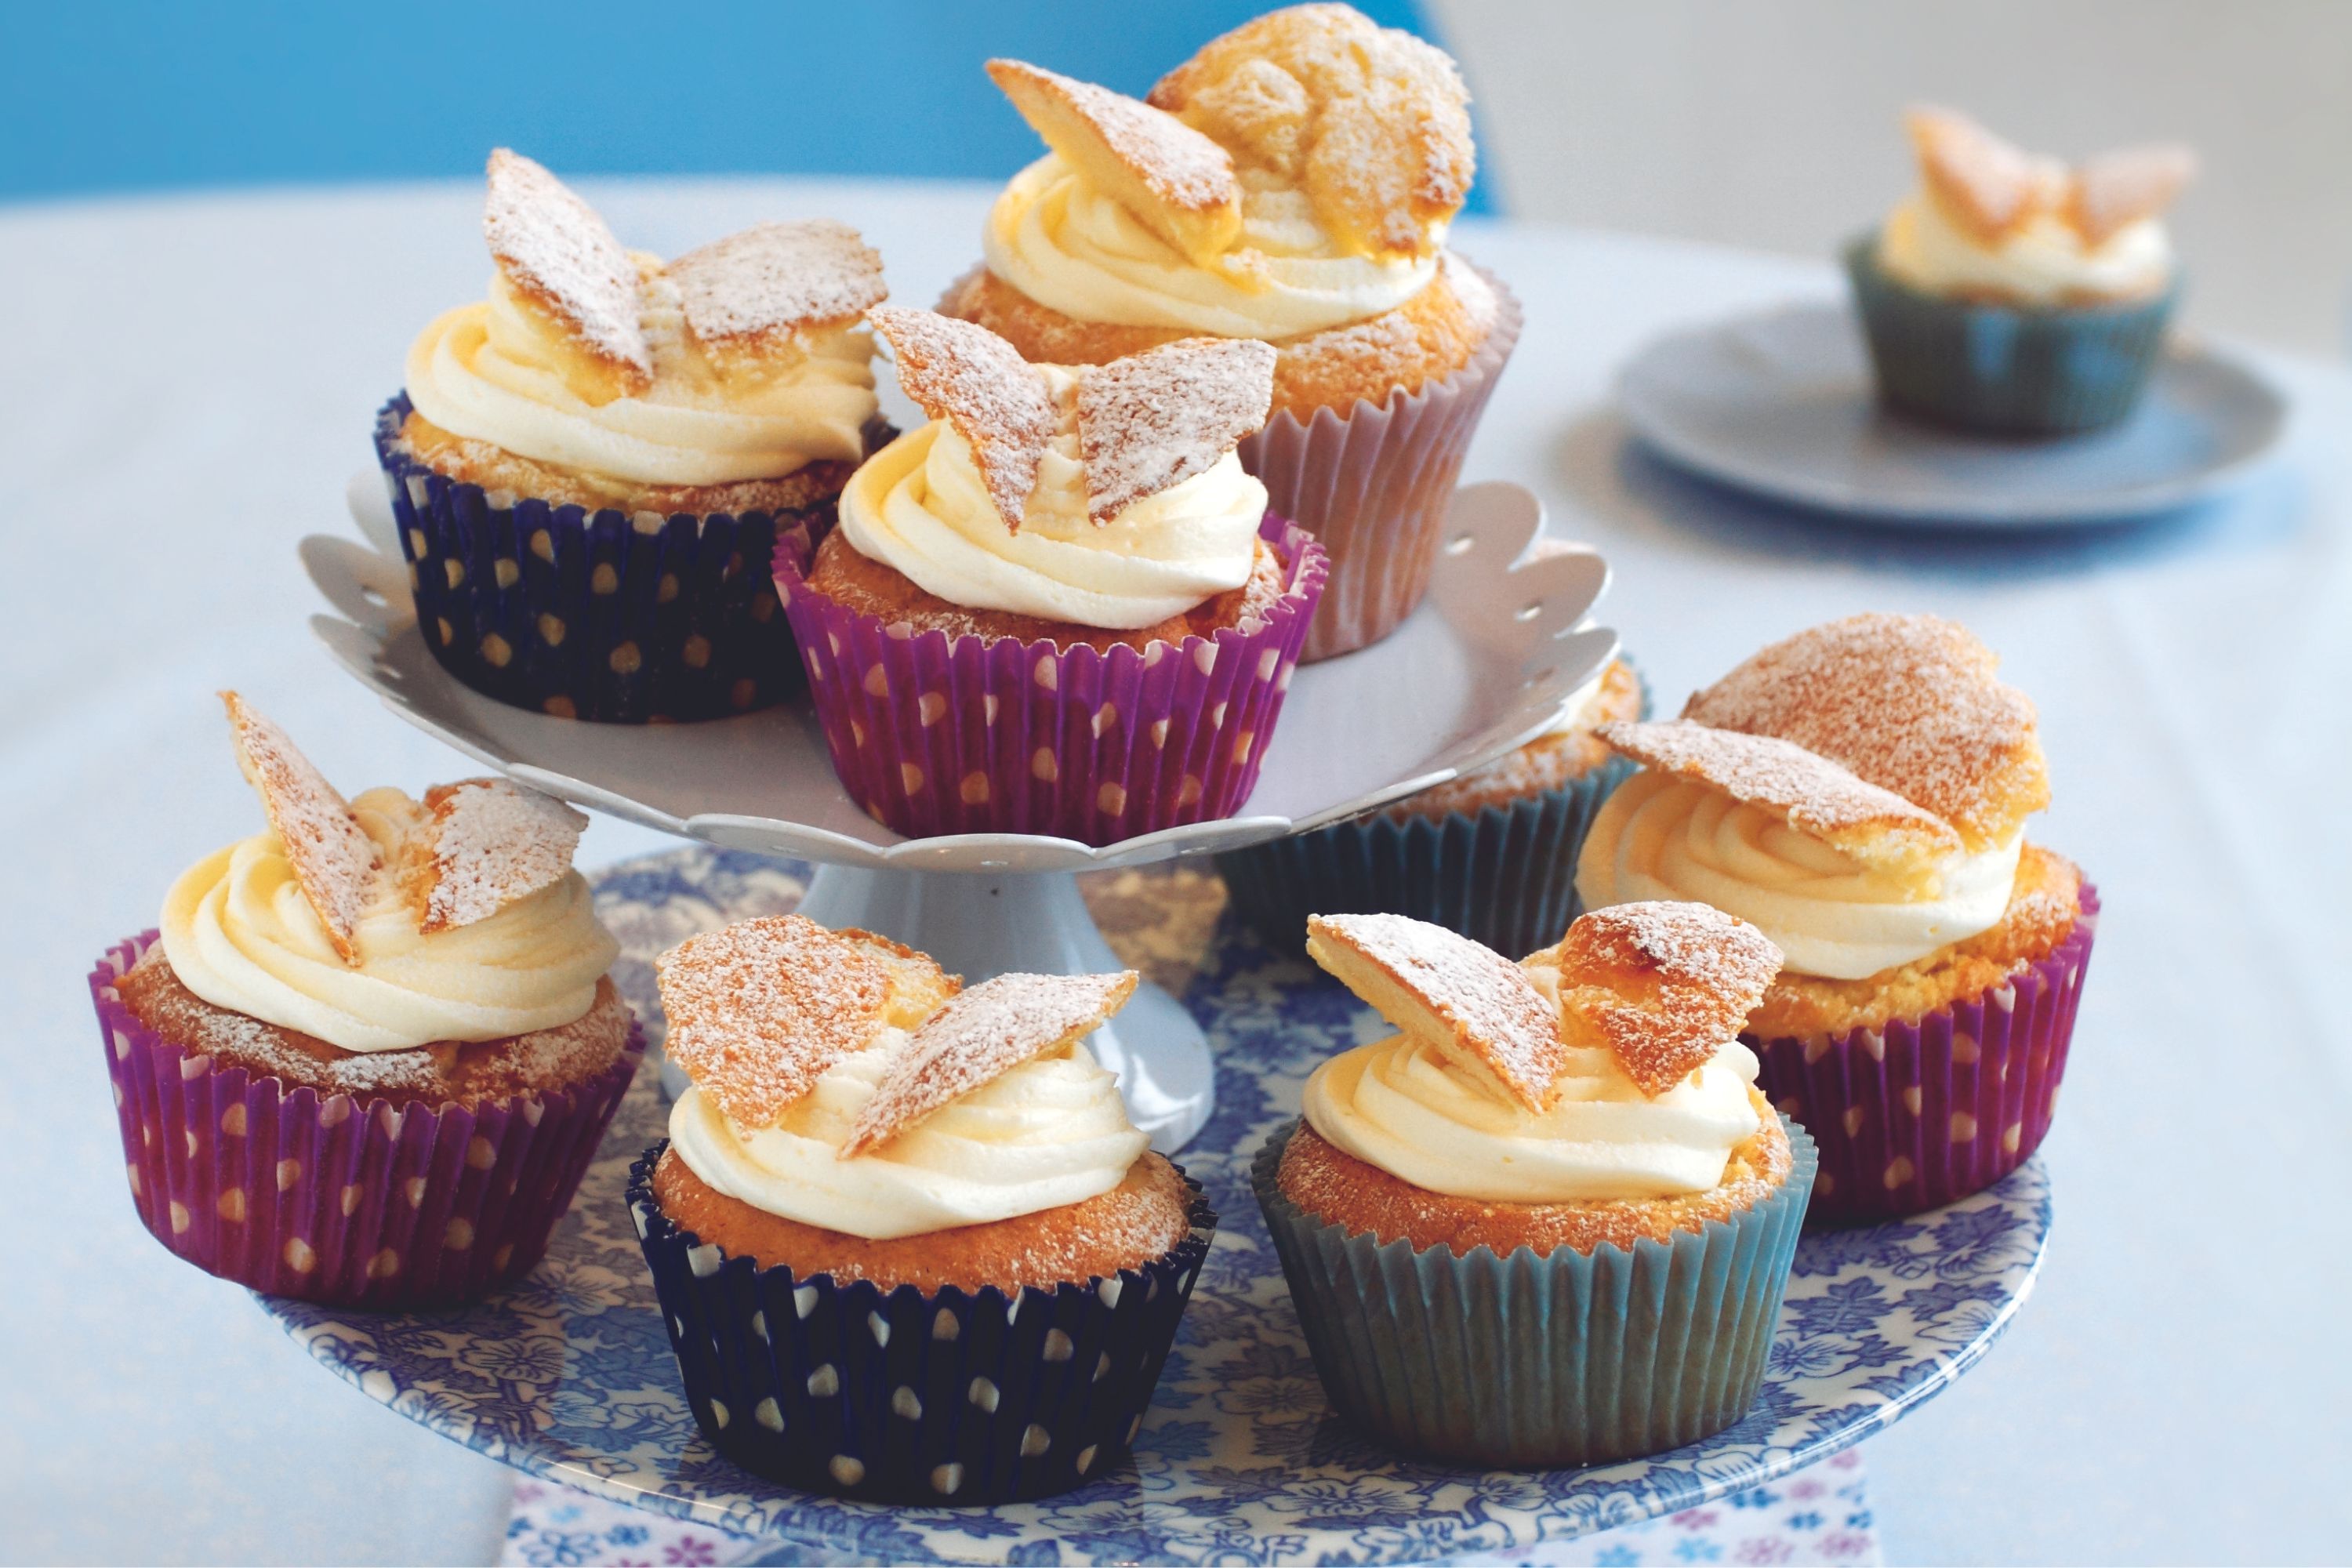
These butterfly buns are great to make with kids or for beginner bakers as they are ready in just five easy steps.
If you love fairy cakes but want to try something a little different, these simple but delicious butterfly buns are a perfect choice baked in just 15 minutes. We have used jam and buttercream in the center of these butterfly buns but you can swap for chocolate spread, peanut butter, or even your kid's favourite fruit curd if you prefer.
Ingredients
- 100g (4oz) caster sugar
- 100g (4oz) butter, softened
- 2 large eggs
- 100g (4oz) self-raising flour
- ½ tsp baking powder
- 15ml (1tbsp) milk
For the filling:
- 50g (2oz) butter, softened
- 75g (3oz) icing sugar, plus extra for dusting
- 2tbsp strawberry jam
WEIGHT CONVERTER
Method
- Heat the oven to 190C (170C fan, Gas 5). Line a muffin tray with 10 paper muffin cases. If baking with your children, let them line the muffin tray - it's a simple yet fun job deciding which coloured cases go where and will keep them occupied whilst you measure out the ingredients. If your child is older, let them help with the measuring.
- Put the caster sugar, butter, eggs, self-raising flour, baking powder, and milk in a large bowl and mix with an electric whisk until pale and creamy.
- Divide the mixture between the muffin cases using a tablespoon or ice cream scoop to ensure even rise and bake for 15-20 minutes until golden and springy to the touch. Transfer to a cooling rack. Leave to cool completely before decorating.
- Meanwhile, to make the buttercream, put the butter in a bowl and sift over the icing sugar. Beat with a wooden spoon or use an electric hand whisk until smooth. We would recommend softening the butter and adding the icing sugar gradually to stop the icing from splattering everywhere (see our top tips for more).
- Slice the tops off of each cake and fill the cavities with a little buttercream and jam. Cut each sliced top in half and arrange on top of the filling to resemble butterfly wings. Dust lightly with icing sugar and serve.
Watch how to make butterfly buns
Top tips for making butterfly buns
To add more flavour to your butterfly bun sponge, mix in the zest of a lemon, lime, or orange. It’s an affordable and effective way to boost your cakes' flavour and make the most of an ingredient that could otherwise be food waste. Here are some more of our top tips for making butterfly cakes...
How do you make buttercream without making a mess?
Making buttercream can be a messy job. To stop the icing sugar from dusting the work surfaces or kitchen countertops, first soften the butter. To do this, leave the butter to sit at room temperature.
Or to speed up the process, microwave on low heat (the measured amount of butter in a microwavable bowl or cup) in short bursts, stirring each time. You don't want the butter to liquidise, however, so be careful.
Gradually add the icing sugar a few spoonfuls at a time and combine. You could also start creaming the butter and icing sugar together with a wooden spoon before opting for an electric whisk.
What is the difference between fairy cakes and butterfly cakes?
The main difference between fairy cakes and butterfly cakes is in the presentation as they both have almost identical ingredients and methods.
With butterfly buns, you slice the tops off the cakes and make a little cavity in the centre that is usually filled with jam. The offcuts are sliced to look like butterfly wings and are pressed on top of the filling.
Fairy cakes are kept whole and can be dusted with icing sugar or topped with a frosting of your choice including chocolate frosting if making chocolate fairy cakes, raspberry puree icing for raspberry fairy cakes, or simple lemon curd for lemon fairy cakes.
Why didn't my fairy cakes rise?
If your fairy cakes are flat, dense, and you're left wondering why did the cakes not rise, it could be because you over-whisked the ingredients.
For an all-in-one cake method, like our butterfly buns, you want to make sure the ingredients are evenly distributed but don’t knock too much air out of the batter and over-whisk.
It’s also very important that the oven is heated to the correct temperature and preheated before baking your butterfly buns.
As soon as your cake mixture is combined, you should quickly and efficiently distribute it between the cases and get it into the oven. The raising agents in the flour are activated as soon as they combine with liquid, so if you take too long to get the mix in the oven, the reactions will have expired and the batter will not rise as much when it reaches the heat of the oven.
How do you store butterfly cakes?
Store your butterfly buns in an airtight container at room temperature for up to three days. You can freeze these buns without the buttercream and jam for up to one month.

"I love making butterfly cakes with my kids and this recipe is super easy. If you want to make chocolate butterfly cakes, which we've done before, swap 25-50g/1-2oz of self-raising flour with cocoa powder instead. We also swapped the jam filling for a generous spoonful of Nutella or a dollop of freshly whipped cream. Dust with cocoa powder (or crushed Maltesers if you're feeling indulgent) and enjoy."
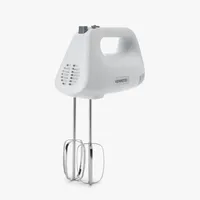
The most efficient way to combine your cake batter is by using an eclectic hand mixer. Check out this one from Kenwood which is recommended by Food Editor, Jessica Dady.
Kenwood Hand Mixer - View at John Lewis
Lightweight, compact, and easy to use - we’re certain that if you don’t already own an electric mixer it will soon become one of your favourite pieces of baking equipment. In a matter of minutes, your cake batter will be combined and ready to put in the oven. This mixer has five-speed settings and comes with a set of hooks you can use to knead bread dough.
If you're looking for other cupcake recipe inspiration, try our chocolate cupcakes recipe next. You might also like these lemon fairy cakes which use lemon zest in the cake batter for a fresh and zingy flavour boost.
Parenting advice, hot topics, best buys and family finance tips delivered straight to your inbox.

Jessica Dady is Food Editor at GoodtoKnow and has over 12 years of experience as a digital editor, specialising in all things food, recipes, and SEO. From the must-buy seasonal food hampers and advent calendars for Christmas to the family-friendly air fryers that’ll make dinner time a breeze, Jessica loves trying and testing various food products to find the best of the best for the busy parents among us. Over the years of working with GoodtoKnow, Jessica has had the privilege of working alongside Future’s Test Kitchen to create exclusive videos - as well as writing, testing, and shooting her own recipes. When she’s not embracing the great outdoors with her family at the weekends, Jessica enjoys baking up a storm in the kitchen with her favourite bakes being chocolate chip cookies, cupcakes, and a tray of gooey chocolate brownies.
- Jessica RansomSenior Food Writer


