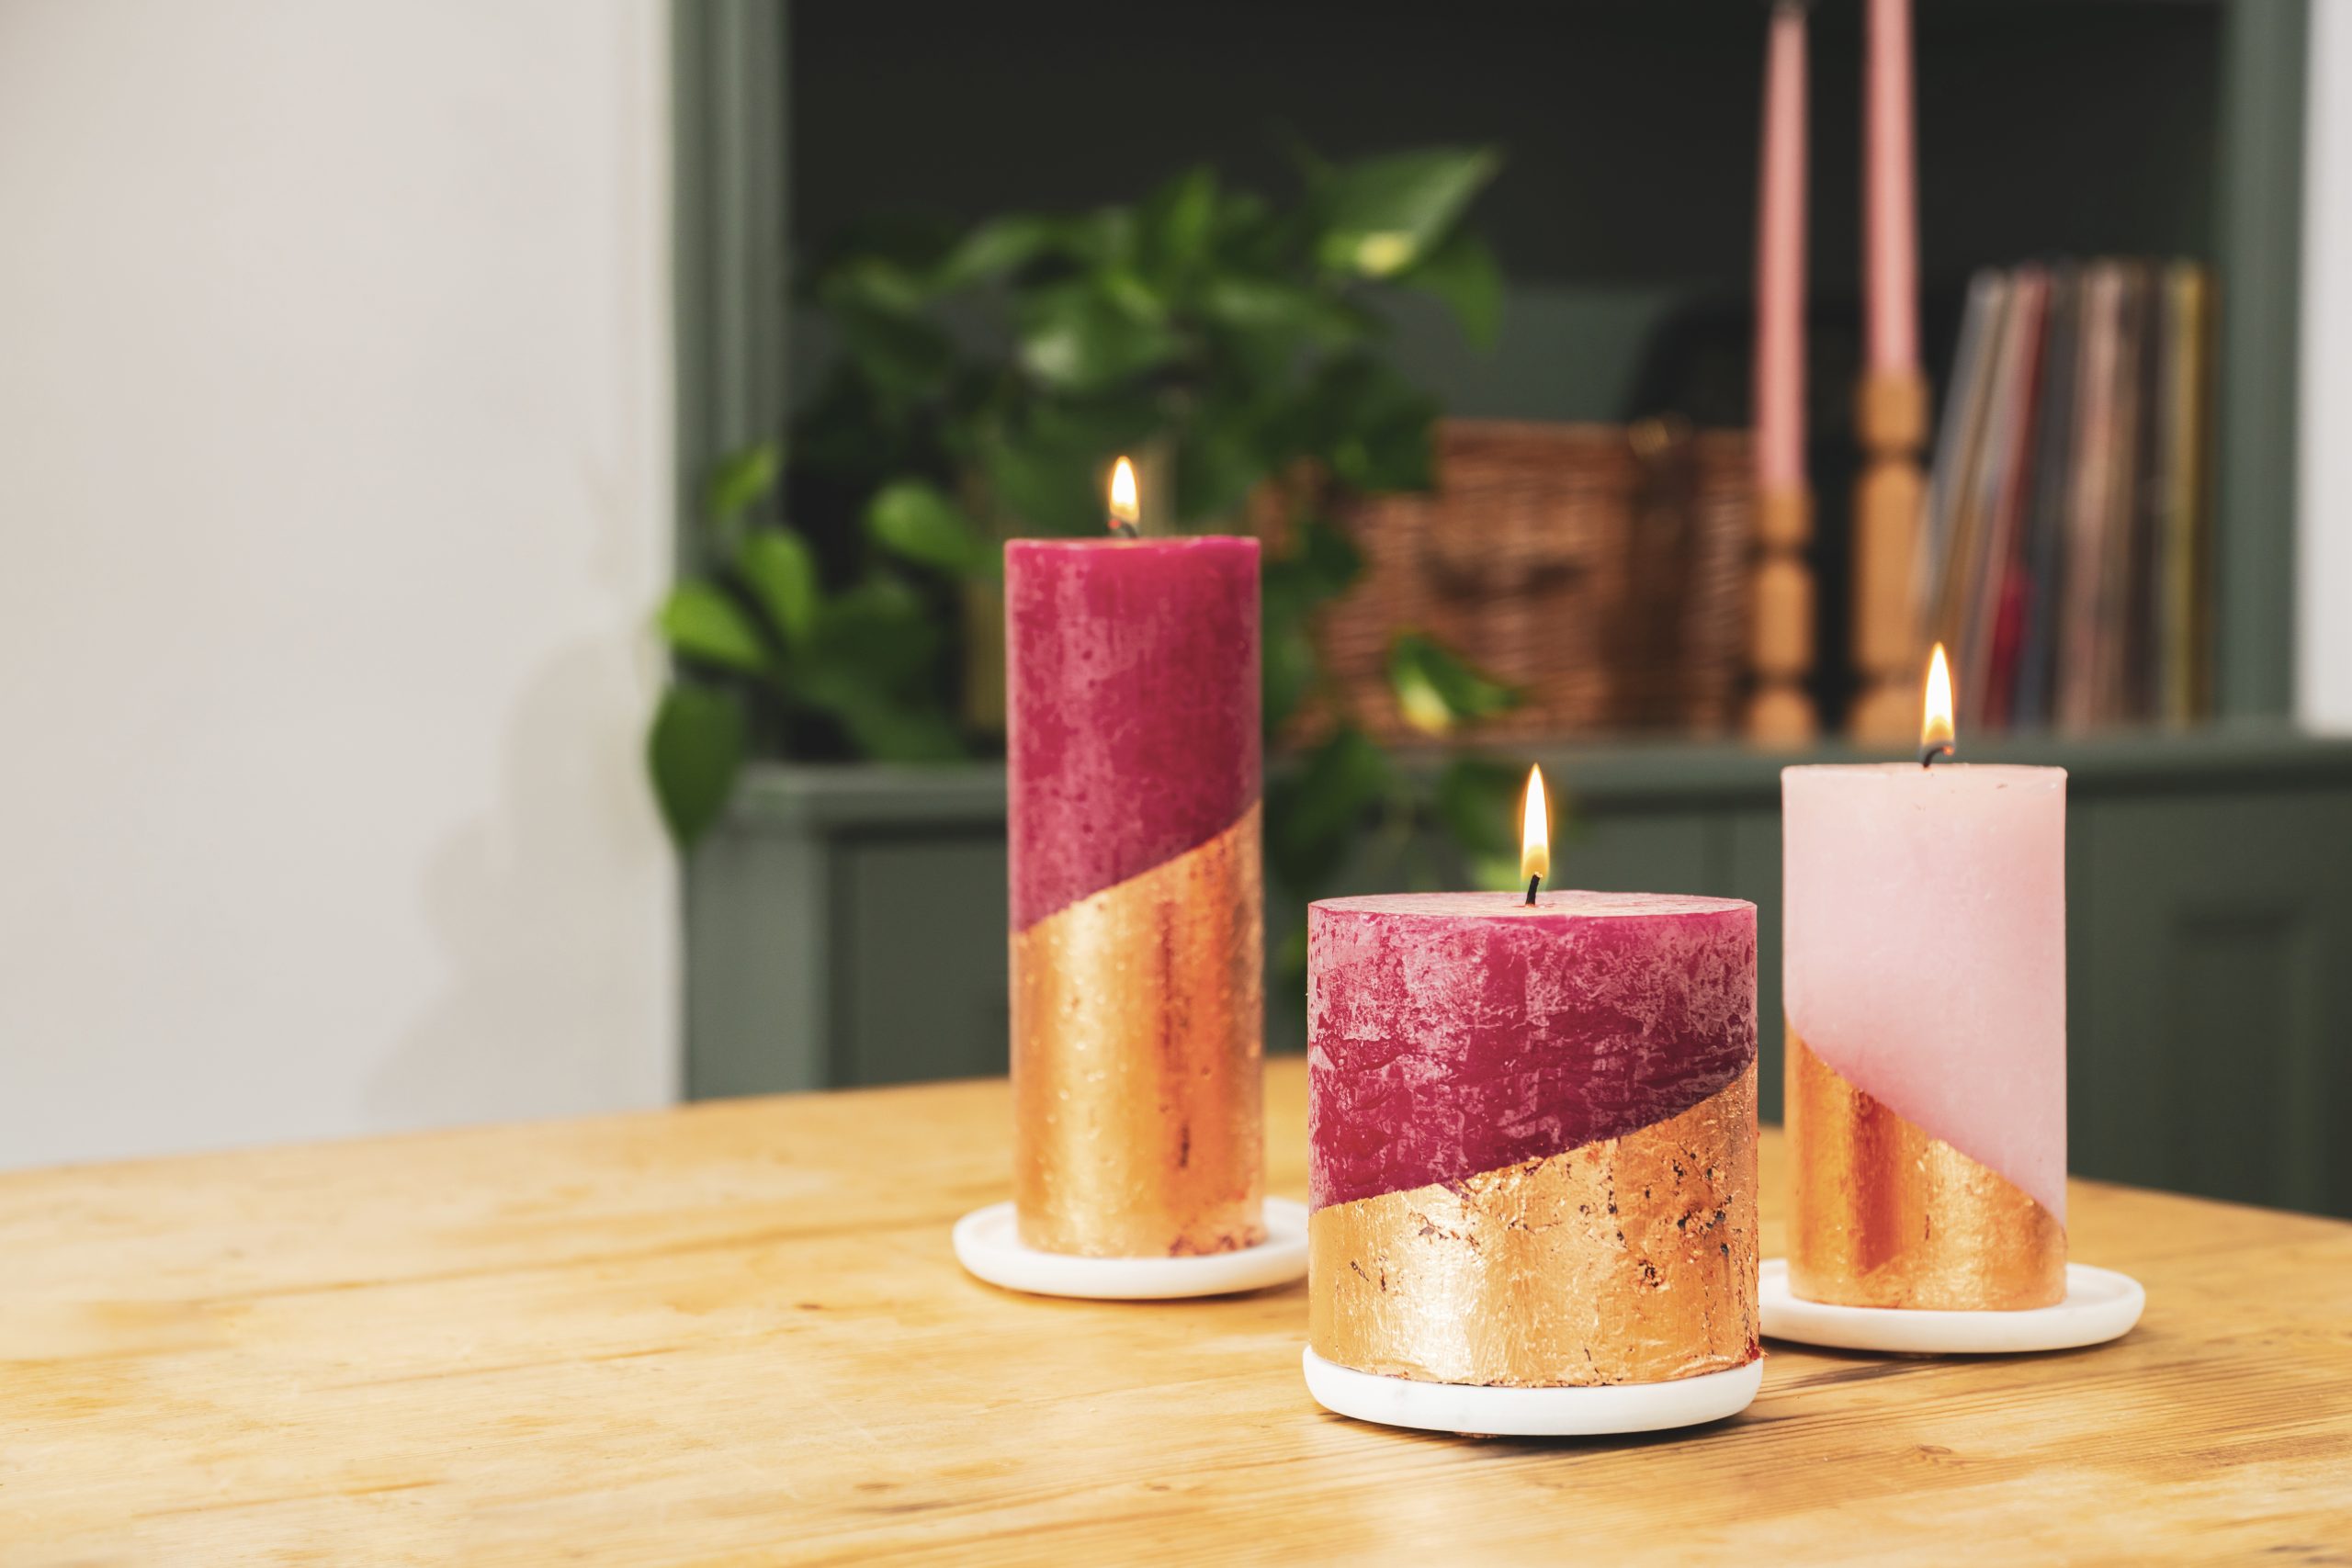
How to make copper candles


Give your home a glow with these pretty metallic projects, including copper leaf pillar candles and cookie cutter tealights
Learn how to make your very own candles with a copper twist. Choose from making tealights from scratch by upcyling some copper cookie cutters or adding copper leaf to a set of pillar candles.
More into sparkles than metallics? Have a go at making these glittery Christmas candles instead. Or how about these terrazzo candle holders and candle jar crafts for some stylish upcycling projects.
How to make copper leaf candles
Create this simple centrepiece of copper candles to add instant wow to your table.

To make copper leaf candles you will need:
- Pillar candles in shades of red and pink
- Copperleaf sheets
- Soft paintbrushes
- Masking tape
- Gilding adhesive
How to make copper leaf candles:
1. Remove any labels or wrappers from the pillar candles and brush with the soft paintbrush to remove any loose wax.
2. Apply the masking tape at an angle to the top of the candle to create a geometric shape left at the base.
3. Using one of the paintbrushes, apply some gilding adhesive to the base and allow to dry for as long as the manufacturer suggests.
Parenting advice, hot topics, best buys and family finance tips delivered straight to your inbox.
4. Once tacky, delicately place a sheet of the copperleaf on top of the glue and gently lift away the paper backing. Continue, working around the candle until it’s been completely coated in copper foil. Allow to dry.
5. With a dry paintbrush, buff away at the copper to remove any loose pieces. Collect and store any loose flakes for future projects.
6. Remove the masking tape, place on a candle holder or stand, and light.
How to make cookie cutter copper candles
Create your own copper candle tealights in seasonal shapes and scents.

To make cookie cutter copper candles you will need:
- Soy wax flakes
- Wax candle dye or old coloured crayons
- Copper biscuit cutters
- Pre-waxed wicks with metal bases
- Saucepan
- Baking tray
- Greaseproof paper
- Heatproof bowl
- Essential oils
- Thermometer
- Wooden skewer
For some craft supplies, check out Wilko.
How to make cookie cutter copper candles:
1. Fill the saucepan with water and bring to the boil, before turning down to a gentle simmer.
2. Place the heatproof bowl on top and pour in some wax flakes. Allow to melt and monitor the temperature with the thermometer.
3. Once the melted wax has reached 60 degrees C, add a couple of drops of essential oil and your wax dye or coloured crayons. Stir until combined.
4. Remove the bowl from the heat and allow to cool until it reaches 40 degrees C. At this point, it’s ready to pour.
5. While cooling, place a sheet of greaseproof paper onto the baking sheet and place the biscuit cutters on top. Position a wick in the centre of each one.
6. Carefully pour the wax into each mould, making sure to press down on the mould to create a seal around the base. Hold firmly down until the wax begins to harden. Prop up the wick in the centre with a wooden skewer rested across the top of the cutter.
7. Once set, remove the candles from the baking sheet and trim the wicks. You can now pop the candles out of the mould or keep the copper frames in place. Place on a heatproof dish or in a candle holder when burning.

Esme is Future's resident craft expert, working across titles such as GoodTo, Woman&Home, Woman’s Weekly, Woman, Woman’s Own, Chat, Now, Pick Me Up and The Craft Network. Successfully turning her sewing hobby into a career, she's adept in a number of crafts, including sewing, papercraft, calligraphy, embroidery and printing.