DIY Easter Decorations: How to make Easter decorations at home
Give your home a spring lift with these easy-to-make Easter decorations, the kids will love getting involved with all the crafting too


Give your home a spring lift with these easy-to-make DIY Easter decorations. It's simple to make Easter decorations at home and the kids will love getting involved with all the crafting too
Easter craft ideas are a great way to keep kids entertained during the Easter holidays. From felt animals to bunny picture frames, we’ve got a range of DIY Easter decoration ideas to suit all ages and skill levels.
Make sure you’re fully stocked with felt and card to get cracking on these egg-cellent ideas. After you’ve made some decorations, why not have a go at making our Easter baskets ready for that all important egg hunt? You could also hide these adorable Easter pom pom animals amongst the sweet treats for your kids to find.
For some of these projects, you'll need these printable Easter bunny and chick templates.
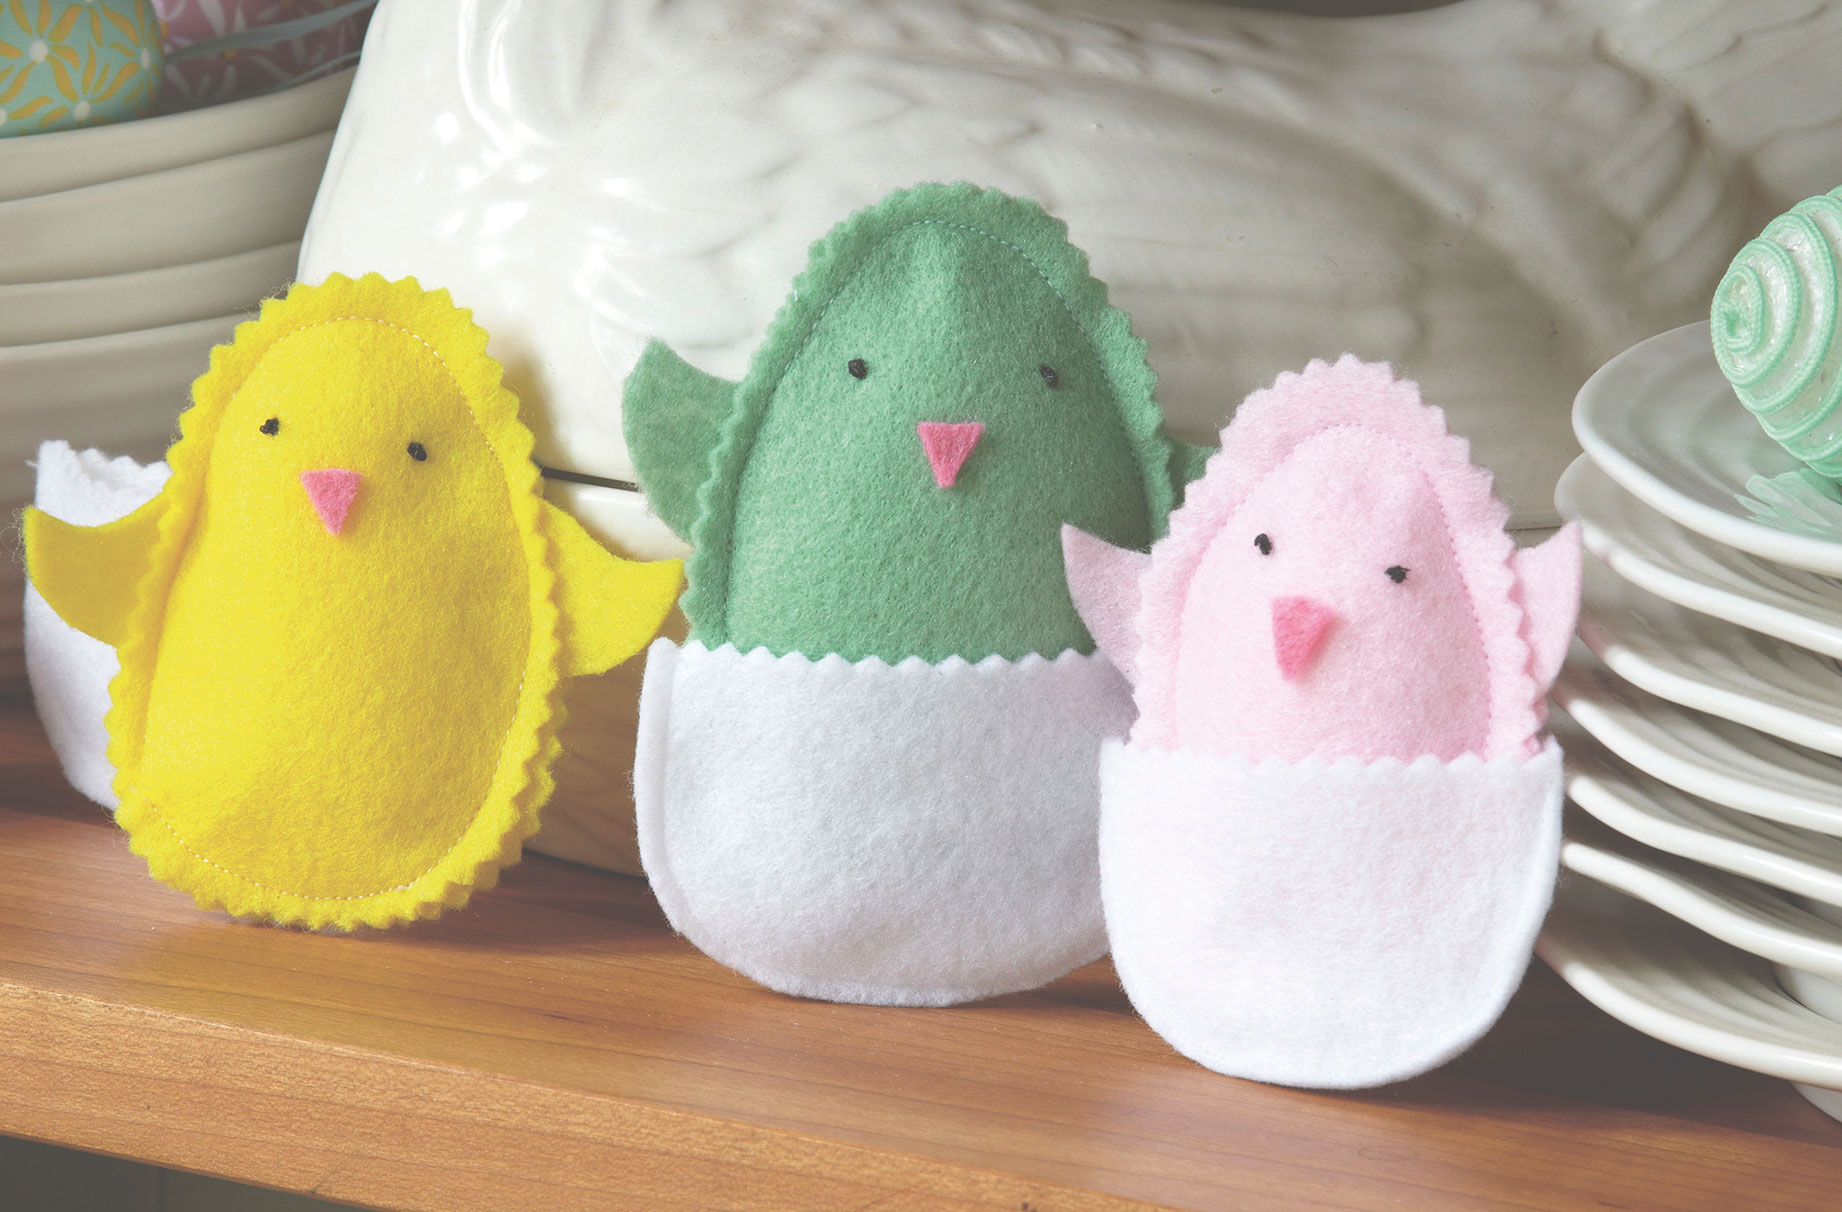
DIY Easter Decorations: Felt Easter chicks
Sew these sweet chicks as a lovely Easter gift for kids and adults this spring.
To make felt chick Easter decorations you will need:
- Felt
- Pinking shears
- Scissors
- Pins
- Toy stuffing
- Sewing machine
- Black cotton
For crafts supplies, check out Baker Ross
Parenting advice, hot topics, best buys and family finance tips delivered straight to your inbox.
How to make felt chick Easter decorations:
- Using the templates, cut out two felt bodies using pinking shears, and two wings and one beak with regular scissors. Position the wings in-between the two body pieces and pin in place. Sew around the outer edge leaving a small gap at the bottom.
- Place a little toy stuffing inside the chick, then sew up the bottom edge. Sew some eyes using black cotton, then sew or stick on a little beak.
- Cut out two shells using regular scissors. Sew around the bottom edge, then cut the top with a pair of pinking shears so you have a cracked-egg look. Pop your chick inside.
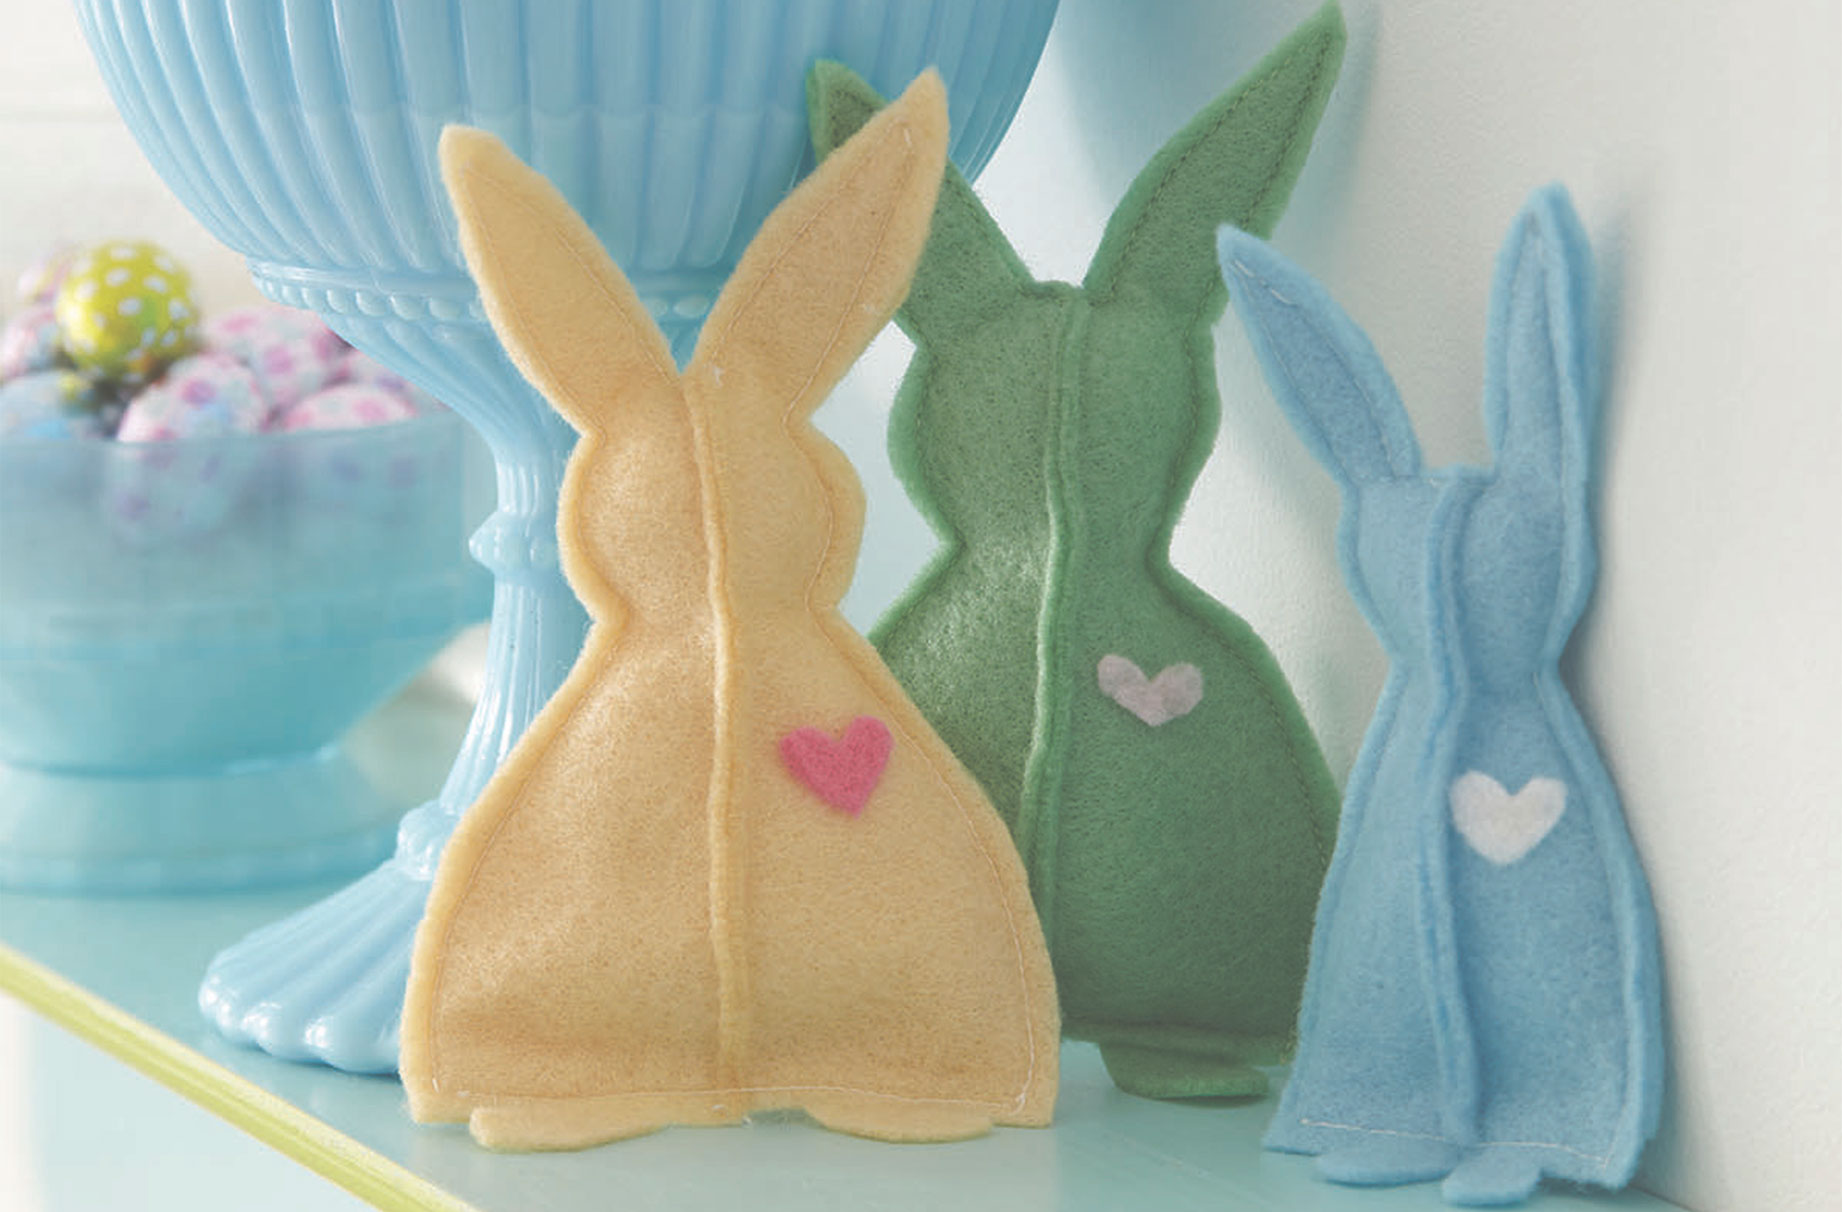
DIY Easter Decorations: Felt Easter bunnies
Make a cute display with this family of soft pastel rabbits.

To make felt bunny Easter decorations you will need:
- Felt
- Scissors
- Pins
- Toy stuffing
- Sewing machine
- Glue
How to make felt bunny Easter decorations:
- Using the templates, cut out one whole bunny (without legs) and two half bunnies (with legs) from the felt.
- Place the half bunnies together and sew along the front edge. Make sure the seam is neat by trimming any wonky lines with sharp scissors. Place the sewn bunny on top of the whole bunny, seam side up, and pin in place.
- Sew all the way around, leaving the bottom open. Then pad out with toy stuffing, then sew along the bottom edge, leaving the feet sticking out at the bottom. Avoid overfilling the bunnies or they will lose their shape.
- Cut out a small heart and glue it in place on the front.
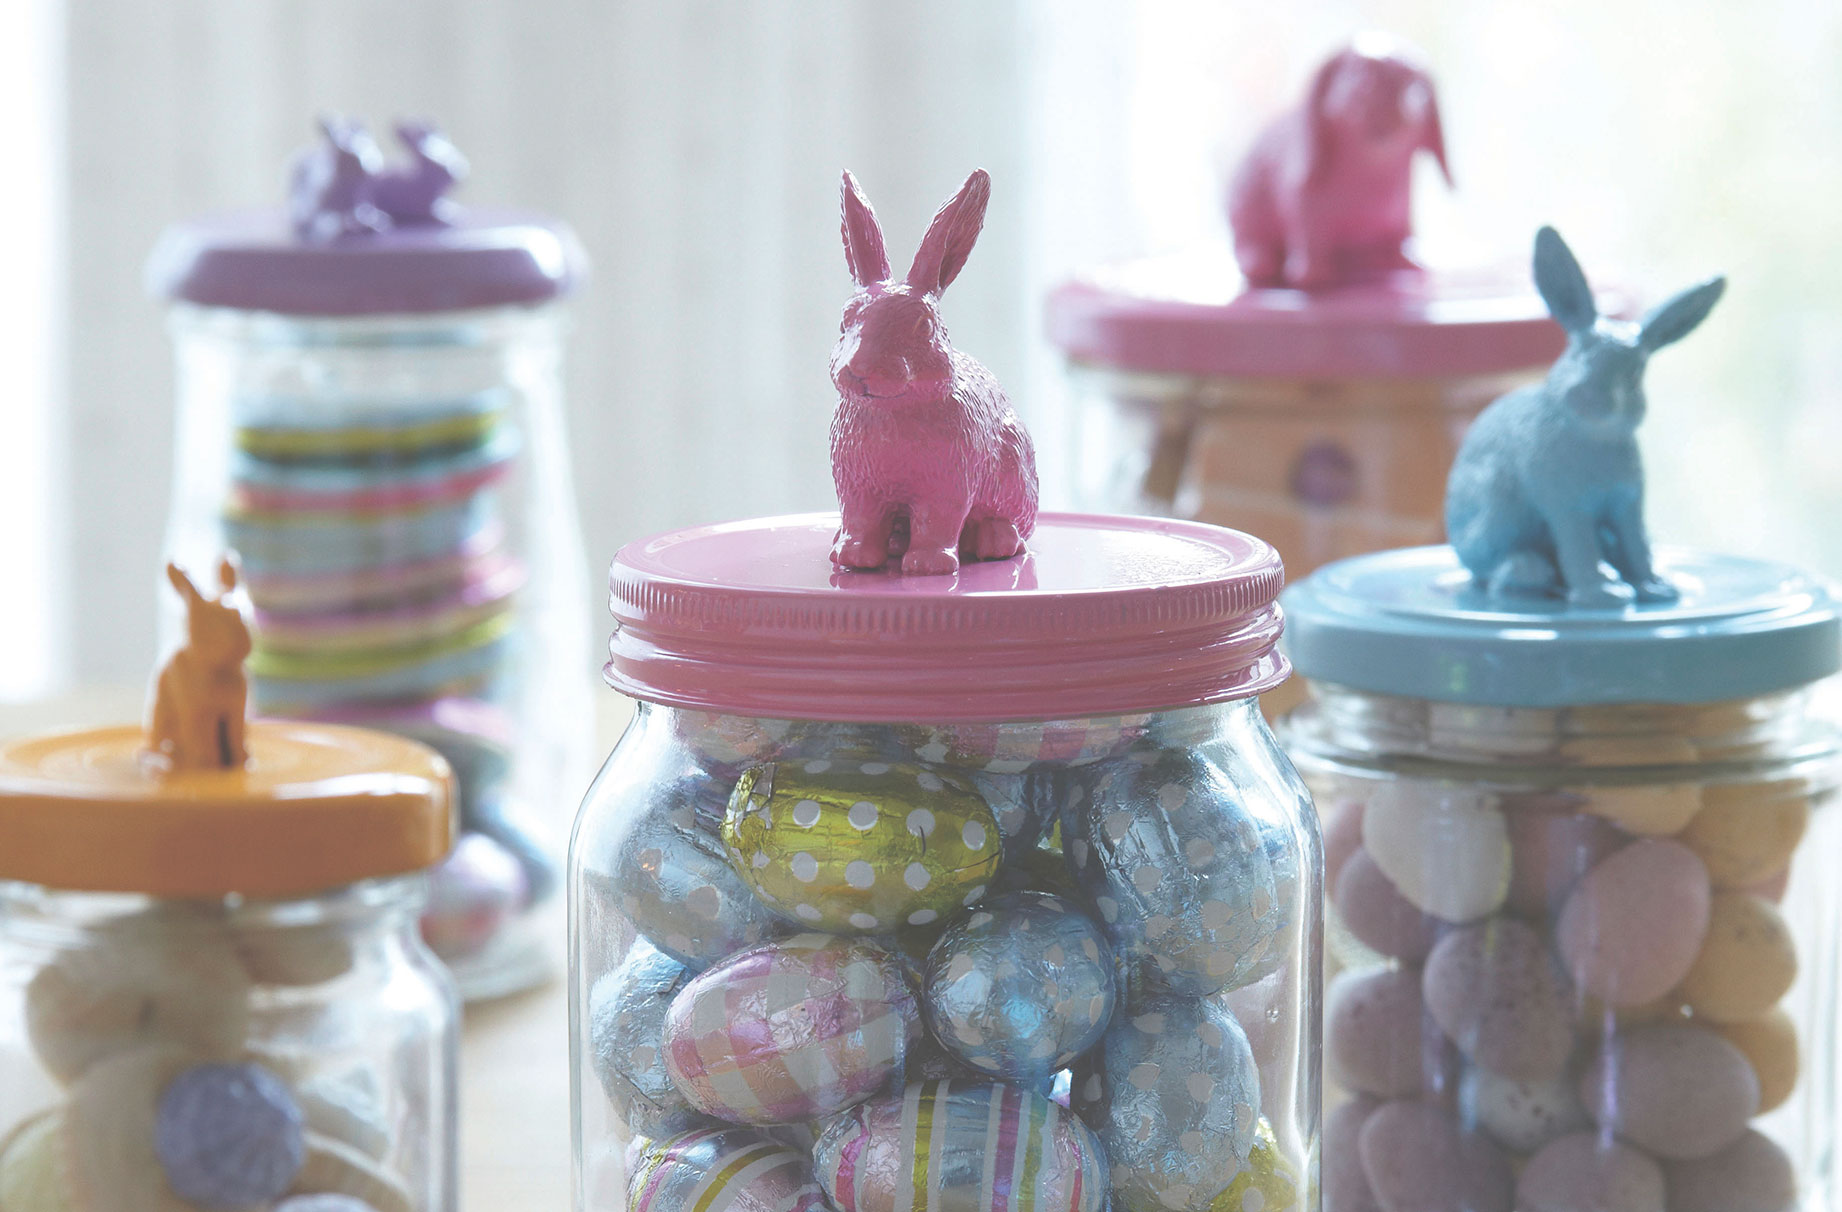
DIY Easter Decorations: Easter Storage Jars
Fill these DIY Easter storage jars with treats and give them as homemade Easter gifts. Once all of the chocolate is gone, the container can be put to good use to keep small items!

To make the Easter storage jars you will need:
- Jam jars
- Hot glue gun
- Small plastic toys
- Spray paint
How to make the Easter storage jars:
- Clean the jam jars thoroughly, removing any sticky labels from the glass. Then use a hot glue gun to stick one toy onto the top of each lid.
- Spray the lid with three or four light coats of paint. A few light coats are better than one or two thick ones, as it prevents the paint from running.
- Leave the paint to dry a day or two before you fill the jars with sweet treats.
DIY Easter Decorations: Rabbit artwork
Decorate a corner of your home with these bright Easter bunny pictures.
To make the Easter frame decorations you will need:
- Scalpel
- Cutting board
- Coloured card
- Picture frame
- Plain paper
- Tissue paper
- Paper tapes
- Glue
How to make an Easter frame decoration:
- Cut out the coloured card for your background to the same size as your frame backing. Position the rabbit template centrally on the card, draw around it, then cut it out.
- Then on a piece of plain paper (cut to the same size as the picture frame backing), mark where the rabbit will be positioned.
- Cut strips of coloured paper, tissue paper and paper tapes and layer them on the plain paper, so that they stretch further than the rabbit cut-out will sit.
- Put your rabbit cut-out over the top of the paper, then pop it into the picture frame.
Related Features:
Best Easter hampers Best Easter gifts for kids Best Easter baskets Best kids' Easter eggs Best vegan Easter eggs Best personalised Easter eggs Best online Easter eggs
Related video:

Esme is Future's resident craft expert, working across titles such as GoodTo, Woman&Home, Woman’s Weekly, Woman, Woman’s Own, Chat, Now, Pick Me Up and The Craft Network. Successfully turning her sewing hobby into a career, she's adept in a number of crafts, including sewing, papercraft, calligraphy, embroidery and printing.